Ever stood at your kitchen counter trying to chop vegetables, only to realize you are working in your own shadow. It is incredibly frustrating, isn’t it? We often treat the kitchen like any other room by slapping a single big light fixture in the middle of the ceiling and calling it a day. But a modern kitchen is a multi-purpose hub where we cook, do homework, entertain, and unwind.
Getting the illumination right does not require an expensive degree in interior architecture, but it does require a strategy. By breaking down your setup into three simple layers—ambient, task, and accent—you can completely transform the space from a dim, cave-like room into a bright, safe, and comfortable environment. Let us dive into the ultimate layout checklist that works for real life.
Layer 1: Setting the Baseline with Ambient Light
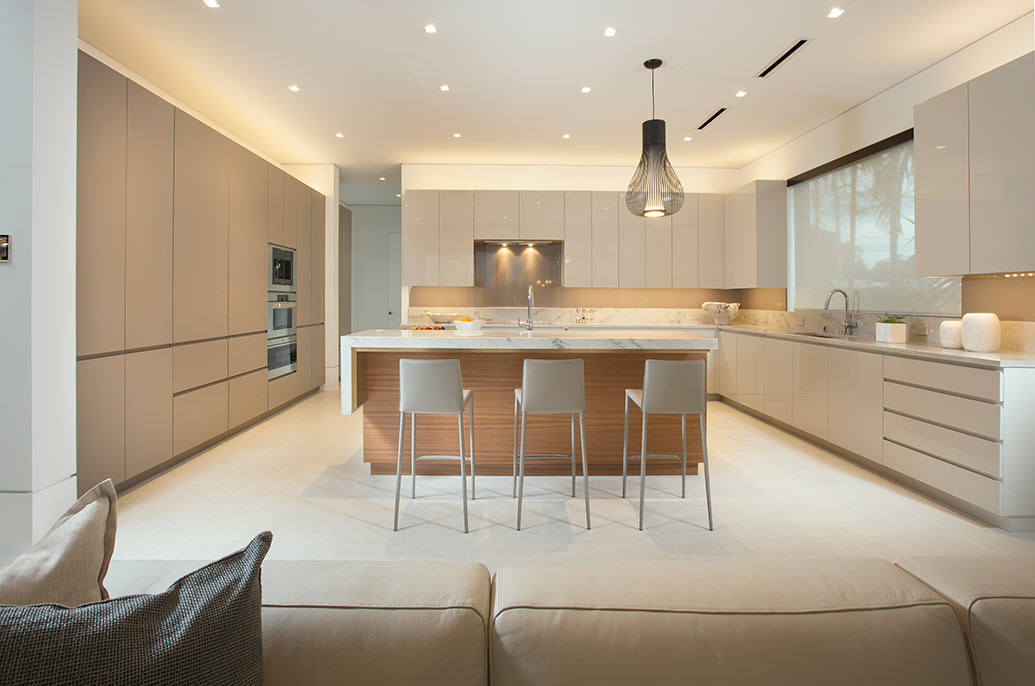
Think of ambient light as your foundation. This is the main source of light that fills the room so you do not trip over the dishwasher or bump into the kitchen island. Usually, we achieve this using recessed downlights canister lights or a large central flush-mount fixture. The goal here is general visibility.
When you are mapping out where these go, spacing is everything. A good rule of thumb is to space your recessed lights about four feet apart from each other and keep them about two feet away from the walls. This stops the light from casting strange shadows down your upper cabinets and distributes a soft, even glow across the whole room.
Layer 2: Crushing the Shadows with Task Lighting
Task lighting is where the real work gets done. If you have ever tried to read a recipe under a weak ceiling light, you know why this matters. This layer targets specific zones where you slice veggies, wash dishes, or read labels. The most critical spot for this is right under your upper cabinets.
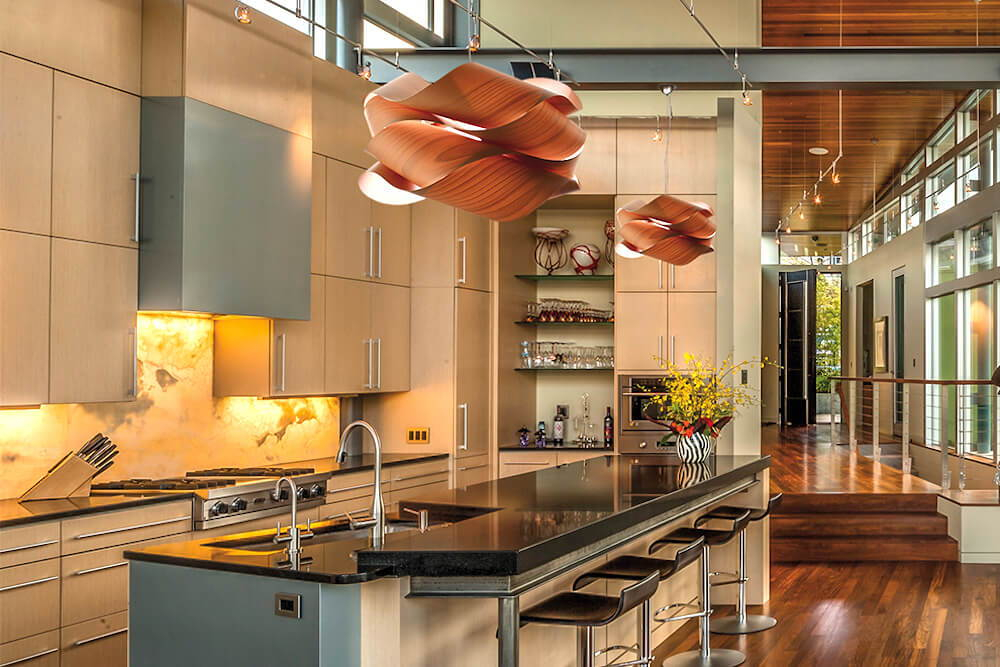
Installing under-cabinet LED strip lights shines a bright light directly onto your countertops, entirely removing the shadow cast by your own body. Another key zone is above the kitchen stove or the sink. Pendant lights hanging over an island can also serve as fantastic task lighting, provided they are hung high enough—usually 30 to 36 inches above the surface—so they do not block your view.
Layer 3: Adding Personality with Accent Features
Now for the fun part. Accent lighting is all about drama and visual warmth. It doesn’t really exist to help you see what you are cutting; it is there to make the room look beautiful and highlight your favorite design features. Think of it as the jewelry of your kitchen layout.
Excellent examples of accent pieces include puck lights inside glass-front cabinets to show off your favorite mugs, or LED toe-kick strips underneath your base cabinets. Toe-kick lighting looks incredibly cool at night because it makes your cabinets look like they are floating and guides you to the fridge for a midnight snack without waking up your eyes.
Navigating Color Temperature and Brightness
Choosing the wrong bulb can instantly ruin a great layout. Have you ever walked into a kitchen that felt like a sterile hospital operating room? That is usually the result of using bulbs that are too blue or stark white. For a home kitchen, you want to look for bulbs labeled "warm white," which sit around 2700K to 3000K on the color scale.
Brightness, measured in lumens, also needs to be balanced. Your task areas need a much higher concentration of lumens than your accent zones. Keeping your bulbs uniform in color temperature across all three layers prevents the room from feeling chaotic and disjointed.
The Secret Weapon: Dimmers and Smart Controls
If there is one non-negotiable rule on this checklist, it is that every single layer should be on its own separate switch. Better yet, put them all on dimmers. If your ambient, task, and accent lights are all wired to a single switch, you lose all control over the mood of the room.
Imagine trying to enjoy a quiet, romantic dinner at the island while your under-cabinet lights are blasting at full brightness like an industrial workshop. With separate dimmer switches, you can crank up the task lights while prepping dinner, and then soften the ambient lights when it is time to sit down and eat.
To bring it all together, here is a quick, practical checklist to use when planning or updating your space:
- Ambient: Space recessed downlights 4 feet apart and 2 feet from walls.
- Task: Add under-cabinet LED strips to banish counter shadows.
- Task: Hang island pendants 30-36 inches above the countertop surface.
- Accent: Install toe-kick lighting for a soft, floating nightlight effect.
- Bulbs: Stick to a warm 2700K–3000K temperature for a cozy vibe.
- Controls: Separate switches and dimmers for every light layer.
By taking the time to plan out these individual elements, you ensure your kitchen functions beautifully at 7:00 AM during the breakfast rush and looks stunning at 8:00 PM when guests come over. Layering isn’t just a design trend; it is how you make the hardest working room in your house truly liveable. Comfort and utility can exist in the exact same space with just a little bit of planning.