You know that feeling when you walk into a friend’s newly renovated kitchen? It smells like fresh paint and possibility. The marble countertops gleam under the pendant lights. You run your hand along the smooth cabinetry and think, wow, this is it. This is the dream. But then, three months later, you hear a different story. The drawers stick. The lighting is too harsh for evening cooking. The island is so big you can’t actually sit at it without kicking the fridge door. It’s a gut punch. Because we’ve all been there, or we know someone who has. We pour our hearts, savings, and hopes into these spaces, only to realize we missed something obvious. Something costly.
Kitchen renovations are arguably the most stressful home improvement project you can undertake. In 2026, with material costs still fluctuating and labor rates higher than ever, the margin for error is razor-thin. A mistake here isn’t just an aesthetic hiccup; it’s a financial hole. We’re talking about ripping out perfectly good cabinets because they don’t fit the new appliance. Or rewiring an entire wall because the outlet placement was an afterthought. It happens more often than you’d think. And it doesn’t have to. By looking at where others stumbled, we can learn to walk a straighter line. Let’s talk about the traps. The ones that sneak up on you when you’re tired, overwhelmed, and just want to pick a backsplash tile already.
The Island That Eats Your Budget (and Your Space)
Everyone wants an island. It’s the centerpiece. The social hub. The place where homework gets done and cocktails get mixed. But here’s the thing: islands are often oversized for the room they live in. In 2024 and 2025, we saw a surge in "mega-islands," driven by social media trends showing sprawling kitchens that look like restaurant prep stations. The problem? Most residential kitchens aren’t restaurants. When you plop a six-foot-long island into a ten-by-twelve foot room, you kill the flow. You create a bottleneck. Suddenly, two people can’t cook together. One person is always apologizing as they squeeze past the other. It’s frustrating. And fixing it means demolishing the island, which costs thousands in labor and disposal fees.
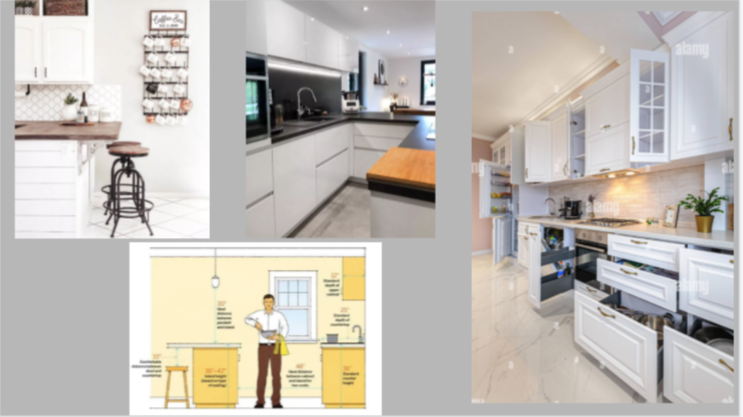
The rule of thumb is simple, yet frequently ignored. You need at least 42 inches of clearance around all sides of the island for a one-cook kitchen. If you have multiple cooks, bump that to 48 inches. Less than that, and you’re playing a game of culinary Tetris every time you open the dishwasher. I spoke with a contractor in Chicago last month who told me he’s seen three jobs this year where homeowners had to shrink their islands post-installation because they literally couldn’t get the trash bins out from behind them. Think about function before form. Do you really need seating for six? Or would a smaller island with better storage serve you better? Measure twice. Then measure again. And maybe, just maybe, skip the bar stools if your space is tight.
Another angle is the utility aspect. Islands are expensive because they require moving plumbing, gas, or electrical lines. If you put a sink in there, you need proper venting and drainage slope. If you add a cooktop, you need a powerful downdraft or a ceiling-mounted hood, which involves structural changes. These aren’t small tweaks. They’re major infrastructural shifts. Many people underestimate the cost of running a gas line across a concrete slab or upgrading an electrical panel to handle new loads. Before you commit, ask yourself: is the island worth the extra $5,000 to $10,000 in infrastructure work? Sometimes, a well-placed peninsula offers the same surface area and seating without the massive price tag or spatial dominance. It’s about working with your home’s bones, not fighting them.
Lighting Layers: Why One Overhead Light Isn’t Enough
Remember when kitchens just had one big fluorescent box in the center of the ceiling? Thank goodness those days are mostly gone. But in our rush to modernize, we’ve swung to the other extreme: relying too heavily on recessed "can" lights. Sure, they look clean. They provide general ambient light. But they cast shadows. Everywhere. Try chopping vegetables with a single overhead light source, and you’ll see what I mean. Your hands block the light, creating dark spots on your cutting board. It’s dangerous and annoying. In 2026, LED technology has made layering easier and more energy-efficient, yet many designs still miss the mark. They treat lighting as an afterthought, installed only after the cabinets are up. That’s backwards.
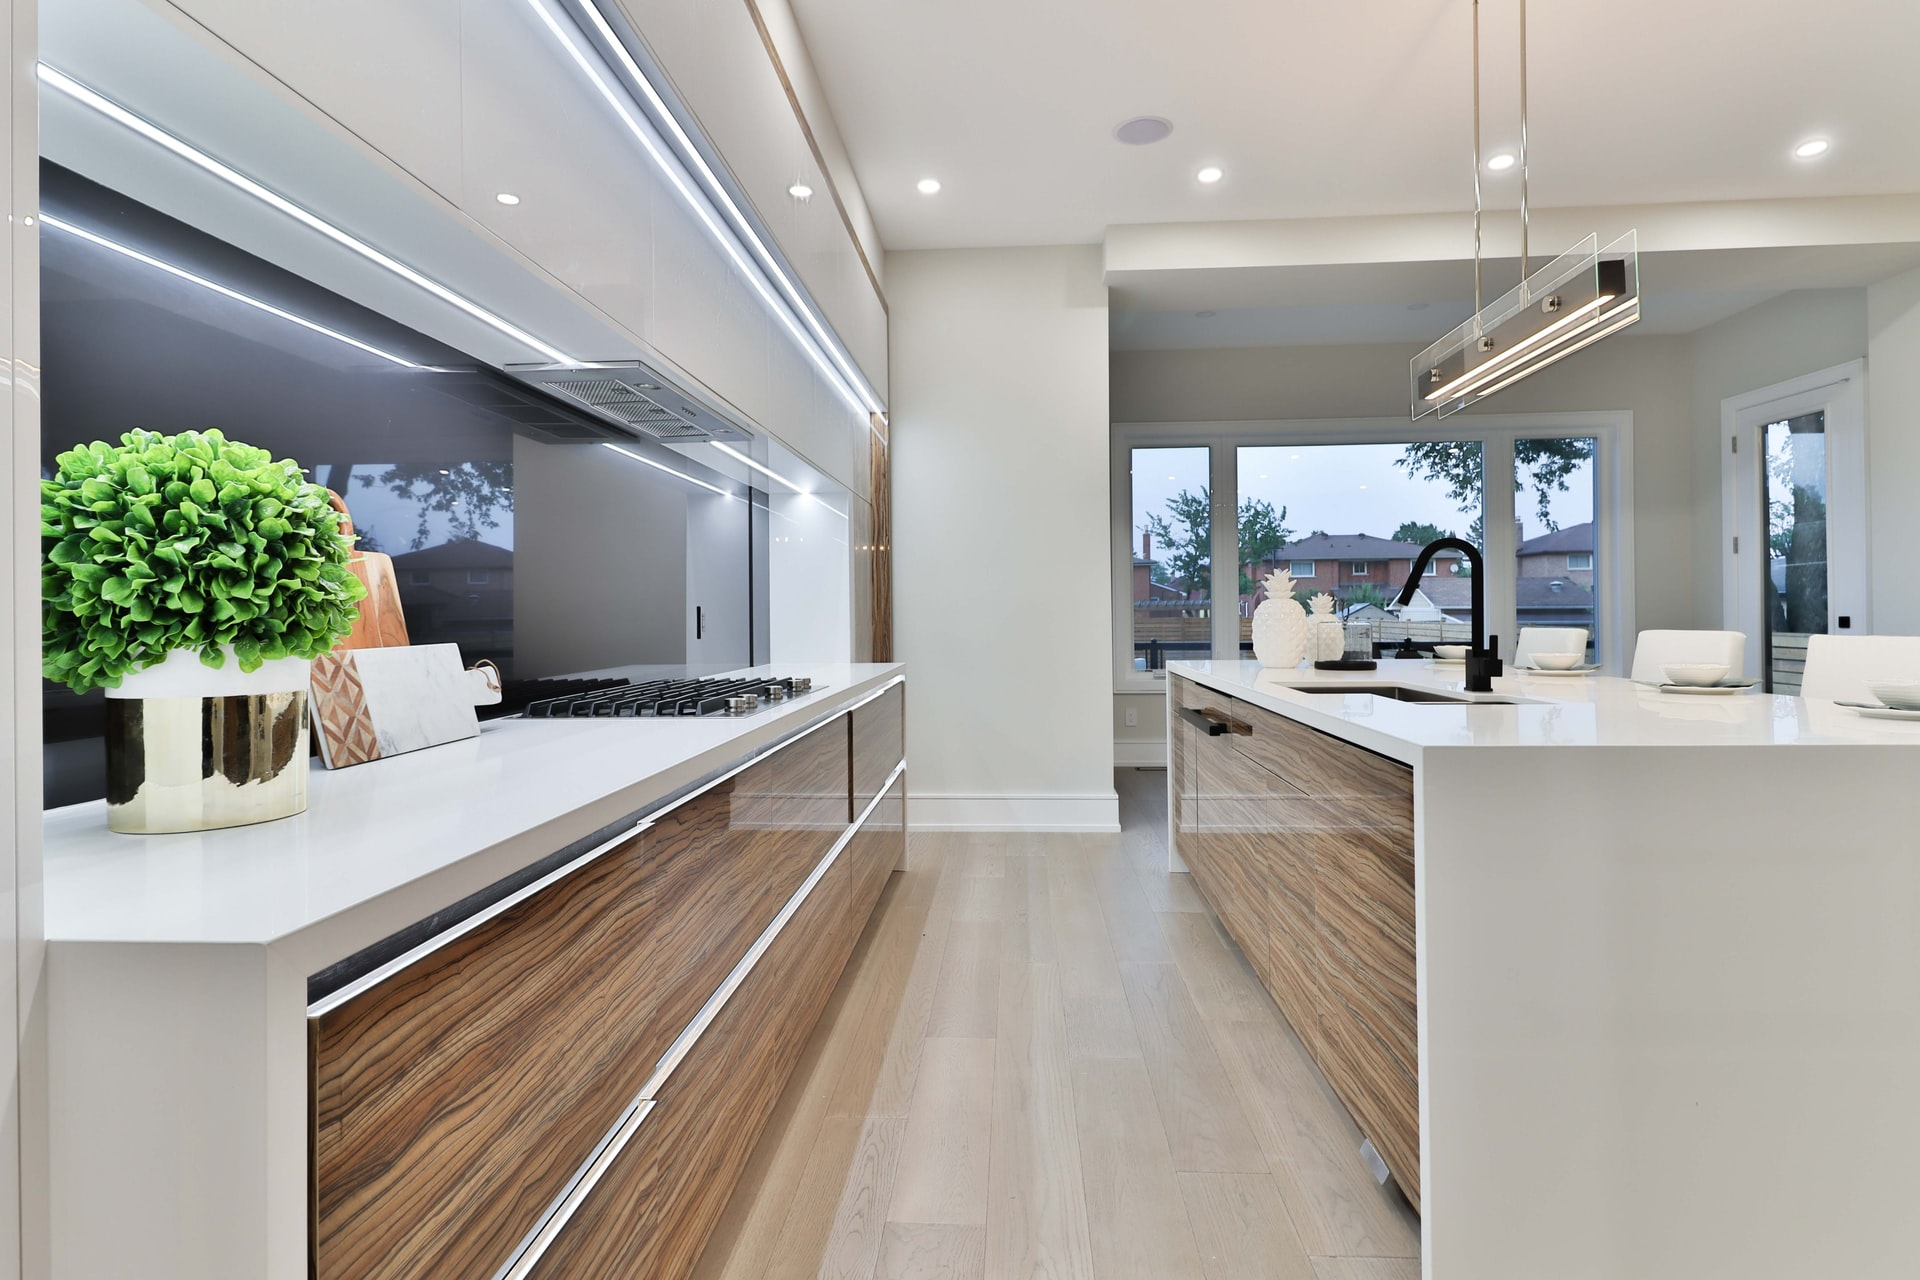
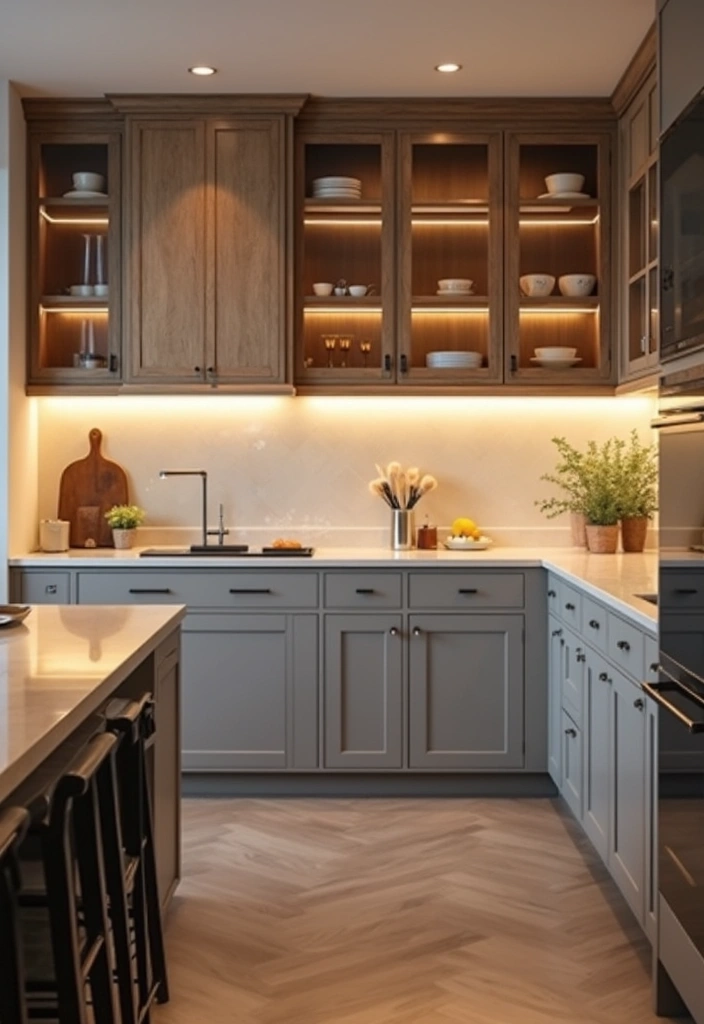
Good kitchen lighting needs three layers: ambient, task, and accent. Ambient is your general glow. Task lighting is focused light where you work—under cabinets, over the sink, above the stove. Accent lighting highlights features, like glass-front cabinets or artwork. Skipping task lighting is the most common error. Under-cabinet LEDs are non-negotiable. They illuminate your counters directly, eliminating shadows. But it’s not just about slapping a strip of lights under the upper boxes. You need to consider color temperature. Mixing warm white (2700K) with cool daylight (4000K) creates a disjointed, messy feel. Stick to one temperature throughout, usually 3000K for a welcoming yet functional vibe. Dimmers are also crucial. You don’t want bright interrogation-room lights when you’re having a late-night snack.
Then there’s the issue of placement. Recessed lights should be spaced evenly, but not too close to the walls, or you’ll get ugly scalloping effects on your backsplash. Pendant lights over an island need to hang at the right height—typically 30 to 36 inches above the counter surface. Hang them too high, and they don’t provide enough task light. Too low, and they block your view across the room. It’s a balancing act. I’ve seen homeowners spend $2,000 on beautiful artisan pendants, only to realize they glare directly into their eyes when sitting at the counter. The fix? Rewiring. Which means patching drywall, repainting, and re-testing. All because the initial plan didn’t account for eye level. Plan your lighting on paper first. Visualize where you’ll stand. Where will the shadows fall? It’s free to adjust a blueprint. It’s expensive to move a wire.
The Appliance Alignment Trap
This one hurts because it’s so visible. You buy a stunning, professional-grade range. It’s the star of the show. You install it. And then you notice the cabinet next to it is two inches deeper. Or the fridge sticks out past the cabinetry line. It looks… off. Unfinished. Like a puzzle piece forced into the wrong spot. This happens because people shop for appliances before finalizing their cabinet dimensions. Or they assume all "standard" sizes are truly standard. They aren’t. A 36-inch fridge might actually be 36.5 inches wide. A 30-inch oven might need 31 inches of clearance for ventilation. These fractional differences add up to visual chaos. And in high-end designs, alignment is everything. It’s what separates a custom look from a DIY disaster.
In 2026, integrated appliances are trending. Fridges that panel-match your cabinets. Dishwashers that disappear completely. These look sleek, but they require precise coordination between your cabinet maker and appliance supplier. If the cabinet depth is wrong by even half an inch, the panels won’t flush. You’ll have gaps. Shadows. Dirt traps. Fixing this often means replacing entire cabinet runs or ordering custom filler strips that never quite match the original finish. It’s a nightmare. The solution? Create an "appliance schedule" early. List every single device, its exact model number, and its detailed spec sheet dimensions. Share this with your designer and builder. Don’t rely on generic categories. Be specific. Verify the cutout requirements. Does that microwave need side clearance? Does that wine fridge need front ventilation? These details matter.
Also, consider the swing radius. Can you open the fridge fully without hitting the island? Can the oven door drop down without blocking the walkway? I visited a home in Austin where the homeowner had to remove a beautiful pantry shelf because it blocked the refrigerator door from opening more than 90 degrees. They lost significant storage space because of a poor layout choice. It’s not just about fitting things in; it’s about how they interact. Use painter’s tape on the floor to map out appliance footprints. Stand in the space. Mimic the motions. Open imaginary doors. It feels silly, but it saves you from real-world regrets. Appliances are the most expensive items in your kitchen. Treat their placement with the respect it deserves. Don’t let them dictate your layout; make them serve it.
Storage Solutions That Look Good But Fail Functionally
We’ve all seen those pristine kitchens in magazines. No clutter. No visible jars. Just endless rows of identical white boxes. It’s aspirational. But it’s also impractical for most of us. The mistake here is prioritizing uniform aesthetics over usable storage. Deep, unpartitioned base cabinets are black holes. You put a pot in the back, and it disappears forever. You end up buying duplicates because you can’t find what you already own. Or you stack everything precariously, creating an avalanche risk every time you open the door. In 2026, smart storage solutions are more accessible than ever, yet many budgets still allocate funds to fancy hardware while neglecting the interior organization. This is a false economy.
Drawers are superior to doors for base cabinets. Period. They allow you to see everything at once. No more crawling on the floor to retrieve a stray lid. Full-extension slides are mandatory. Partial-extension slides leave the back third of the drawer inaccessible, which defeats the purpose. Yes, drawers cost more than doors. But the functionality gain is worth every penny. If budget is tight, prioritize drawers for pots, pans, and heavy items. Keep doors for lighter, less frequently used items. Another common oversight is ignoring vertical space. Tall pull-out pantries are game-changers. They utilize narrow gaps between appliances or walls, turning dead space into high-capacity storage. A standard shelf cabinet wastes the air above your cereal boxes. A pull-out unit uses every inch.
Don’t forget the corners. Lazy Susans are outdated. Modern corner solutions, like magic corners or blind corner pull-outs, bring items to you. They’re mechanical marvels that prevent the "corner abyss." Installing these after the fact is difficult and expensive. They need to be planned into the cabinet box design. Also, consider your specific habits. Do you bake? You need a dedicated spot for mixing bowls and measuring cups. Do you entertain? You need easy access to glassware and serving platters. Generic storage doesn’t work. Customize your interiors to your life. It’s cheaper to add dividers and inserts during the build than to retrofit them later. And please, avoid glass-front cabinets for everyday dishes unless you love dusting. They look great, but they reveal every smudge and mismatched plate. Beauty shouldn’t come at the cost of constant maintenance.
The Ventilation Oversight
Cooking creates heat, moisture, grease, and odors. Without proper ventilation, these byproducts settle on your cabinets, walls, and lungs. Yet, ventilation is often the first thing cut from the budget. People buy a cheap, recirculating range hood that just filters air through a charcoal filter and blows it back into the room. It’s ineffective. It doesn’t remove heat or moisture. Over time, this leads to peeling paint, warped wood, and lingering smells that seep into your curtains and furniture. In tighter, more energy-efficient homes built in recent years, this is even more critical. There’s less natural air exchange. You need mechanical help. A proper exterior-vented hood is not a luxury; it’s a necessity for health and home preservation.
The power of a hood is measured in CFM (cubic feet per minute). For electric stoves, you generally need 100 CFM for every 10,000 BTUs. For gas, it’s higher. Many stylish hoods look impressive but lack the suction power to actually capture smoke from a searing steak. You end up with a greasy film on your ceiling tiles. Fixing this means replacing the hood, which might involve resizing the ductwork. If the duct is too small or has too many bends, even a powerful fan won’t work efficiently. Ducting should be as short and straight as possible. Six-inch round ducts are standard for serious cooking. Four-inch ducts are restrictive. Check your local building codes, too. Some areas now require make-up air systems for hoods over 400 CFM to prevent negative pressure issues. This adds complexity and cost, but it ensures your home breathes correctly.
Placement matters too. The hood should be wider than your cooktop. If you have a 36-inch range, get a 42-inch hood. This captures the drift of smoke and steam that escapes the sides. Mount it at the right height—usually 24 to 30 inches above the cooktop for electric, slightly higher for gas. Too high, and it loses effectiveness. Too low, and you bang your head. It’s a Goldilocks situation. I’ve seen homeowners install beautiful, custom wood hoods that are purely decorative, covering a tiny, weak fan inside. It’s a wasted opportunity. Invest in performance first, then style. You can clad a powerful insert in any material you want. But you can’t make a weak fan strong. Prioritize air quality. Your future self, and your lungs, will thank you. It’s about breathing easy in the heart of your home.
The "work triangle" connects your sink, stove, and fridge. It’s a classic design principle from the mid-20th century. The idea is to minimize steps between these three zones. While still relevant, it’s a bit rigid for modern lifestyles. Today, we have multiple cooks. We have coffee stations. We have baking zones. The mistake isn’t using the triangle; it’s adhering to it so strictly that you ignore other workflow needs. For example, placing the dishwasher far from the sink makes unloading awkward. Placing the trash bin far from the prep area means walking across the kitchen with dripping vegetable peels. These micro-inefficiencies add up to daily frustration. In 2026, we think in terms of "zones" rather than just a triangle.
Create distinct zones for specific tasks. A prep zone near the sink with ample counter space and knife storage. A cooking zone around the stove with utensils and spices nearby. A cleanup zone with the dishwasher and trash. A consumption zone for eating or snacking. The error is crossing these streams. Don’t put the cutting board storage on the opposite side of the kitchen from the sink. Don’t put the pots and pans next to the fridge instead of the stove. Think about the sequence of cooking. You take food out of the fridge, wash it at the sink, chop it on the counter, and cook it on the stove. The path should be linear and unobstructed. If you have to backtrack or cross traffic lanes, the layout is flawed.
Traffic flow is another huge component. The kitchen shouldn’t be a thoroughfare for people going to the backyard or the living room. If guests constantly walk through your work zone while you’re cooking, it’s stressful and unsafe. Create a clear path that bypasses the main work areas. An L-shaped or U-shaped kitchen often helps with this, keeping the work contained. If you have an open concept, use the island to define the boundary. Keep the walkways clear. Don’t place chairs or obstacles in the primary paths. It seems obvious, but in the excitement of choosing finishes, we forget the basics of movement. A kitchen is a machine for living. It needs to operate smoothly. Test your layout with a simulation. Walk through the steps of making a meal. Where do you stumble? Where do you reach? Adjust before you build. It’s the cheapest way to ensure comfort.
So, where does this leave us? With a sense of caution, yes, but also empowerment. Knowledge is the best tool in your renovation toolkit. By avoiding these common pitfalls, you’re not just saving money. You’re saving your peace of mind. You’re creating a space that works for you, not against you. A kitchen that feels intuitive. Comfortable. Yours. It’s not about perfection. It’s about intention. Take your time. Ask questions. Challenge assumptions. Don’t be afraid to push back on suggestions that don’t feel right. You know how you live. You know how you cook. Trust that instinct.
Renovating is a journey. It’s messy and loud and sometimes overwhelming. But when you stand in that finished space, making your morning coffee in a well-lit, efficiently laid-out kitchen, it’s worth it. You’ll notice the little things. The drawer that glides open silently. The light that hits the counter just right. The fridge that opens without hitting anything. These are the victories. They’re quiet, but they’re profound. They make daily life smoother. So, plan wisely. Learn from the mistakes of others. And build a kitchen that loves you back. Because you deserve a space that supports your life, not one that complicates it. Here’s to getting it right.