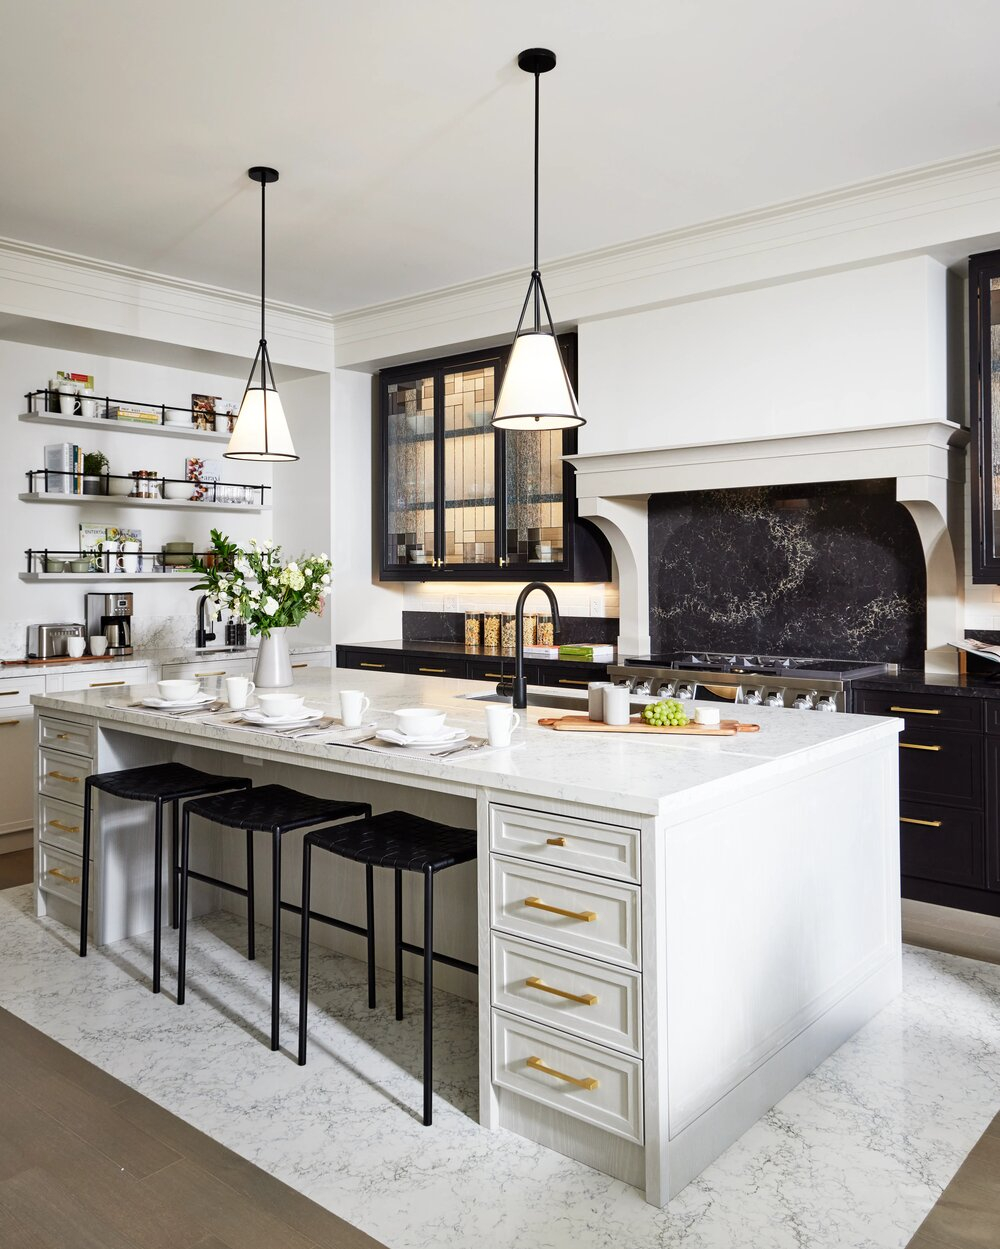
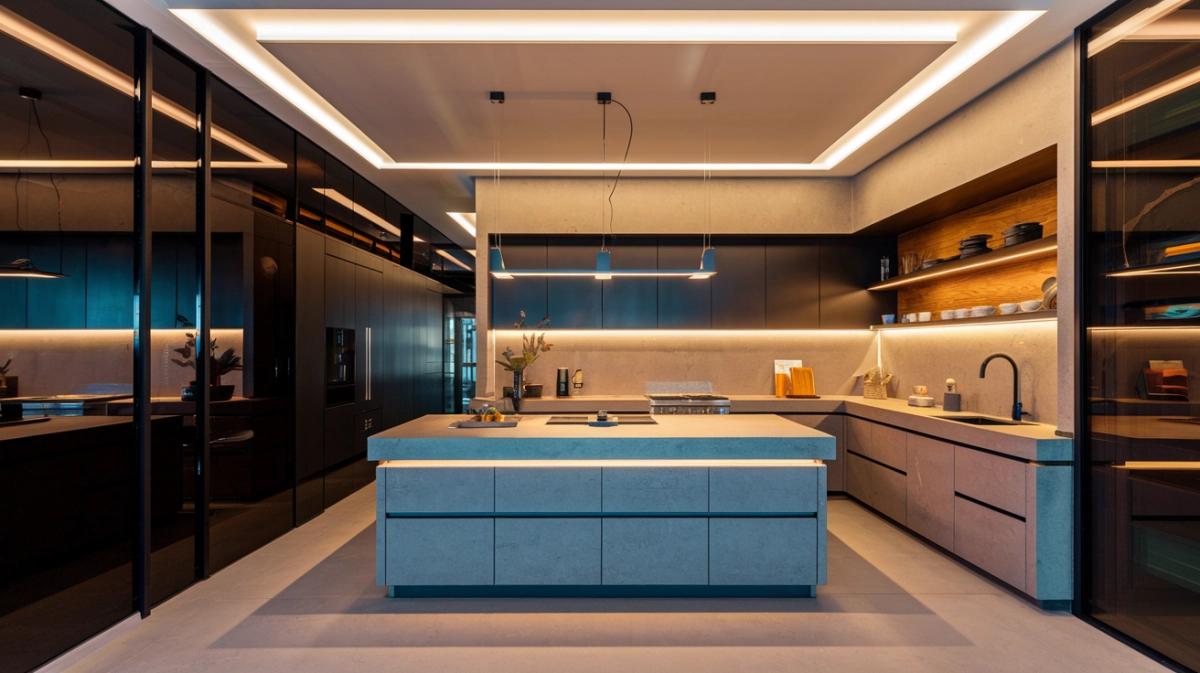
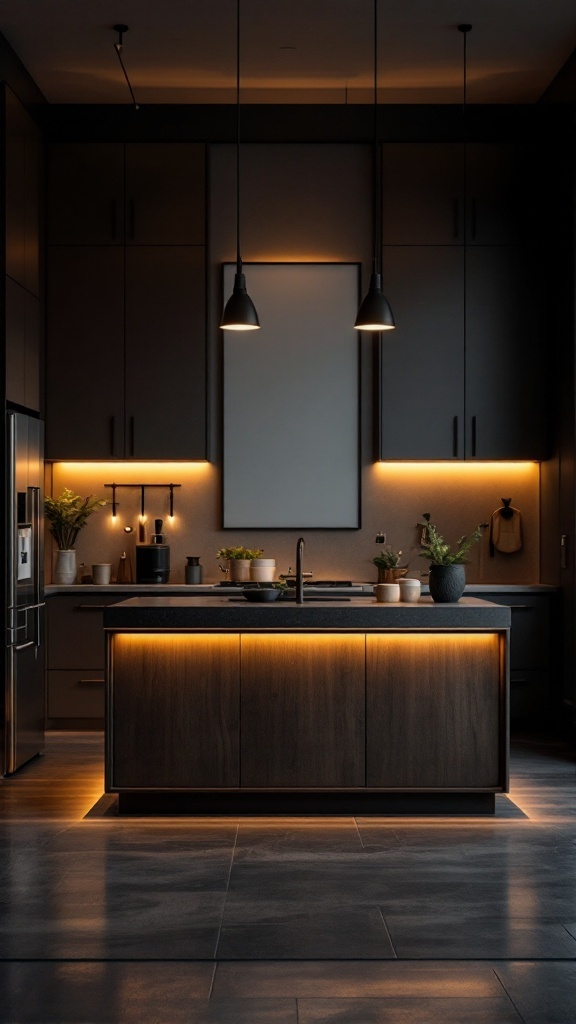
You walk into a newly renovated, seven-figure kitchen at dusk. The quartz countertops gleam, the marble backsplash catches the eye, and an inviting, warm glow emanates from beneath the upper cabinetry. It feels architectural, intentional, and expensive. Inspired, you head online, order a roll of cheap adhesive LED tape, stick it under your own cabinets, and plug it in. The reality hits you immediately: a harsh, blue-tinted glare bounces off your laminate counters, bright dots reflect like a runway in the glossy finish, and the strip sags and peels off the wood within a fortnight.
The gap between amateur execution and professional lighting design is vast, yet under cabinet LED strips remain one of the most accessible upgrades in residential renovation. Most homeowners treat lighting as an afterthought—something to be wired by an electrician and forgotten. Interior designers, however, treat light as a primary building material. They understand that what happens beneath the upper cabinet dictates the mood, utility, and perceived value of the entire cooking space.
Achieving that magazine-worthy aesthetic requires looking past the marketing hype of big-box store kits and understanding the physics, optics, and electrical engineering behind linear illumination. Lighting design is equal parts science and psychology. When executed correctly, under cabinet LEDs transform shadows into soft contours, make food prep safer, and turn a utilitarian workspace into the glowing heart of the home.
The Anatomy of Kitchen Illumination and Why Cheap Kits Fail
The fundamental misunderstanding of linear LED lighting stems from how manufacturers market tape lights as plug-and-play consumer goods. A typical twenty-dollar roll bought online features densely packed diodes glued to a flexible circuit board with a peel-and-stick backing. This approach works fine for temporary party decorations, but it fails miserably inside a humid, grease-laden kitchen environment. Wood expansion, kitchen steam, and constant temperature fluctuations quickly degrade cheap adhesives, causing the strips to droop precisely where they should remain anchored.
Beyond mechanical failure, optical performance is where amateur setups collapse. Individual light-emitting diodes create distinct points of light. When mounted over a reflective surface like polished granite, quartz, or stainless steel, those individual diodes mirror themselves directly onto the countertop. This dotted reflection, often called the "dotting effect" or "measuring-tape look," instantly ruins the illusion of continuous architectural lighting. Designers combat this by using aluminum extrusion channels paired with frosted acrylic diffusers. These profiles not only protect the diodes and act as heat sinks to extend the lifespan of the chips, but they also diffuse the point sources into a seamless, uninterrupted ribbon of light.
Thermal management is another hidden crisis inside cheap installations. LEDs generate heat at the diode junction. If that heat cannot escape, the phosphor degrades prematurely, causing the white light to shift into an unappealing magenta or sickly green over a matter of months. Aluminum channels provide the necessary thermal mass to draw heat away from the circuit board, preserving both color accuracy and lumen output over years of daily service. Skipping the aluminum profile is the single most common mistake made by DIY installers, resulting in premature burnout and warped tapes.
Decoding Color Temperature, Color Rendering, and the Myth of Brightness
Lumen output and wattage tell only part of the story. The true emotional resonance of a kitchen depends on color temperature, measured in Kelvin (K), and Color Rendering Index (CRI). Many homeowners purchase "daylight white" strips rated at 5000K or 6000K, assuming brighter is better. In a domestic kitchen, 5000K light mimics an overcast sky or a hospital corridor, rendering food looking unappetizing and human skin tones corpse-like. Professional designers almost exclusively specify 2700K (warm white) or 3000K (neutral warm white) for residential spaces, depending on whether the surrounding finishes lean toward rustic traditional or crisp modernism.
Equally critical is the Color Rendering Index, or CRI, alongside modern metrics like TM-30. A cheap LED strip with a low CRI of 80 will strip the vibrancy out of a fresh red tomato, making vibrant ingredients look washed out and gray. High-end architectural strips feature a CRI of 90 or higher—ideally 95+—ensuring that reds, greens, and browns appear rich and true to life. When you invest in expensive walnut cabinetry and exotic marble, illuminating them with low-CRI light sources actively degrades the visual fidelity of your material selections.
Brightness should be calculated in lumens per linear foot rather than raw wattage. For effective task lighting over a food preparation counter, designers look for a sweet spot between 250 and 400 lumens per foot. Anything lower provides merely decorative accent lighting, while anything significantly higher creates blinding glare off glossy countertops. Furthermore, dimming capability is non-negotiable. A kitchen transitions from high-intensity prep space at 6:00 AM to a soft, inviting social backdrop at 10:00 PM. Integrating flicker-free dimming drivers compatible with smart home ecosystems ensures the light output adapts to the rhythm of the household.
Strategic Placement and the Physics of Countertop Glare
Where you position the LED strip beneath the cabinet dictates whether the light aids your cooking or strains your eyes. Amateurs invariably center the strip right in the middle of the cabinet bottom, running it parallel to the wall. This placement is disastrous. It casts the brightest light directly onto the front edge of the counter and causes your own head and shoulders to throw heavy shadows onto your cutting board while you chop vegetables.
Professionals place the channel as close to the front edge of the upper cabinet as possible—ideally just behind the light rail or face frame molding. By pushing the light source forward, the beam washes backward across the backsplash and downward over the work zone. This forward-mounting strategy ensures that when you stand at the counter, your body blocks no light, and the work surface receives uniform illumination.
For kitchens with glossy countertops, beam angle and tilt play a massive role. Some specialized aluminum extrusions feature angled profiles—typically 30-degree or 45-degree mounts—that direct the light away from the user’s direct line of sight and toward the back wall. This technique creates a wall-washing effect that amplifies the texture of a zellige tile or quartz backsplash while completely eliminating direct glare on the horizontal work surface. Getting the geometry right requires dry-fitting and testing the light cone before securing any permanent wiring.
Step-by-Step Professional Installation Methodology
Achieving a flawless, factory-finished under cabinet lighting system requires patience, precision tools, and a methodical approach that avoids exposed wires and sagging tape.
- Step 1 (Design and Layout Planning): Map out every power source, driver location, and jumper wire before purchasing materials. Decide whether drivers will be hidden inside upper cabinets, remote-mounted in a basement or utility closet, or tucked into a dedicated junction box above the microwave or refrigerator.
- Step 2 (Selecting and Cutting Extrusions): Measure your cabinet runs and cut the aluminum channels using a miter saw equipped with a non-ferrous metal blade for clean 45-degree corner joints. Deburr the edges to ensure end caps fit snugly without pinching the internal LED strip.
- Step 3 (Surface Preparation and Mounting): Clean the underside of the cabinets thoroughly with isopropyl alcohol to remove cooking oils and dust. Screw the aluminum channels directly into the cabinet bottom using flat-head mounting clips or pre-drilled holes; never rely on adhesive tape alone to hold metal channels overhead.
- Step 4 (Soldering vs. Connectors): Solder lead wires directly to the LED strip pads rather than using plastic snap-on connectors, which are notoriously prone to loose contact, intermittent flickering, and high-resistance heat buildup over time. Use heat shrink tubing over soldered joints to insulate and strain-relieve the connections.
- Step 5 (Diffuser Snap-In and Final Testing): Press the LED strip firmly into the aluminum channel, snap the frosted acrylic diffuser cover into place starting from one end, and connect the system to the low-voltage DC driver for a comprehensive functional test before sealing any wall penetrations.
Navigating Advanced Technical Pitfalls and Field-Tested Workarounds
Even experienced installers occasionally run into stubborn electrical and physical hurdles when dealing with complex kitchen layouts. Recognizing these failure points in advance saves hours of troubleshooting.
- Pitfall 1 (Voltage Drop Over Long Runs): Running a single 24-volt or 12-volt LED strip longer than 16 to 20 feet from a single power feed results in noticeable light dimming at the far end due to resistance in the copper traces. Workaround: Feed power from both ends of long runs (looping) or inject power midway using parallel wiring home runs back to the driver.
- Pitfall 2 (PWM Dimming Flicker and Buzz): Pairing cheap non-dimmable drivers with standard wall dimmers causes audible buzzing and visible flickering at low settings. Workaround: Always specify constant-voltage dimmable drivers compatible with ELV, 0-10V, or TRIAC protocols, ensuring the driver’s minimum load threshold matches the low wattage of modern LEDs.
- Pitfall 3 (Exposed Junctions and Cord Clutter): Leaving low-voltage wires dangling between upper cabinets across an open window or sink span ruins the custom look. Workaround: Conceal jumper wires by routing them through upper cabinet interiors, drilling discreet access holes near the back corners, or running wires through hollow light rails.
- Pitfall 4 (Color Inconsistency Across Zones): Buying tape rolls from different manufacturing batches results in subtle, irritating shifts in color temperature between adjacent cabinet sections. Workaround: Source all LED tape from the same manufacturer batch code and test rolls side-by-side on a test bench before installation.
- Pitfall 5 (Moisture and Grease Degradation): Unprotected tape lights installed near sink areas or professional gas ranges absorb airborne grease and steam, clouding the diodes and shorting out circuits. Workaround: Use IP65-rated silicone-sleeved strips or enclosed silicone-extrusion channels in wet-zone cabinets, ensuring all end caps are sealed with dielectric silicone paste.
The Broader Economic and Aesthetic Impact of Architectural Linear Lighting
Lighting is the ultimate multiplier in interior architecture. You can install custom cabinetry made from rare exotic woods, but if the lighting scheme is flat, muddy, or uninspired, the room will read as ordinary. Conversely, well-designed linear illumination elevates modest materials, creating depth, dimension, and luxury. From a resale standpoint, kitchens remain the primary focal point for home buyers. Upgrading from outdated puck lights or exposed fluorescent tubes to a professionally executed linear LED system signals an attention to detail that elevates the perceived value of the entire property.
Energy efficiency also plays a significant role in long-term satisfaction. High-end LED tape consumes a fraction of the electricity required by halogen puck lights while producing superior lumen distribution and generating virtually zero radiant heat toward stored items in the cabinets above. Furthermore, integrating these systems with modern smart home protocols allows for circadian lighting adjustments—shifting from bright, alert white light during morning coffee preparation to warm, amber tones in the evening that promote relaxation and better sleep hygiene.
Sustainability within the lighting sector has evolved rapidly. Rather than discarding entire fixtures when a component fails, modular architectural systems allow individual drivers, strips, or diffusers to be swapped out independently. This modularity reduces electronic waste and ensures that a kitchen lighting installation remains serviceable and up-to-date for decades rather than becoming obsolete after a single hardware failure.
Strategic Frameworks for Your Kitchen Lighting Upgrade
Maximizing the return on your investment in under cabinet LED strips requires a disciplined approach to planning, component selection, and execution.
- Prioritize Component Quality: Never compromise on the LED driver and aluminum channels. Cheap drivers fail unpredictably and create fire hazards, while quality channels protect your investment.
- Demand High CRI: Insist on a minimum CRI of 90 (ideally 95+) with a warm color temperature (2700K to 3000K) to ensure organic textures and food items look natural.
- Plan for Serviceability: Ensure that power drivers are never permanently sealed behind drywall or tiled backsplashes; always position them inside accessible upper cabinets, pantry spaces, or remote utility panels.
- Test Before You Mount: Always connect your entire circuit on the workbench or floor before peeling adhesive backings or screwing channels into place to verify color consistency and dimming smoothness.
The humble under cabinet LED strip is no longer a simple DIY weekend gimmick; it is a sophisticated architectural tool capable of redefining how we experience our homes. Moving past the temptation of cheap, off-the-shelf kits unlocks a level of refinement that transforms cooking spaces into sanctuaries of light and form.
When you approach your kitchen lighting with the rigor of an interior designer—focusing on thermal management, color fidelity, front-edge placement, and robust power supplies—the results speak for themselves. Every meal prepared, every late-night conversation held, and every quiet morning spent in that space becomes enhanced by light that is functional, beautiful, and enduring. Take your time, plan your circuits with precision, and let your kitchen shine the way it was always meant to.