Ever walked into your home and tripped over a pile of shoes? Or maybe you’ve stood awkwardly in the doorway, balancing on one foot while trying to take off your boots because there’s nowhere to sit. It’s a common struggle, especially if you live in an apartment or a house with a tiny entryway. The foyer is the first thing guests see, but it’s often the most neglected space when it comes to functionality. You want it to look good, sure, but you also need it to work hard. That’s where a compact bench comes in. It’s not just a place to sit; it’s a command center for your comings and goings.
Building your own bench might sound intimidating if you’ve never picked up a saw before. But here’s the secret: you don’t need a fancy workshop or expensive tools. In 2026, the DIY community has shifted towards simplicity and accessibility. People are realizing that basic lumber from the local hardware store, combined with a few hand tools, can create something beautiful and sturdy. This guide will walk you through creating a bench that fits snugly in tight spaces, offers hidden storage, and looks like it cost a fortune. Let’s get started.
Why Go DIY for Your Entryway?
Store-bought furniture often feels like a compromise. You either pay a premium for something that fits perfectly, or you settle for a mass-produced piece that wobbles and lacks character. When you build your own bench, you control every dimension. If your foyer is exactly 32 inches wide, your bench can be 31.5 inches. No gaps, no wasted space. Plus, there’s a certain pride in sitting on something you made with your own hands. It adds a layer of warmth to your home that ready-made items just can’t match.
Beyond the emotional satisfaction, there’s the practical side. Custom builds allow you to integrate features that matter to your specific lifestyle. Do you have kids who lose their mittens constantly? Add a cubby. Do you wear tall boots? Make the clearance higher. According to recent trends in home improvement, personalized storage solutions are outperforming generic ones because they solve actual problems rather than just filling space. By building it yourself, you’re not just adding furniture; you’re engineering a solution for your daily routine.
And let’s talk about cost. A solid wood entryway bench from a boutique retailer can easily run you several hundred dollars. By sourcing your own materials—like standard pine boards or even repurposed wood—you can cut that cost significantly. You’re paying for raw materials, not marketing markup. This makes high-quality design accessible to renters and homeowners on a budget alike. It’s smart, sustainable, and surprisingly simple once you break it down.
Gathering Your Materials and Tools
Before you make any cuts, you need to know what you’re working with. For a compact bench, you don’t need exotic hardwoods. Standard construction-grade pine is perfect for beginners. It’s soft enough to cut easily but strong enough to hold weight. You’ll typically need a few 1×6 or 1×8 boards for the seat and sides, and some 2x4s for the frame. Check your local lumber yard for straight boards; warping is the enemy of a good build. Don’t forget wood glue, screws (1.5-inch and 2.5-inch), and sandpaper.
As for tools, keep it basic. You don’t need a table saw. A circular saw or even a handsaw will do the trick if you measure carefully. A power drill is essential for driving screws, and a clamp or two will save you from frustration when gluing pieces together. A tape measure, a square, and a pencil are your best friends here. If you have a sander, great. If not, a sanding block and some elbow grease work just fine. The goal is to use what you have or can easily borrow.
Safety matters, too. Wear eye protection when cutting or drilling. Dust masks are a good idea when sanding, especially indoors. Set up your workspace in a garage, driveway, or well-ventilated area. Lay down a drop cloth to catch sawdust and scraps. Organizing your tools before you start prevents that mid-project panic when you can’t find the screwdriver. Preparation is half the battle, and it makes the actual building process feel much less chaotic.
Designing for Small Spaces
When space is limited, every inch counts. Start by measuring your foyer precisely. Note the width, depth, and height constraints. A typical compact bench might be 30 to 36 inches long, 12 to 15 inches deep, and 18 inches high. These dimensions provide enough seating room for one person without obstructing traffic flow. Sketch your design on paper or use a free online tool. Visualizing the final product helps you spot potential issues early, like a leg interfering with a baseboard.
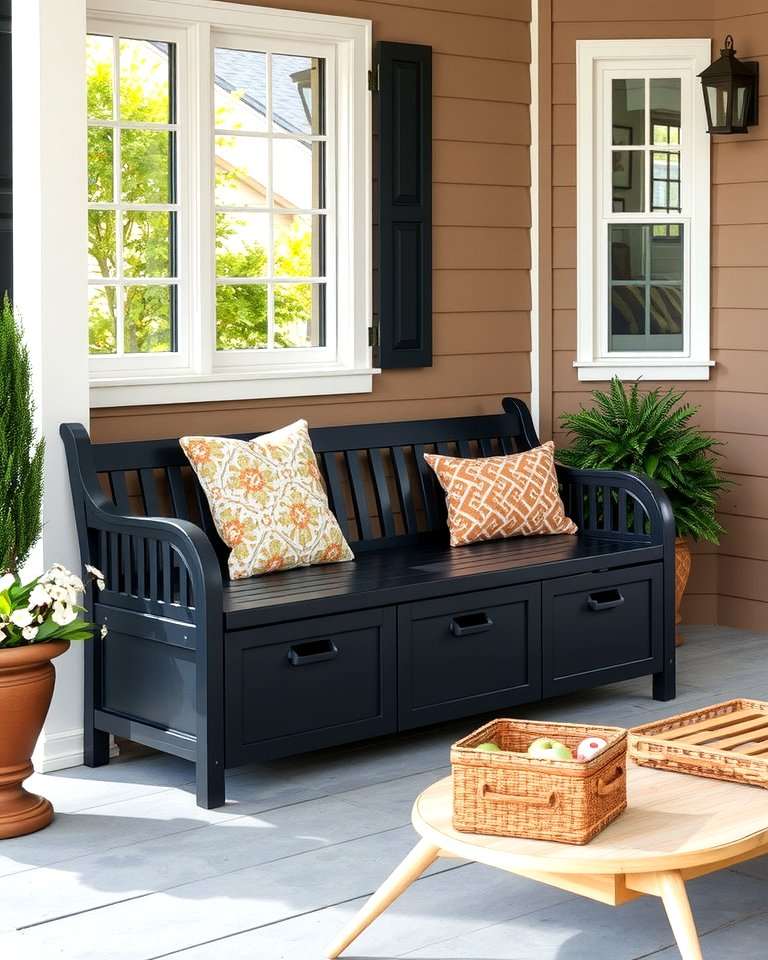
Consider vertical space. If your floor area is tiny, think about adding hooks above the bench or shelves underneath. This draws the eye upward and maximizes utility without expanding the footprint. A bench with open legs feels airier than one with solid sides, which can make a small room feel less cramped. Alternatively, a box-style bench with a lift-up lid offers hidden storage for shoes and scarves, keeping the visual clutter to a minimum.
Style plays a role in perception, too. Lighter wood tones or painted finishes can make a small space feel larger and brighter. Minimalist designs with clean lines tend to blend better in tight quarters than ornate, bulky pieces. Think about the existing decor in your hallway. Does it lean modern, rustic, or traditional? Matching the bench’s aesthetic to your home ensures it feels like a natural part of the space, not an afterthought.
Step-by-Step Construction Process
Start by cutting your wood to size based on your measurements. Cut two side panels, a top seat board, and supports for the frame. If you’re building a box style, you’ll also need front and back panels. Sand all edges smooth to prevent splinters. This step is tedious but crucial for a professional finish. Once everything is cut, lay out the pieces to double-check fit. Adjustments are easier now than after assembly.
Next, assemble the frame. Attach the side panels to the bottom support using wood glue and screws. Pre-drill holes to prevent the wood from splitting. Use clamps to hold pieces tightly together while the glue sets. Attach the seat board to the top of the frame. Ensure it’s centered and flush. If you’re adding a cushion later, leave a slight overhang for comfort. Reinforce corners with brackets if needed, though proper joinery should suffice for a light-use bench.
Finish with details. Fill any screw holes with wood filler and sand again once dry. Apply a stain, paint, or clear sealant to protect the wood from wear and tear. Polyurethane is a durable choice for high-traffic areas. Let it cure completely before placing it in your foyer. If you opted for open storage, consider adding felt pads to the bottom of any removable bins. These small touches elevate the project from a simple box to a thoughtful piece of furniture.
Adding Functionality and Style
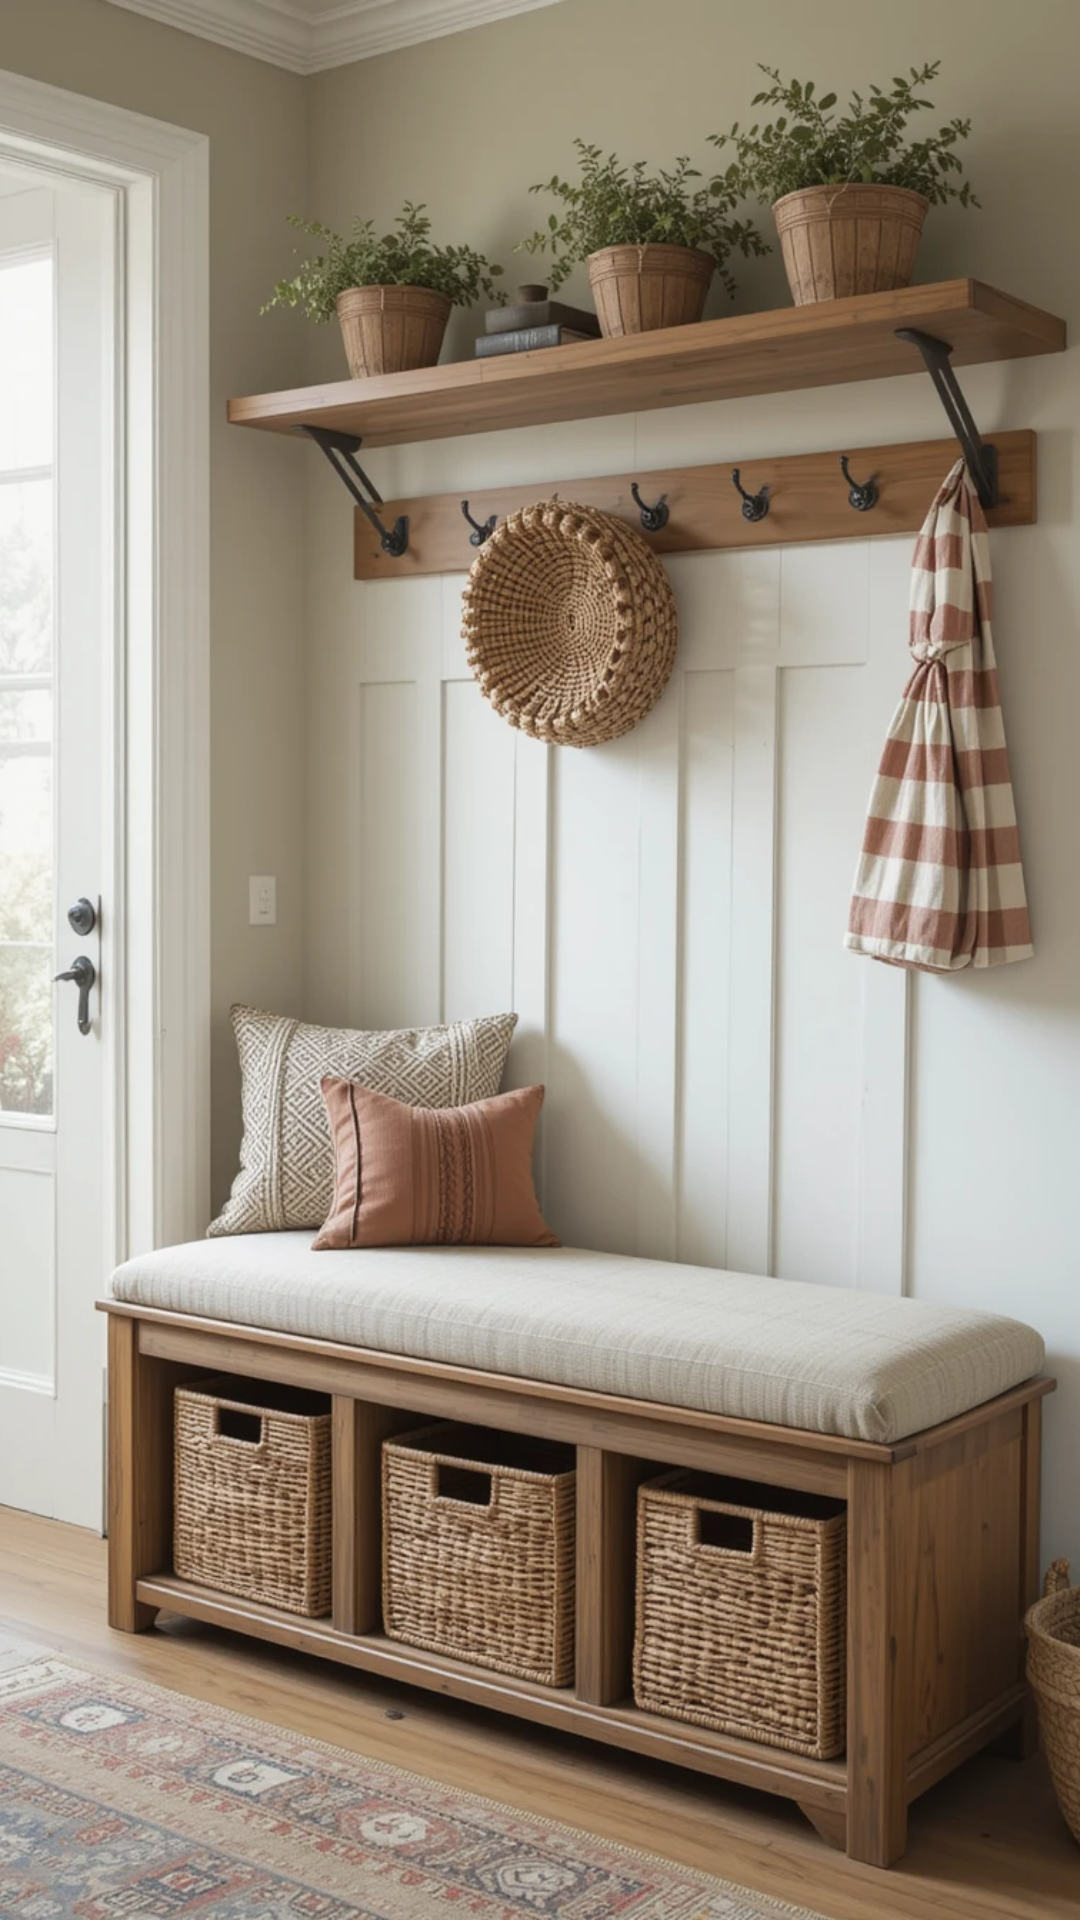
A bench doesn’t have to be just a seat. Transform it into a multi-functional hub. Install coat hooks on the wall directly above it for jackets and bags. Add a small tray on top for keys and mail. If you built a box bench, organize the interior with dividers for shoes. Label bins if necessary. These additions turn the bench into a true entryway station, streamlining your morning routine.
Cushions add comfort and a pop of color. Measure the seat and buy or sew a custom foam pad. Upholster it with durable fabric that matches your decor. Velcro strips can keep the cushion in place, preventing slips. This softens the look of the wood and invites people to sit. It’s a small investment that makes a big difference in usability.
Lighting can also enhance the area. A small plug-in sconce or a battery-operated LED strip under the bench adds ambiance and visibility. It highlights your handiwork and makes the space feel welcoming. Plants are another easy addition. A small potted fern or succulent on the bench brings life to the entryway. These decorative elements personalize the space and make it feel lived-in and loved.
Even with careful planning, things can go wrong. If your bench wobbles, check the levelness of your floor first. Often, the issue isn’t the build but the surface. Add adjustable feet or shims to stabilize it. If joints feel loose, reinforce them with corner braces or additional glue. Don’t hesitate to disassemble and retry if something feels off. It’s better to fix it now than deal with a collapse later.
Wood movement is another common concern. Wood expands and contracts with humidity changes. Leave slight gaps in joined pieces if you’re in a climate with extreme seasonal shifts. This prevents cracking or warping over time. Sealing the wood properly helps mitigate this, but it’s not a cure-all. Understanding your material’s behavior helps you build something that lasts.
If you make a mistake, embrace it. A slightly uneven cut can be sanded down. A misaligned hole can be filled and redrilled. DIY is about progress, not perfection. Many charming rustic pieces owe their character to minor imperfections. Don’t let fear of error stop you. Each problem solved is a skill learned. And remember, online communities and forums are full of people willing to help if you get stuck.
Building a compact DIY bench for your small foyer is more than a weekend project. It’s an investment in your home’s functionality and your own confidence. You’ve taken a blank space and turned it into something useful and beautiful. With basic tools and a bit of patience, you’ve created a piece that fits your life perfectly. So go ahead, sit down, take off your shoes, and enjoy the view. You earned it.