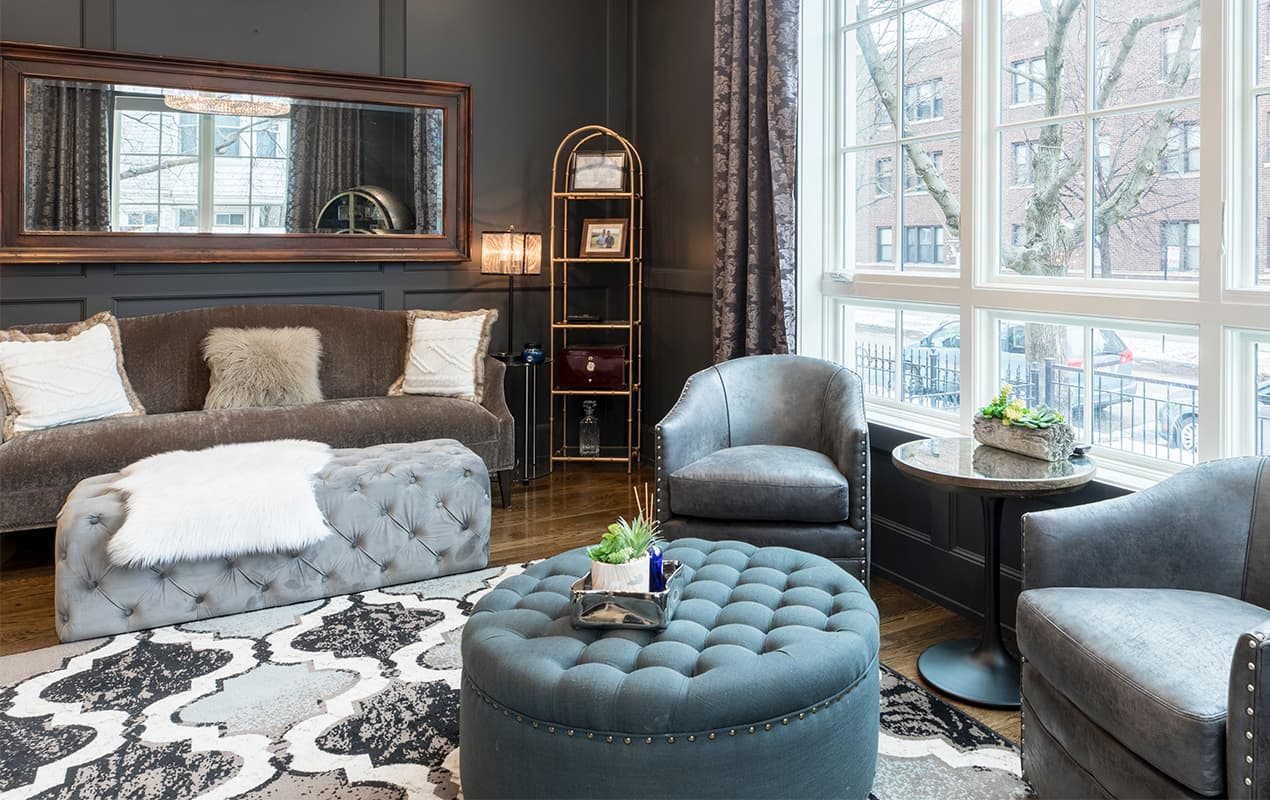
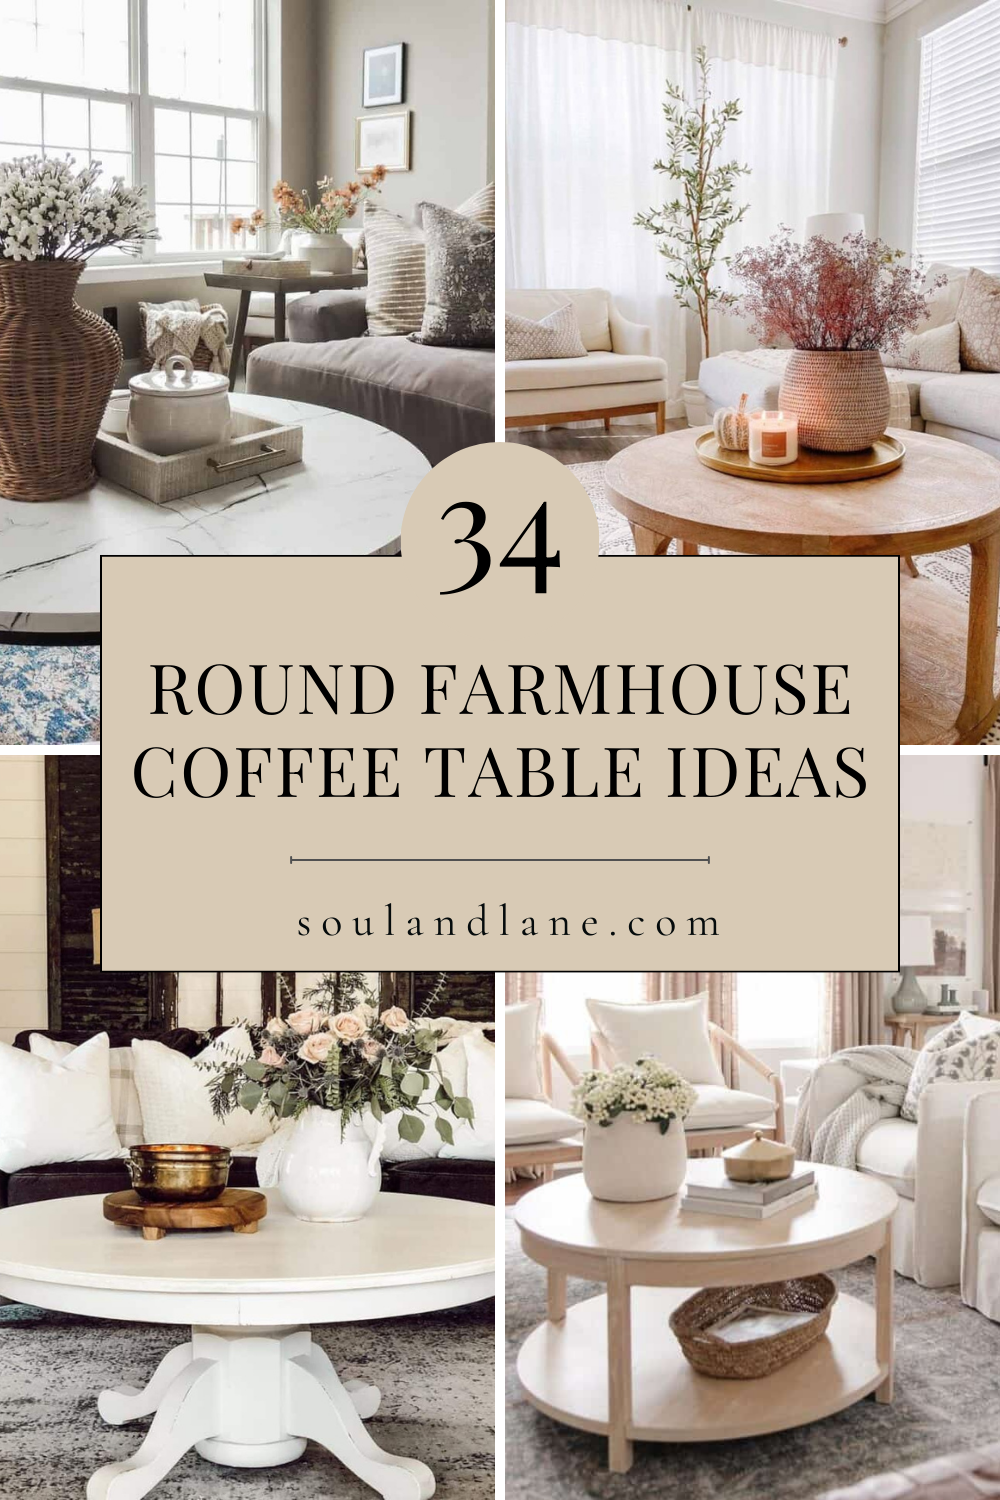
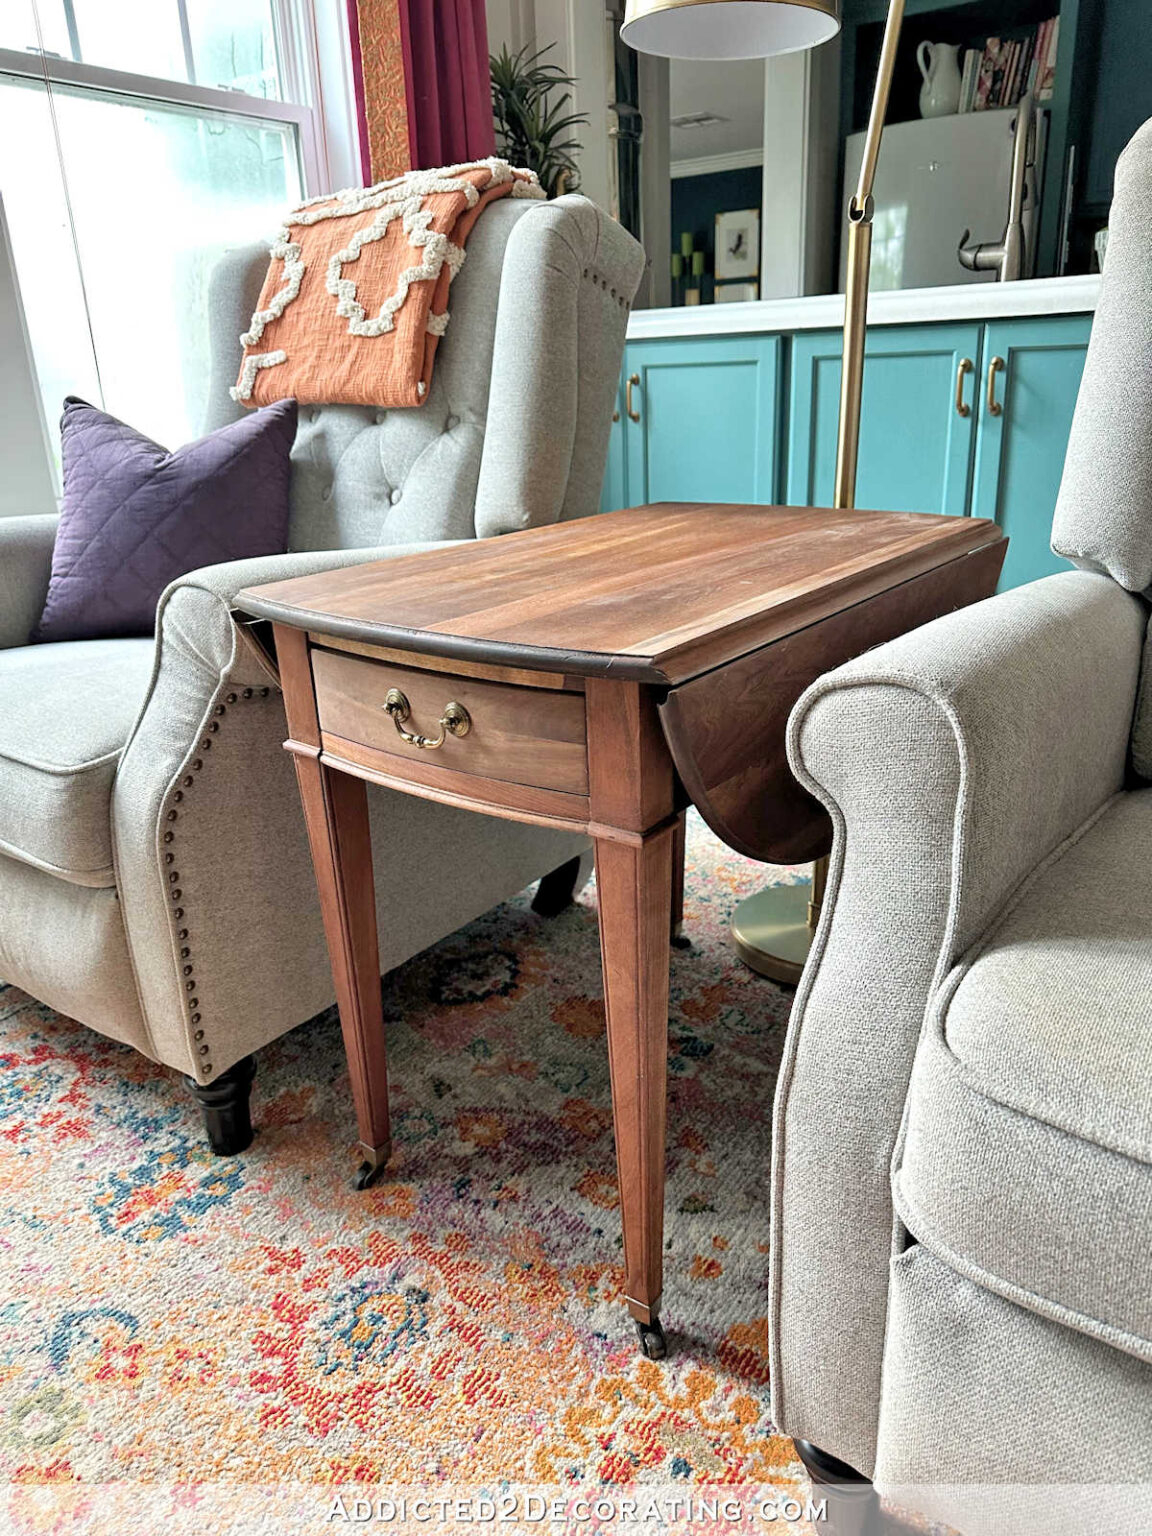
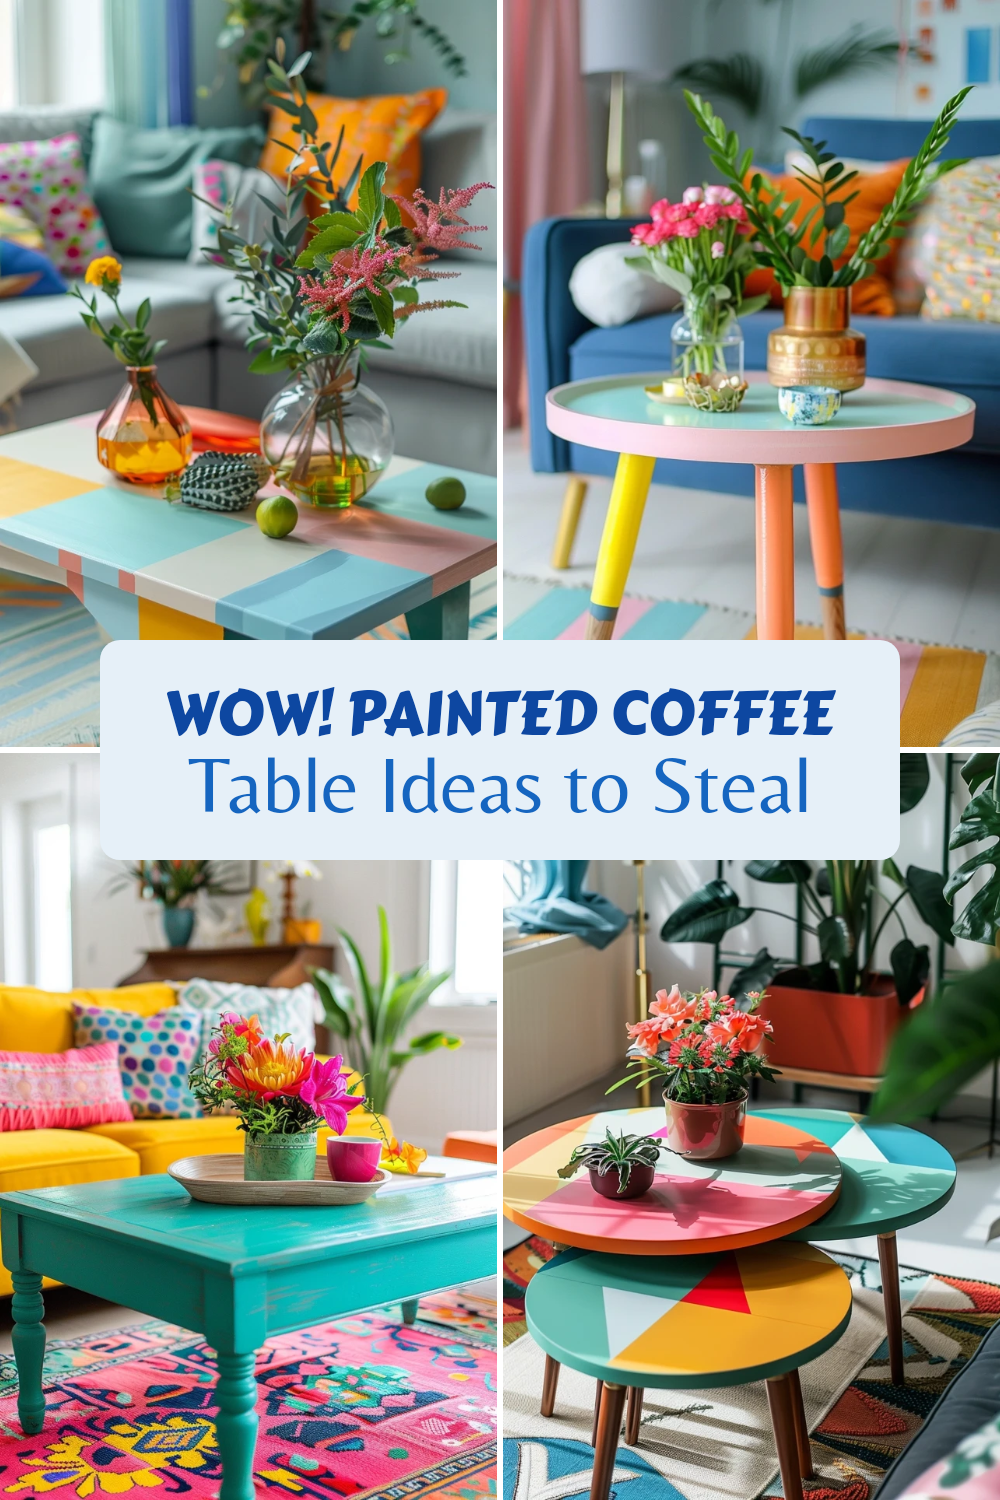
You know that feeling when you walk into your living room and just… sigh? The couch is fine. The rug is holding up. But that coffee table in the center? It’s tired. It’s seen better days. Maybe it’s a hand-me-down from college, or a thrift store find that looked promising in 2015 but now just looks sad. We’ve all been there. It’s the piece of furniture we stare at every single day, yet it often gets the least amount of love.
But here’s the thing. You don’t need to drop hundreds of dollars on a new designer piece to fix it. In fact, some of the most stunning focal points in modern homes started as junk. With just a weekend, a little bit of elbow grease, and some creative vision, you can turn that eyesore into the star of the show. It’s not just about saving money, though that’s a nice bonus. It’s about making something yours. It’s about looking at that table and saying, "I did that."
Let’s be real for a second. Buying new furniture is easy. Transforming old furniture? That takes guts. But the payoff is huge. You get a unique piece that no one else has. You get to choose the exact shade of blue or the specific type of wood grain. And honestly? There is a special kind of joy in repurposing something that was headed for the landfill. So, grab your coffee (maybe not on the table yet, it’s still dirty) and let’s dive into how you can reclaim your living room centerpiece.
The Power of Paint and Texture
Paint is the great equalizer. It doesn’t care if your table is scratched, stained, or an ugly orange oak from the nineties. A fresh coat can hide a multitude of sins. But in 2026, we aren’t just slapping on flat white latex and calling it a day. We’re talking about texture. We’re talking about depth. One of the biggest trends right now is the "limewash" or "plaster" look. It sounds fancy, but it’s surprisingly simple. You mix baking soda into your paint—yes, regular old baking soda—and suddenly, you have a thick, chalky mixture that dries with a beautiful, matte, stone-like finish.
Why does this work so well? Because it adds dimension. A flat painted surface can look cheap if not done perfectly. But a textured surface? Imperfections become part of the charm. It catches the light differently throughout the day. It feels organic. If you’re going for a farmhouse vibe, try a whitewash technique where you dilute white paint with water and wipe it over raw wood. It lets the grain show through while brightening the piece. For a more modern, moody look, go deep. Charcoal, navy, or even black with a satin finish can make a small table feel substantial and expensive.
Don’t forget the prep work, though. I know, I know. Sanding is boring. But if you skip it, your paint will peel in six months, and you’ll be back here reading this article again. Give it a quick sand with a medium-grit paper to rough up the surface. Wipe it down with a damp cloth to remove the dust. Then, prime it if you’re going from dark to light. Once you’ve got your base, experiment. Maybe add a second layer of a slightly different color and sand it back in spots for a distressed, vintage feel. It’s forgiving. If you mess up, just paint over it. That’s the beauty of it.
Hardware Swaps and Structural Tweaks
Sometimes, the problem isn’t the wood. It’s the details. Those brass knobs from 1998? They have to go. Changing out hardware is like changing the jewelry on an outfit. It instantly updates the look. Swap out old, tarnished handles for sleek matte black pulls, or maybe some warm leather straps if you’re feeling adventurous. You can find incredible options online or at local hardware stores for just a few bucks. It’s a small change, but it signals to the eye that this piece has been thoughtfully updated.
But let’s talk bigger changes. What if the shape is wrong? Some older coffee tables are too tall, or the legs are spindly and weak-looking. If you’re handy with a saw, cutting the legs down a few inches can make a huge difference in proportion. Lower profiles are very in right now. They make the room feel bigger and more open. If the legs are the issue, consider replacing them entirely. You can buy pre-made hairpin legs, wooden tapered legs, or even industrial pipe fittings. Unscrew the old ones, screw in the new ones. Boom. New table.
Another structural hack? Add a shelf. Many older tables are just a top and four legs. By adding a lower shelf, you gain storage space for books, baskets, or blankets. You can use reclaimed wood planks, a woven rattan insert, or even a sheet of tempered glass for a lighter look. This not only adds function but also breaks up the visual mass of the table. It makes it look more designed and less like a slab of wood. Just make sure you measure twice and cut once. Nothing ruins a weekend project faster than a shelf that doesn’t fit.
Embracing Mixed Materials
Wood is lovely, but it’s not the only player in town. Mixing materials is a surefire way to elevate a basic table into a design statement. Think about contrast. If you have a heavy, dark wood table, consider adding a metal element. You can wrap the edges in thin copper tape, or attach metal corner brackets for an industrial edge. The warmth of the wood against the cool shine of the metal creates visual interest that keeps the eye moving. It stops the piece from feeling too monolithic or boring.
Glass is another fantastic option, especially for smaller rooms. If your table has a solid top, replacing it with a piece of glass can make the space feel airier. You can keep the original base and just swap the top. Or, if the base is ugly, paint it a bold color and top it with clear glass. The glass reflects light and shows off whatever is underneath—like a cool rug or the floor itself. Just be sure to get tempered glass for safety, especially if you have kids or pets. Rounded corners are a must to avoid those painful shin-bangers.
Don’t sleep on natural fibers either. Rattan, cane, and wicker are having a massive moment. You can adhere cane webbing to the sides of a solid table, or replace a solid panel with a woven insert. It adds texture and a touch of bohemian warmth. It’s lightweight, durable, and relatively easy to work with. You just need a staple gun and some patience. Combining these natural elements with painted wood creates a layered, curated look that feels high-end. It’s about balance. Too much of one material feels flat. Mixing them creates harmony.
The Art of Decoupage and Pattern
Maybe you’re not into painting. Maybe you love pattern. That’s where decoupage comes in. It’s not just for elementary school art projects anymore. Using high-quality wallpaper scraps, fabric, or even vintage maps, you can cover the entire surface of your table in a design that speaks to you. Imagine a tabletop covered in a delicate floral wallpaper, sealed under layers of clear polyurethane. It’s durable, waterproof, and utterly unique. It turns the table into a canvas.
The key here is sealing. You can’t just glue paper down and leave it. You need to apply multiple coats of a clear sealant, sanding lightly between coats, to create a smooth, glass-like surface. It takes time, but the result is worth it. You can also use stencils if you want a pattern but don’t want to commit to covering the whole thing. A geometric border around the edge, or a subtle motif in the center, can add just enough flair without overwhelming the room. It’s a great way to introduce color without painting the whole piece.
For a bolder approach, try tile. Yes, tile. If you have a sturdy table, you can adhere ceramic tiles to the top using strong adhesive and grout the gaps. It creates a mosaic effect that is incredibly durable and easy to clean. Spilled wine? No problem. Hot mug? No worry. It’s perfect for high-traffic living rooms. You can use leftover tiles from a bathroom renovation or buy mismatched clearance tiles for a eclectic, artsy vibe. Just make sure the table can handle the weight. Tile is heavy, so check those legs.
Functional Flips: Ottomans and Storage
What if the table itself is beyond saving? Or maybe you just need more seating? Consider flipping its function entirely. Turning a coffee table into an ottoman is a brilliant move for small spaces. It adds softness and comfort. All you need is some high-density foam, batting, and fabric. Cut the foam to fit the top of the table, wrap it in batting to smooth out the edges, and then upholster it with your chosen fabric. Staple it securely to the underside of the table frame. Suddenly, you have a place to rest your feet that doubles as extra seating when guests come over.
This approach is also great for hiding ugly surfaces. If the wood is warped or cracked, covering it up solves the problem instantly. You can choose a fabric that ties into your curtains or rug, creating a cohesive look. Velvet adds luxury. Linen adds casual ease. Leather adds durability. The choice is yours. And because it’s attached to the sturdy table base, it won’t slide around like a regular ottoman might. It’s anchored and stable.
Another functional flip? Add storage. If your table is just a flat surface, consider building a box frame around it or adding drawers. You can convert a simple table into a lift-top desk if you work from home. Mechanisms are available online that allow the top to rise up to laptop height. It’s a game-changer for multipurpose living rooms. Or, simply add baskets underneath. It’s not a structural change, but it organizes the chaos. Clutter makes even the prettiest table look bad. Hiding the remote controls and magazines instantly elevates the aesthetic.
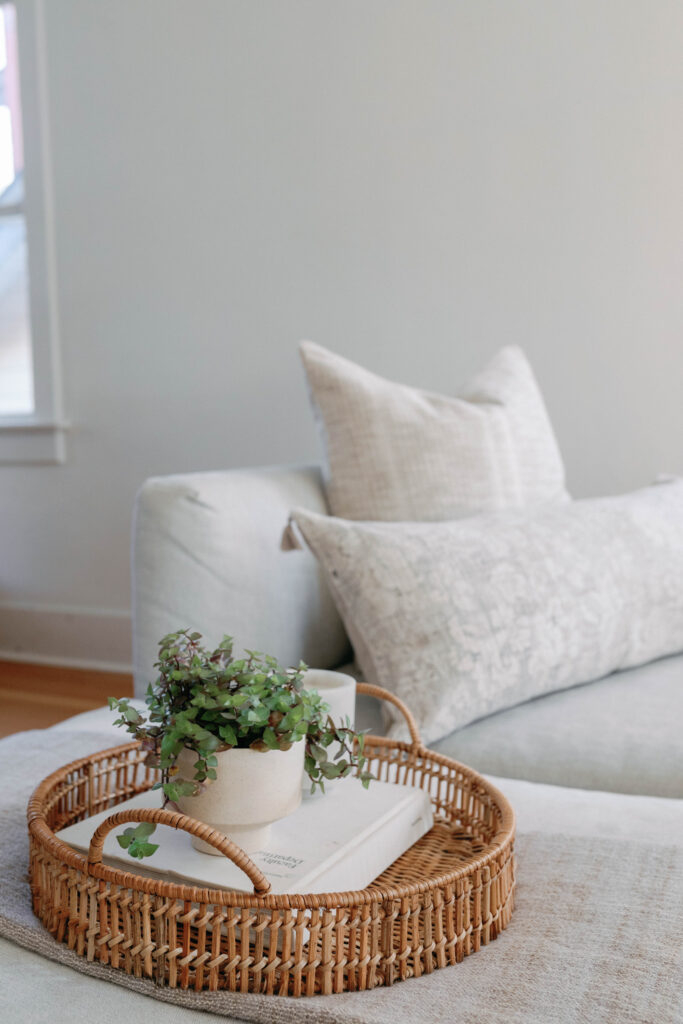
You’ve sanded, painted, and tweaked. The table is done. Now what? Don’t just plop a coaster on it and walk away. Styling is half the battle. A stunning table needs a stunning arrangement. The rule of threes is your friend here. Group items in odd numbers. A stack of books, a small plant, and a candle. It creates a triangle that is pleasing to the eye. Vary the heights. You want some tall items, some medium, and some low. This creates movement and prevents the look from feeling flat.
Think about negative space too. You don’t need to cover every inch. Leave some breathing room. The surface of the table is part of the design. If you went with a beautiful wood stain or a textured paint job, let it show. Don’t bury it under clutter. Use trays to corral smaller items. A marble or wooden tray can hold remotes, coasters, and small decor items, keeping them organized and intentional. It makes the whole setup look curated rather than accidental.
And remember, styling isn’t static. Change it with the seasons. In the summer, maybe add a bowl of lemons or a vase of fresh wildflowers. In the winter, swap in some pinecones, a heavier candle, or a knitted runner. Your table should feel alive and connected to the rest of your home. It’s a focal point, yes, but it’s also a living part of your space. Play with it. Move things around. See what works. The best part about a DIY project is that you’re not afraid to tweak it later. It’s yours.
So, there you have it. Six ways to take that sad, dated table and give it a new life. Whether you choose paint, hardware, mixed materials, pattern, or a total functional flip, the goal is the same. Create something that makes you happy when you walk into the room. Don’t overthink it. Don’t worry about perfection. Just start. Grab that sandpaper. Mix that paint. Your weekend project awaits. And who knows? You might just fall in love with your living room all over again.