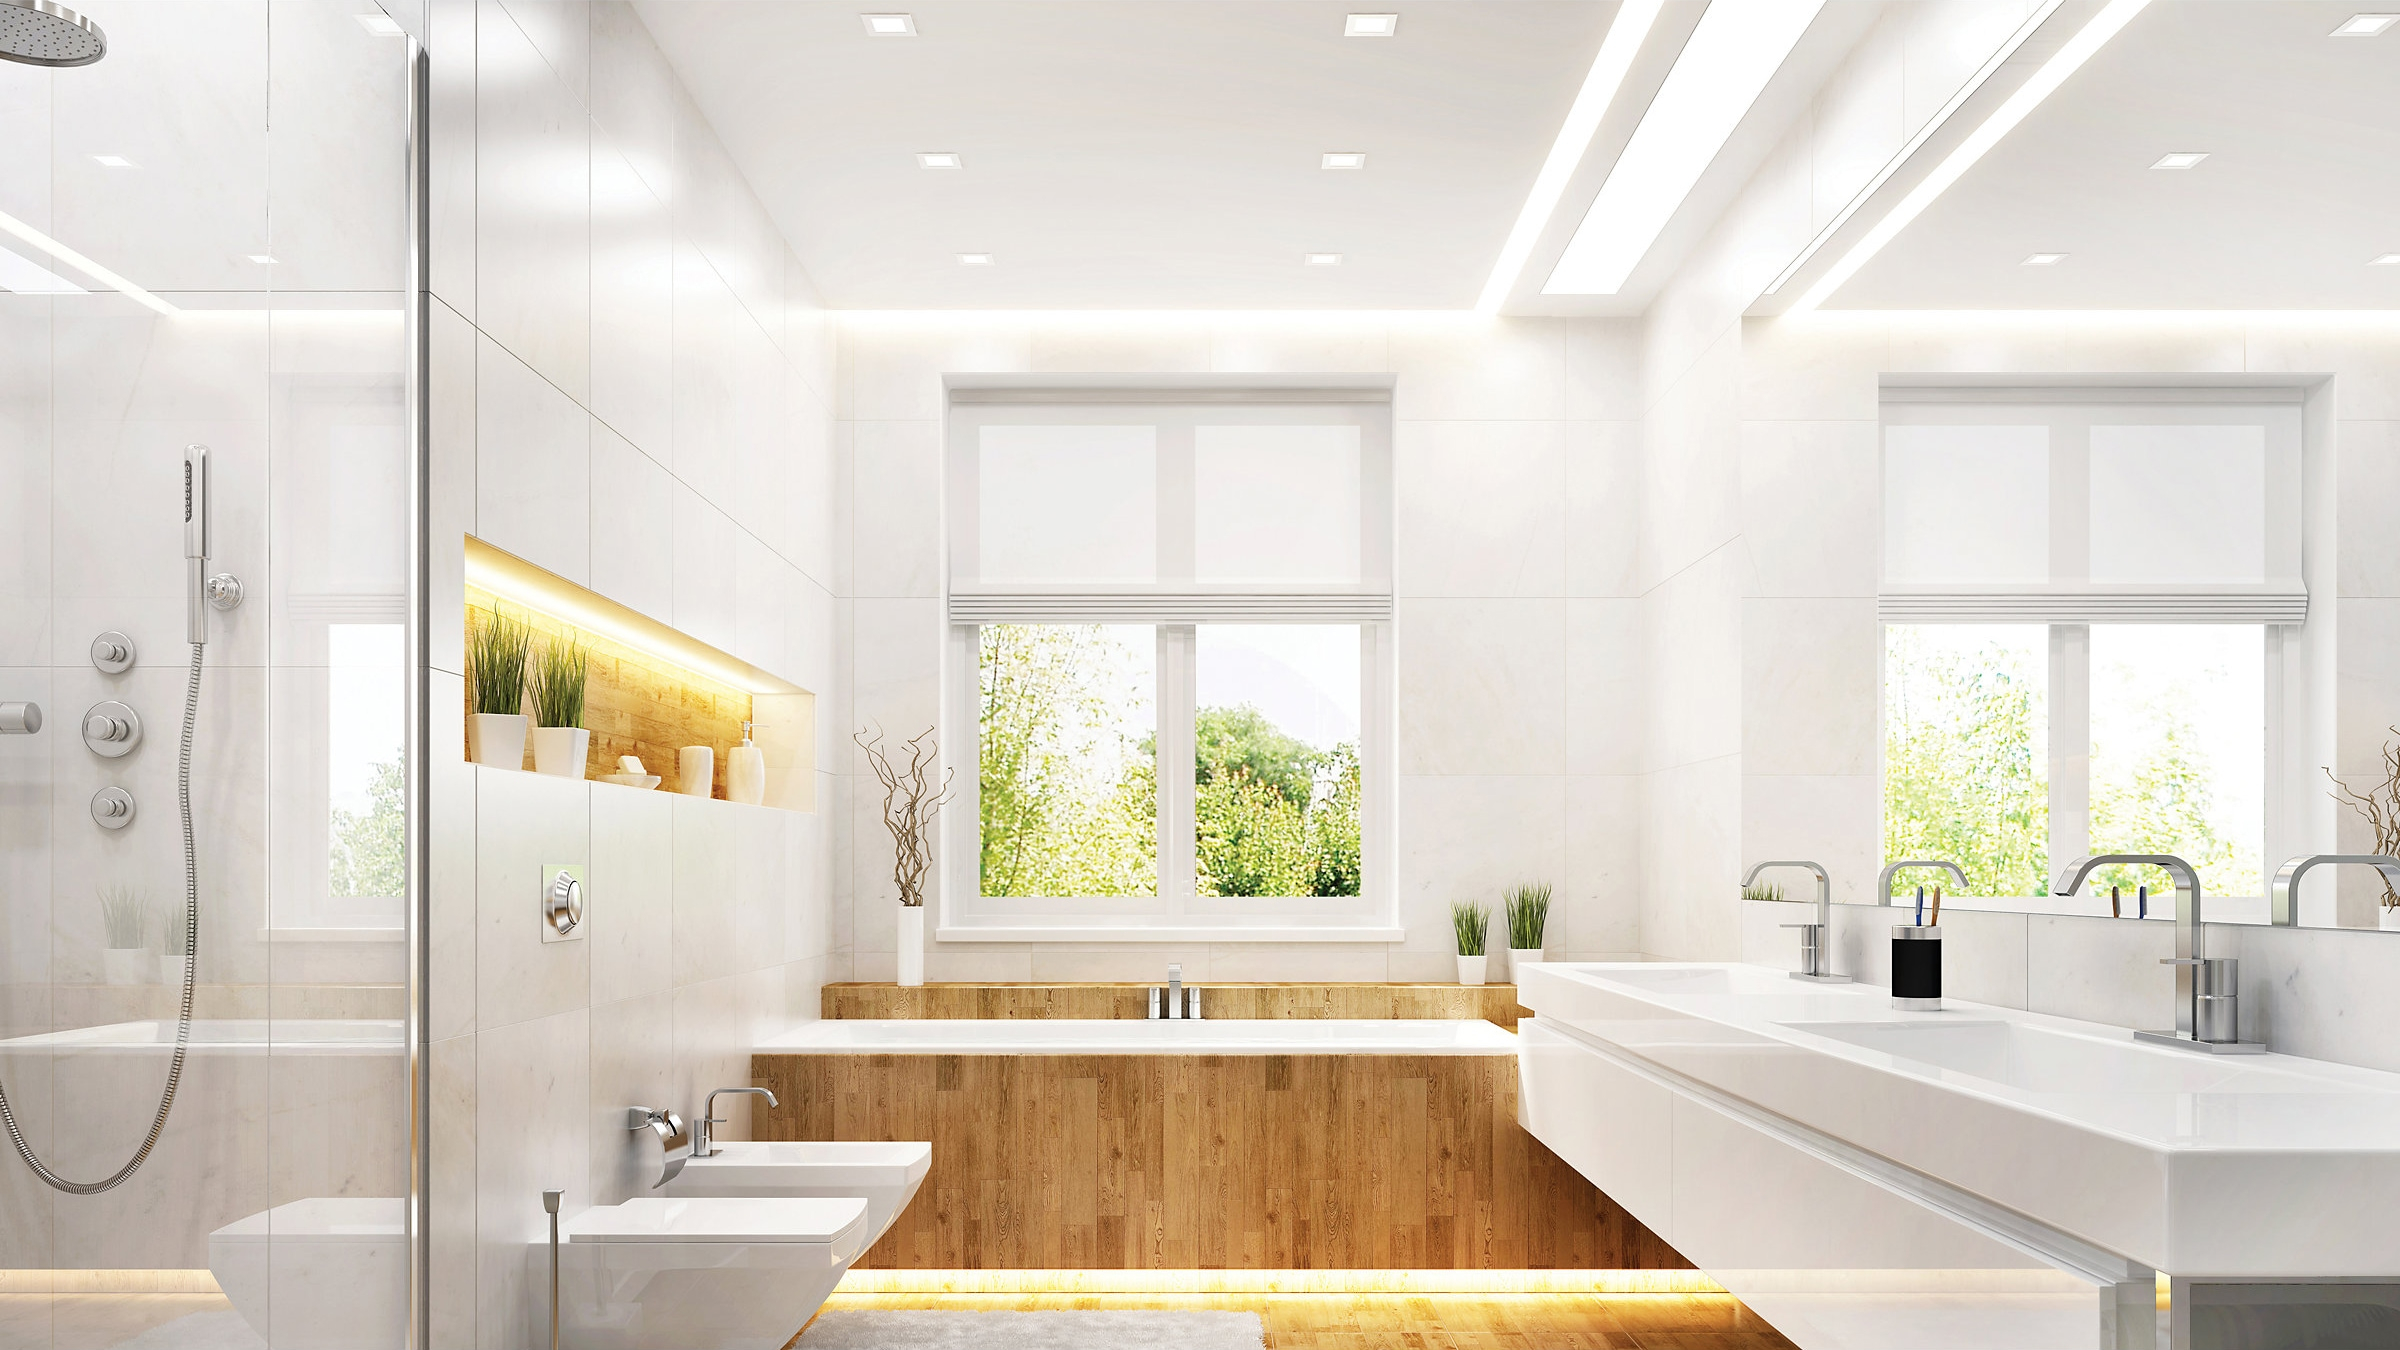
You know the look. You wake up, stumble into the bathroom, and catch your reflection. Instead of seeing a refreshed human being, you’re greeted by deep, dark hollows under your eyes and a chin that looks like it belongs to a villain in a noir film. It’s not just you. It’s the light. Or rather, the lack of good light.
We’ve all been there. That single, brutal bulb in the ceiling fixture casts shadows that make us look ten years older and twice as tired. It’s frustrating. It makes shaving a gamble and applying makeup an act of hope rather than precision. But here’s the good news: you don’t need to tear down walls, hire an electrician, or take out a second mortgage to fix it. In 2026, the solutions are smarter, cheaper, and way easier than they used to be.
Let’s talk about how to reclaim your face. We’re going to dive into the simple physics of light, explore some clever hacks that cost less than a nice dinner, and show you how to turn your bathroom from a dungeon into a sanctuary. No tools required. Just a little bit of know-how and maybe a trip to the hardware store.
The Science of Why You Look Tired (It’s Not Your Fault)
Before we fix it, we gotta understand it. Why does one light make you look glowing and another make you look haunted? It’s all about direction and diffusion. Most bathrooms have a single overhead light. This is the enemy. When light comes from directly above, it creates shadows directly below. Your brow ridge blocks light from reaching your eye sockets. Your nose blocks light from reaching your upper lip. Boom. Raccoon eyes and a mustache of shadow.
Think about the sun at noon versus the sun at sunset. Noon sun is harsh, direct, and unforgiving. Sunset light is soft, angled, and flattering. Your bathroom light is currently acting like high noon in the desert. We need to turn it into golden hour. The goal isn’t just more light; it’s better placed light. We want to fill in those dark valleys on your face with soft, even illumination.
This is why celebrities love ring lights. They aren’t just for TikTok dances. A ring light surrounds the face, eliminating shadows from every angle. You don’t need a professional setup, but understanding this principle—light needs to come from the front and sides, not just the top—is the key to everything we’re about to do. It’s physics, but make it fashion.
The Magic of Mirrors: Bouncing Light for Free
Here’s the cheapest trick in the book, and it costs absolutely nothing if you already have the stuff. Mirrors are light amplifiers. If you have a window in your bathroom, you’re sitting on a goldmine. But even if you don’t, you can use mirrors to bounce existing light around. Take a look at your current setup. Is there a mirror opposite a light source? If not, can you add one?
A simple, framed mirror placed on the wall opposite your vanity can double the effective light in the room. It bounces the light back onto your face, filling in those nasty shadows. You can find decent sized mirrors at thrift stores or discount home goods shops for peanuts. Don’t worry about matching decor perfectly; just focus on placement. Angle it slightly if you can, to direct the bounce right where you need it.
If you’re renting and can’t hang things, try a standing floor mirror leaned against the wall near the vanity. It serves a dual purpose: you can check your outfit head-to-toe, and it acts as a massive reflector. Pro tip: keep the mirror clean. Dust and toothpaste splatters scatter light in weird ways, making it less effective. A quick wipe down can actually brighten the room noticeably. It’s lazy, it’s easy, and it works.
Plug-and-Play Sconces: The Renter’s Best Friend
Okay, so mirrors help, but sometimes you need actual new light sources. The old rule was "you need an electrician to add lights." That’s outdated. In 2026, plug-in wall sconces are everywhere, and they are gorgeous. These are light fixtures that plug into a standard outlet but mount to the wall like hardwired ones. They give you that high-end, custom look without the drywall dust.
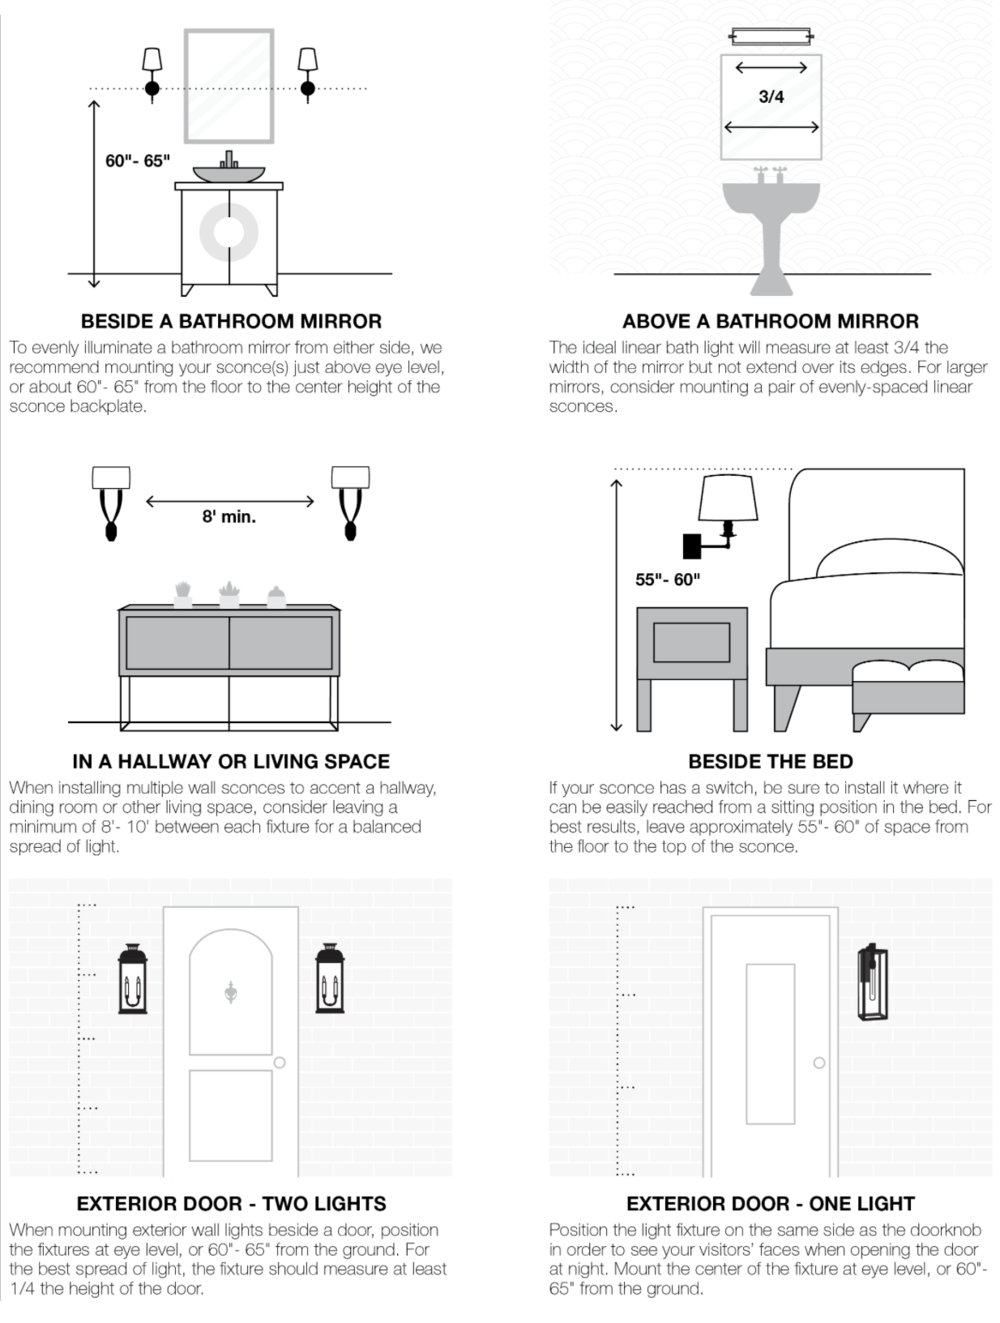
Look for sconces that mount on either side of the mirror, at eye level. This is the holy grail of vanity lighting. Side lighting hits your face evenly, eliminating the shadows under your eyes and chin. You can run the cord down the wall using simple adhesive cord covers (paintable, if you’re fancy) to keep it tidy. Many modern sconces come with USB ports too, which is handy for charging your electric toothbrush or phone while you get ready.
When shopping, pay attention to the bulb socket. Make sure it takes standard bulbs so you aren’t stuck with proprietary nonsense. Also, check the switch. Some have built-in switches, others rely on the wall outlet switch. If your outlet is controlled by a switch, you’re good. If it’s always on, you might want a sconce with its own dimmer or switch. It’s a small investment—usually under $50 per light—that changes the entire vibe of the room.
Bulb Hacks: Color Temperature Matters More Than You Think
You can have the perfect fixtures, but if you put the wrong bulb in, you’re still gonna look weird. Let’s talk Kelvin. That’s the scale for color temperature. Most old bathroom bulbs are "Daylight" or "Cool White," which is around 5000K-6000K. This blue-heavy light is harsh. It emphasizes every imperfection, every red spot, every fine line. It’s clinical. It’s cold. It’s unflattering.
Swap those out for "Soft White" or "Warm White" bulbs, ideally in the 2700K to 3000K range. This warmer, yellow-ish light is much kinder to skin tones. It blends colors better and feels more inviting. But here’s the kicker: you want high CRI (Color Rendering Index). Look for bulbs with a CRI of 90 or higher. CRI measures how accurately the light shows true colors. A low CRI bulb might make your foundation look orange or your skin look gray. High CRI makes everything look real and vibrant.
LED technology has come a long way. You can now get warm, high-CRI LEDs that use tiny amounts of energy and last for years. Don’t cheap out on the bulbs. Spend the extra two dollars for the good ones. Your face will thank you. And if you’re feeling fancy, get smart bulbs. You can adjust the brightness and color temperature from your phone. Want energizing bright light in the morning? Dial it up. Want relaxing warm light for a night routine? Dial it down. Control is power.
Portable Power: Clip-Ons and Battery Options
What if you can’t install sconces? What if there are no outlets near the mirror? Don’t panic. There’s a whole world of portable lighting designed exactly for this problem. Clip-on LED lights are a game changer. You can clip them directly onto the top or sides of your existing mirror. Many are rechargeable via USB, so no cords dangling everywhere.
Look for "vanity strip lights" that adhere to the edge of your mirror. These are thin, flexible strips of LEDs that stick right on. They provide even, frontal lighting that mimics a professional makeup station. They’re incredibly cheap, often under $20, and require zero installation skills. Just peel, stick, and charge. Some even come with motion sensors, so they turn on when you walk in. It’s like magic, but it’s just cheap electronics.
Battery-operated puck lights are another option. Stick them on the wall or inside a medicine cabinet to add ambient glow. They won’t replace your main light, but they help reduce the contrast between the bright vanity and the dark corners of the room. Reducing that contrast helps your eyes adjust and makes the whole space feel softer. It’s about layering. You want a base layer, a task layer, and an accent layer. Even if that accent layer is just a $5 puck light, it adds depth.
DIY Diffusion: Softening the Harsh Glow
Sometimes, the problem isn’t the position of the light, but the quality of it. Bare bulbs are glaring. They create hot spots and sharp shadows. We need to diffuse the light. Scatter it. Make it gentle. If you have a fixture with exposed bulbs, consider adding a shade. Fabric shades soften light beautifully. Glass shades with a frosted finish do the same.
If you can’t change the fixture, try a DIY diffuser hack. Translucent parchment paper or white vellum can be taped over the inside of a glass shade (make sure it doesn’t touch the bulb directly if it’s hot—stick to LEDs!). This spreads the light out more evenly. It’s a temporary fix, but it works in a pinch. Another trick: paint the inside of a metal shade with flat white paint. This reflects more light downward and outward, rather than letting it blast in one direction.
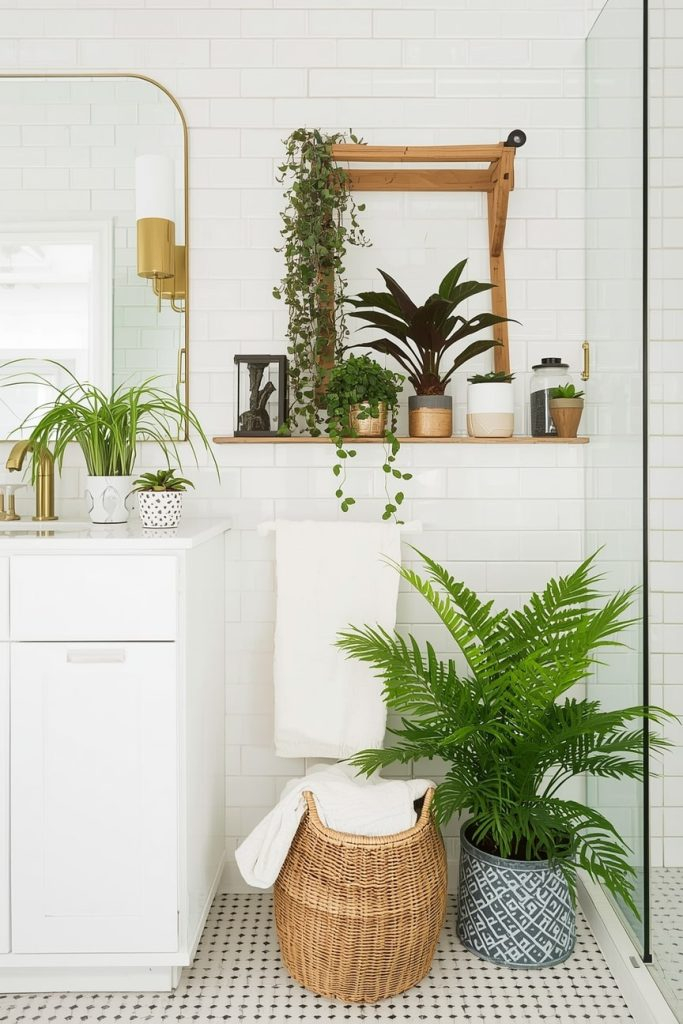
Plants can also help! Okay, not directly. But placing a tall, leafy plant near a light source can break up the beam and cast interesting, soft patterns rather than harsh lines. It adds life to the room and distracts the eye from the lighting flaws. Plus, who doesn’t want a fern in their bathroom? It’s about creating a vibe. When the room feels calm and curated, the lighting feels less aggressive. It’s psychological, but it’s real.
So, there you have it. You don’t need a contractor. You don’t need to live with bad lighting. Start with the free stuff. Move your mirrors. Clean them. See if bouncing light helps. Then, swap out those harsh blue bulbs for warm, high-CRI LEDs. It’s the easiest win. If you’re still struggling, look into plug-in sconces or clip-on vanity lights. These are small investments that pay dividends every single morning.
Remember, the goal is evenness. You want light hitting your face from multiple angles, softly and warmly. Avoid the single overhead spotlight at all costs. Layer your light sources. Mix ambient light with task light. And don’t be afraid to experiment. Move things around. Try different bulbs. See what makes you feel good when you look in the mirror.
Your bathroom should be a place where you feel ready to face the day, not a place where you dread catching your reflection. With these simple tweaks, you can transform the space. It’s not about perfection. It’s about progress. And hey, if you accidentally buy the wrong color bulb, just return it. No harm done. Now go forth and glow. Literally.