Ever stared at a blank piece of paper, or maybe an empty digital canvas, and felt that familiar knot of anxiety tighten in your stomach? You want to build a home. Not just any house, but your home. The one with the kitchen island big enough for pancake Sundays and the nook where the light hits just right for afternoon reading. But between the dream and the driveway, there’s a swamp of confusion. Permits. Zoning. Load-bearing walls. Budgets that seem to evaporate before you’ve even picked out a faucet.
It’s easy to feel like you’re guessing in the dark. One minute you’re picking paint colors, the next you’re realizing you forgot to account for the cost of the foundation. It’s chaotic. It’s overwhelming. And honestly? It doesn’t have to be this way. In 2026, the tools available to everyday people are better than ever, but the fundamental truth remains: success isn’t about having the fanciest software. It’s about having a map. A real, practical, step-by-step path that stops the guesswork and starts the building.
This isn’t about turning you into an architect overnight. It’s about giving you the confidence to make decisions that stick. We’re going to walk through the process together, stripping away the jargon and focusing on what actually matters. By the end of this, you won’t just have a pretty picture. You’ll have a plan. And that changes everything.
The Mindset Shift: From Dreamer to Planner
Before you draw a single line, you need to clear the mental clutter. Most beginners start with aesthetics. They pin images of farmhouse sinks and mid-century modern chairs. That’s fun, sure, but it’s also dangerous. Designing a house backwards from the decor is like trying to buy a car based on the color of the seat covers. You need to understand the machine first.
Start with your "non-negotiables." Sit down with a notebook—paper is good here, it slows you down—and write out how you actually live. Do you cook every night? Then the kitchen workflow is your priority, not the view from the living room. Do you work from home? You need acoustic separation, not just a desk in the corner. In 2026, remote work is still a huge part of life for many, so designing for functionality is more critical than ever. Be honest. If you hate cleaning, maybe those open shelves aren’t the best idea, no matter how Pinterest-worthy they look.
This phase is also about budget realism. And I mean real realism. Not the number you hope it will cost, but the number you can actually afford. Talk to lenders early. Get a hard pre-approval. Then, take that number and subtract 20% for contingencies. Yes, really. Construction has a way of finding hidden costs. By accepting this buffer now, you stop panicking later. You shift from hoping for the best to planning for the likely. It’s a small mental tweak, but it saves you from heartache down the road.
Site and Context: Listening to the Land
You can’t design a house in a vacuum. Where it sits matters just as much as what it looks like. Too many people skip this step, buying a lot because it was cheap or pretty, only to realize later that the sun beats down directly into their west-facing bedroom all summer long. Or that the slope of the land means a basement will cost double what they planned.
Visit your site at different times of day. Morning, noon, and evening. Note where the sun rises and sets. Watch how the wind moves. Is there a noisy road nearby? You might want your bedrooms on the quiet side, away from the street. These natural factors should dictate your layout, not the other way around. If the best view is to the north, but the best light is to the south, you have to make a choice. Or find a creative compromise. Maybe large windows on the north for the view, and smaller, high windows on the south for light without heat gain.
Don’t forget the invisible rules. Zoning laws, setbacks, and easements can kill a design before it starts. In many places, regulations have tightened in recent years regarding energy efficiency and water usage. Check with your local planning department before you fall in love with a specific footprint. Knowing you can only build 40 feet from the property line saves you from redesigning your entire floor plan later. It’s boring paperwork, but it’s the foundation of a smooth build. Literally and figuratively.
Bubble Diagrams: The Messy Middle
Now we get to the actual design, but put away the ruler. This stage is about relationships, not dimensions. Architects call these "bubble diagrams." It sounds fancy, but it’s just circles on a page. Draw a circle for the kitchen. Draw one for the dining room. How do they connect? Should they be open? Separate? Draw lines between them. Thick lines for frequent movement, thin lines for occasional access.
This is where you solve flow problems without getting bogged down in square footage. Think about the "dirty" vs. "clean" zones. You don’t want to walk through the pristine living room with muddy boots from the garage. So, maybe the mudroom connects to the kitchen, not the living area. Simple logic, but it’s often overlooked until it’s too late to fix. By using bubbles, you can move rooms around quickly. If the laundry room feels too far from the bedrooms, just move the bubble. No erasing walls, no recalculating angles. Just pure logic.
Involve everyone who will live there. Have your partner draw their own bubbles. You might be surprised by what they prioritize. Maybe they care more about a dedicated hobby space than a formal dining room. These conversations are easier when you’re moving circles around than when you’re arguing over blueprints. It keeps the mood collaborative rather than combative. Remember, you’re designing a life together, not just a structure. Keep it loose. Keep it messy. Perfection is the enemy of progress here.
From Bubbles to Blocks: Defining Space
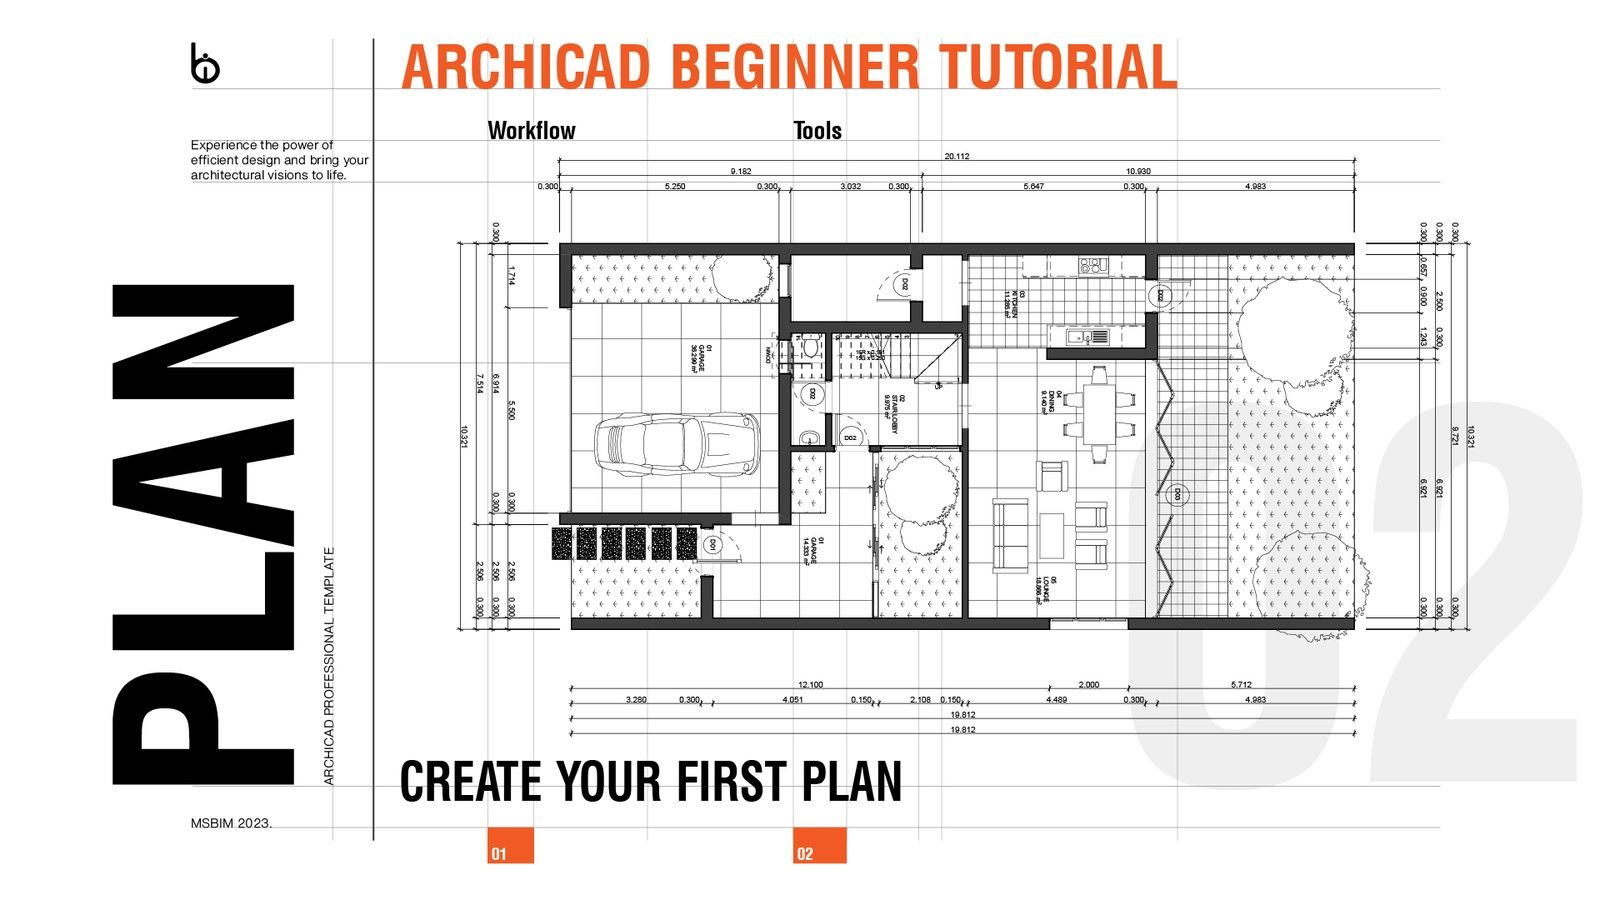
Once your relationships make sense, it’s time to add structure. Turn those bubbles into rough rectangles. This is where you start thinking about size. How big does the master bedroom actually need to be? Standard queen bed is 60×80 inches. Add space for walking around. Add space for dressers. Suddenly, that 10×10 room feels tight. Use online tools or even graph paper to scale this out. In 2026, there are plenty of free, user-friendly apps that let you drag and drop walls. RoomSketcher and similar platforms are great for this intermediate step.
Focus on standard dimensions. Builders love standards. Why? Because materials come in standard sizes. Drywall sheets are 4×8 feet. Lumber comes in lengths like 8, 10, and 12 feet. If you design a room that is 11 feet wide, you’re creating waste and extra labor. If you stick to multiples of 2 or 4 feet, you save money and reduce environmental impact. It’s a small detail that adds up fast. Ask yourself: does this weird angle really add value, or is it just complicating the framing?
This is also the time to think about vertical space. Are you going up or out? Two stories save on foundation and roof costs but add complexity to stairs and structural support. Single-story living is easier for accessibility but requires a larger footprint. There’s no right answer, only trade-offs. Weigh them carefully. Sketch out cross-sections if you can. Imagine standing in the space. Does the ceiling height feel right? Will the stairwell block light? These spatial questions are harder to fix than wall positions, so give them attention now.
The Reality Check: Materials and Systems
Here is where most dreams hit the wall. Literally. You have a layout you love. Now you need to figure out what it’s made of. This isn’t just about brick vs. siding. It’s about systems. HVAC, plumbing, electrical. These are the veins and arteries of your home. Hiding them costs money. Exposing them changes the aesthetic. Decide early. If you want concrete floors, you need to plan for radiant heating or accept cold toes. If you want a complex roofline, you’re increasing the surface area for potential leaks and higher cooling costs.
Create a preliminary material list. You don’t need exact SKUs yet, but you need categories. Foundation type. Framing material. Roofing style. Window quality. Windows are a huge budget item. Don’t skimp here. Poor windows lead to high energy bills and discomfort. In contrast, you can save on interior finishes later. You can always upgrade countertops in five years. You can’t easily replace the insulation in your walls. Prioritize the stuff you can’t see. It’s the unsexy advice that pays off every month in lower utility bills.
Use technology to help visualize costs. Tools that generate material lists from your plans are becoming more common. They won’t be perfect, but they give you a ballpark. Compare this against your budget from step one. If you’re over, don’t panic. Simplify. Square corners are cheaper than rounded ones. Standard windows are cheaper than custom shapes. Reduce the complexity. A simple box can be beautiful if the proportions are right. Complexity is expensive. Simplicity is elegant. And usually, simpler is stronger.
Finalizing Plans: The Professional Handoff
You’ve done the heavy lifting. You know what you want, where it goes, and roughly what it costs. Now, you need to make it legal and buildable. This is where you hire the pros. An architect or designer isn’t just there to draw pretty pictures; they’re there to ensure your house doesn’t fall down. They translate your vision into technical drawings that contractors can bid on. Bring your bubble diagrams, your sketches, and your material preferences to them. It saves hours of back-and-forth.
Get multiple bids. Not just for construction, but for the design phase if you’re shopping around. Look for professionals who listen. If they dismiss your ideas without explanation, keep looking. You want a partner, not a dictator. In 2026, many firms offer hybrid services, where you do the conceptual design and they handle the technical permitting drawings. This can save thousands in fees. Ask about this option. It leverages your work while ensuring code compliance.
Review the final plans with a fine-tooth comb. Walk through them mentally. Open every door in your mind. Turn on every faucet. Check the light switches. Are they behind the door? Is there an outlet where you need to plug in your vacuum? These tiny details matter daily. Once the concrete is poured, moving a light switch is a pain. Now, it’s just a pencil mark. Take your time. Rushing this stage leads to change orders later, which are the budget killers. Sign off only when you’re sure.
So, where does that leave you? You’re no longer guessing. You have a roadmap. You’ve moved from vague desires to concrete plans. You’ve considered the land, the flow, the materials, and the money. You’ve done the hard work of thinking before digging. That’s the secret. Most people skip the thinking and jump straight to the digging, and that’s why they get stuck.
Remember, flexibility is still key. Even with the best plan, surprises happen. A rock in the foundation. A delayed shipment. But because you planned, these are bumps, not roadblocks. You have the context to make quick, informed decisions. You know what’s important and what’s negotiable. That clarity is power. It turns a stressful ordeal into a manageable project.
Go ahead. Start sketching. Make mistakes on paper so you don’t make them in concrete. Talk to your family. Visit your site. Dream big, but plan smart. The house you build will stand for decades. Give it the foundation of thought it deserves. You’ve got this. And when you finally turn that key in the lock, you’ll know every inch of it was chosen, not guessed. That feeling? It’s worth every minute of planning.