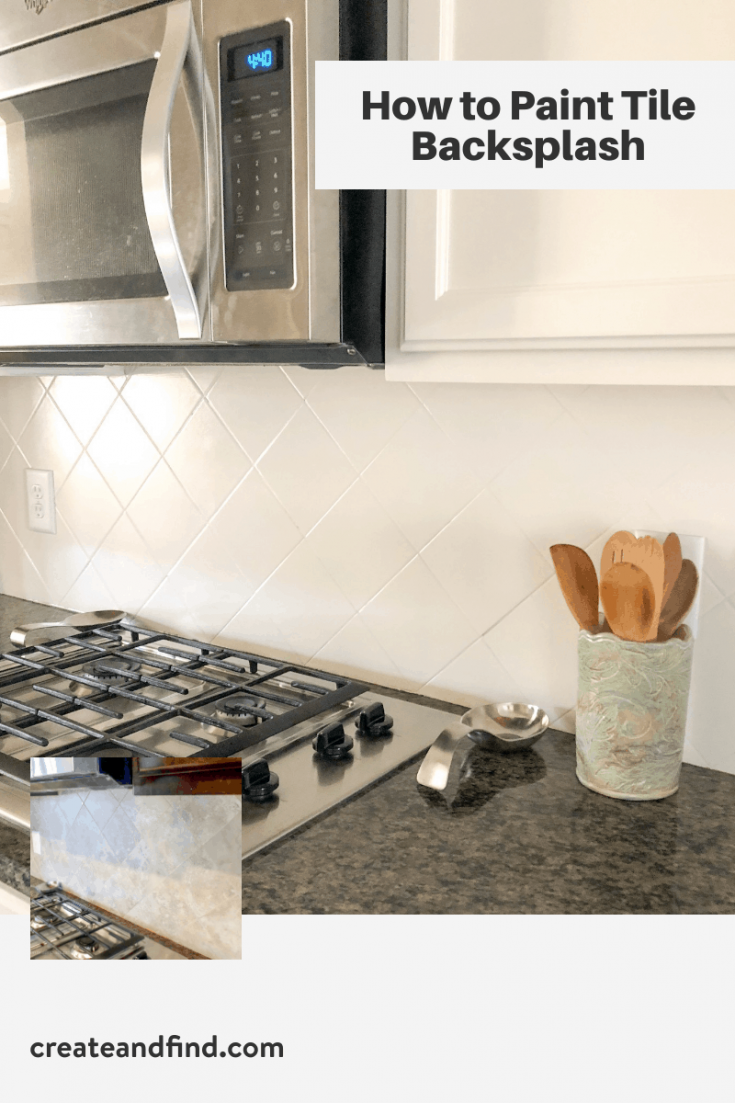
There is something incredibly satisfying about standing in your kitchen, looking at a beautiful new wall of tile, and realizing you did it all yourself. The backsplash is truly the focal point of the modern kitchen. It bridges the gap between your countertops and cabinets, catching both the light and the occasional stray spaghetti sauce. But let us be honest for a second. The idea of jumping into a tiling project can feel a little intimidating if you have never done it before.
The good news? Achieving a professional-grade look is completely doable for a beginner, provided you know the right secrets. Forget about hiring pricey contractors for a job you can tackle over a weekend. With the right strategy, a bit of patience, and the proper sequence of steps, you can avoid the classic pitfalls and end up with a gorgeous, long-lasting surface. Let’s look at exactly how to make that happen.
Laying the Groundwork: Why Preparation is Everything
You cannot build a sturdy house on a shaky foundation, and you certainly cannot get flat tile on a bumpy, greasy wall. Before you even think about opening a bucket of adhesive, your wall needs some serious attention. Kitchen walls are notorious for hiding layers of cooking grease and old residue. A thorough scrubbing with a heavy-duty cleaner like TSP (trisodium phosphate) or a good degreasing dish soap is your mandatory first step. If the surface is glossy, give it a light scuffing with sandpaper so your glue actually has something to grip onto.
Next up, you need to check for flatness. Grab a long straightedge or a level and run it across the drywall. Do you see any major dips or high spots. Minor imperfections can be compensated for with your thinset, but big hollows might need a quick coat of joint compound ahead of time. Don’t forget to shut off the electricity to your outlets and remove the faceplates. Pop some painters tape over the actual outlets to keep them safe from stray mortar.
Gathering Your Toolkit and Choosing the Right Materials
Having the proper gear layout on your counter before you start will save you a ton of stress mid-project. You will need a notched trowel, a rubber grout float, a couple of buckets, and a reliable way to cut your tile. For ceramic or porcelain, a simple snap cutter works wonders, but if you are dealing with thick natural stone or intricate mosaic sheets, renting a wet saw for a day is a total game-changer.
When it comes to stickiness, beginners often get confused between mastic and thinset mortar. Mastic is a pre-mixed, sticky adhesive that is fantastic for dry areas and simple ceramic tiles because it holds instantly and doesn’t slip. Thinset is a cement-based powder you mix with water; it takes a bit more effort but offers a rock-solid hold that resists moisture much better, making it ideal for behind the stove. Make sure to choose a high-quality mildew resistant sealer too, especially for keeping things fresh long after 2026.
Mastering the Dry Layout and Finding Your Center
Never, ever start sticking tiles to the wall blindly. That is a quick recipe for ending up with a weird, sliver-thin piece of tile right in the most visible corner of your kitchen. Instead, find the absolute center point of your main wall area and mark a vertical centerline using your level. Lay out a row of tiles along the countertop beforehand to see where your cuts will fall at the ends.
If your dry run reveals that you will be left with a tiny, fragile crumb of tile at the corner, shift your center point over by half a tile width. This clever adjustment ensures your end pieces are substantial and balanced on both sides. Also, remember that countertops are rarely perfectly level. Fasten a straight ledger board to the wall if needed, or use plastic shims to maintain a consistent gap between the first row and the counter surface.
Spreading the Adhesive with True Precision
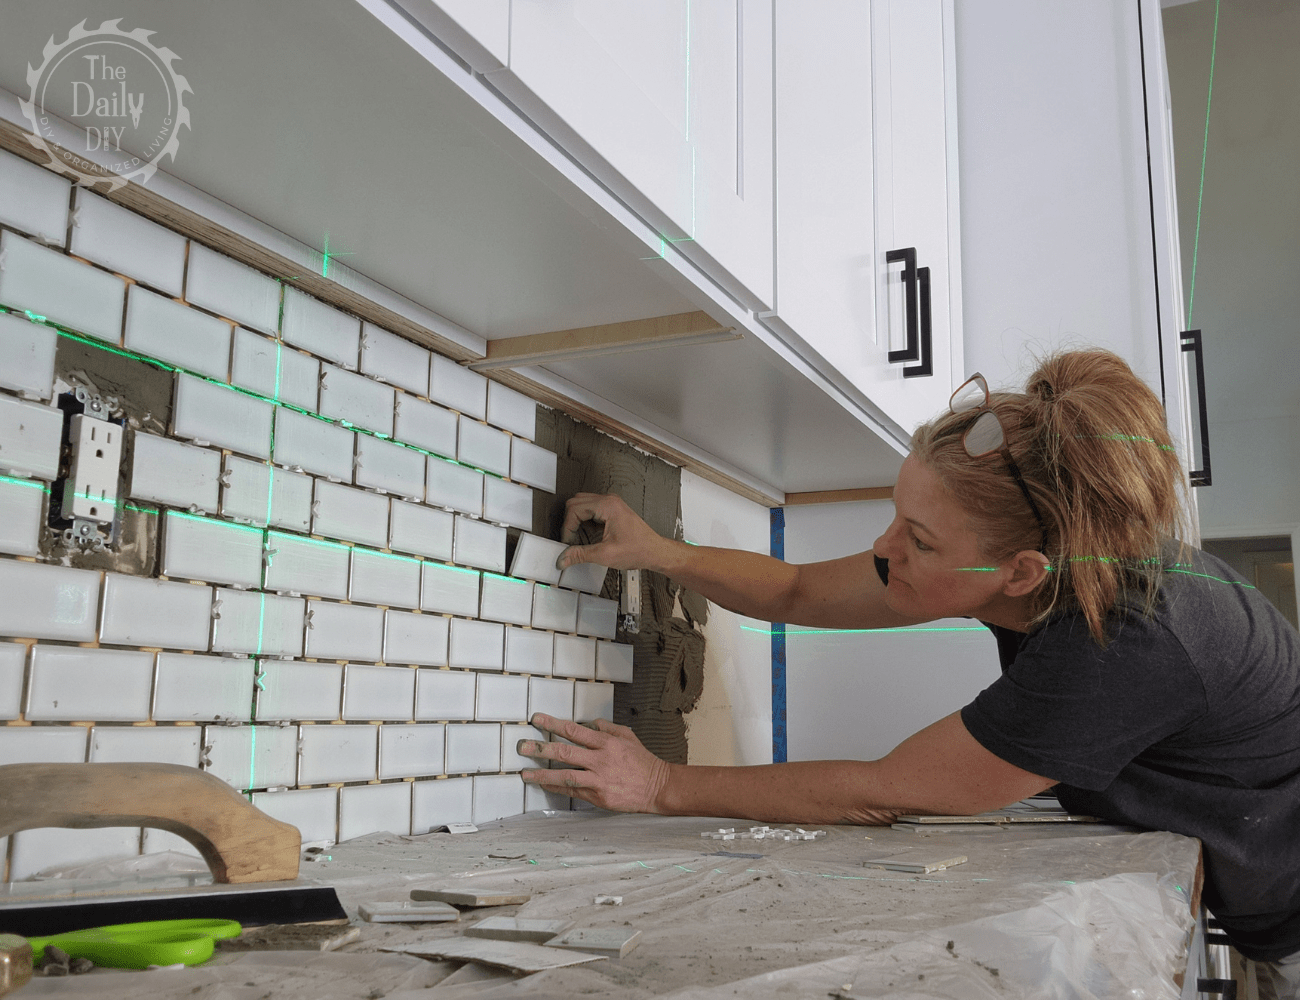
Now it is time to get messy, but in a controlled way. Scoop some adhesive onto your trowel and press it firmly into the wall using the flat side of the blade to establish a strong bond. Then, flip the tool to the notched side and comb the adhesive out at a 45-degree angle. This creates uniform ridges that will collapse evenly when you press the tile into place.
The biggest mistake beginners make here is spreading too much adhesive at once. It can dry out and form a "skin" before you get your tiles on it, which completely ruins the adhesion. Only work in small, manageable sections—about two or three square feet at a time. If the glue feels dry or non-sticky when you touch it with your finger, scrape it off and apply a fresh batch.
Placing the Tiles and Navigating Tricky Cuts
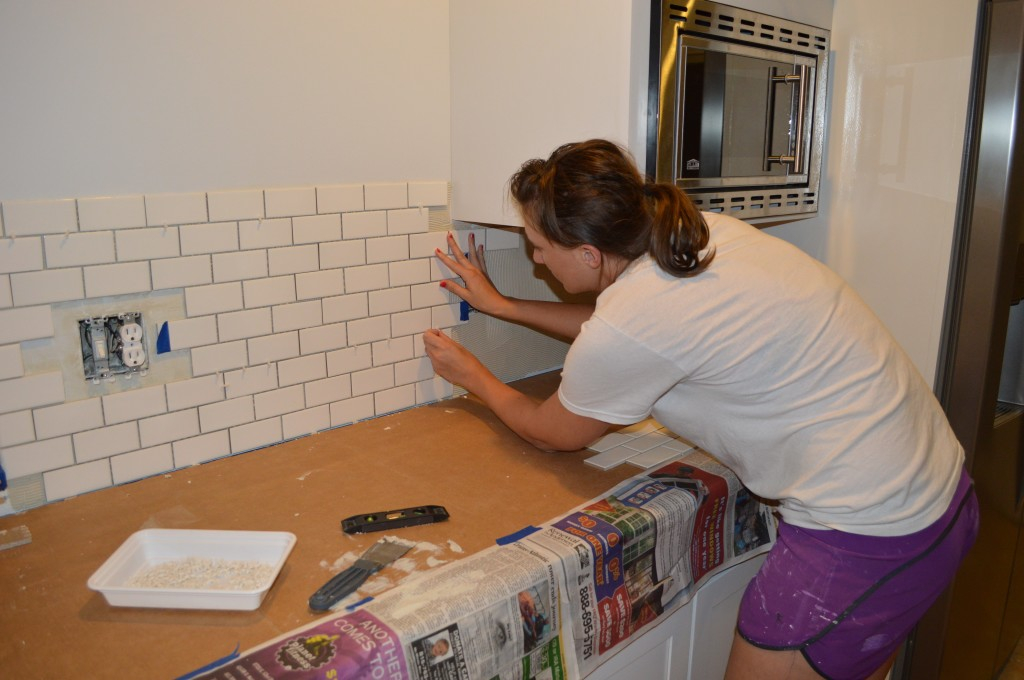
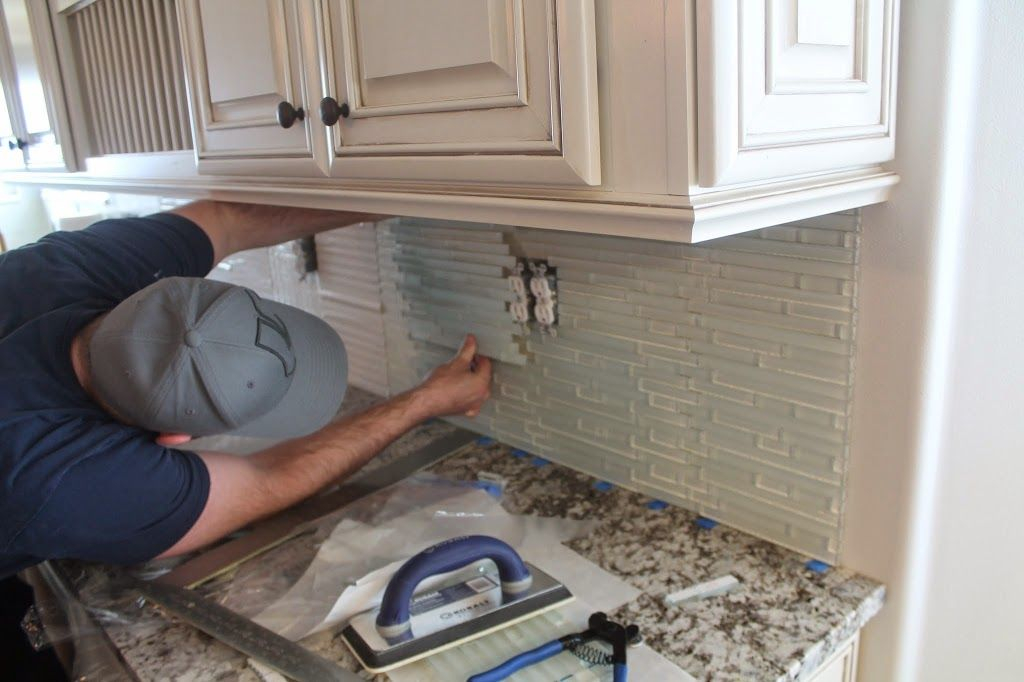
When pressing your tile or mosaic sheets into the mortar, give them a slight twisting motion to flatten the ridges underneath and ensure total coverage. Use plastic spacers between every single tile to keep your grout lines perfectly straight and uniform. If you are installing mosaic sheets, be extra mindful of the gaps between the sheets; they should match the spacing within the sheets themselves so the seams completely disappear.
Inevitably, you will run into outlets and corners. Measure twice and mark your cuts on the back of the tile with a washable marker. For tricky L-shaped cuts around electrical boxes, a pair of tile nippers can bite away small chunks of material gradually until you get the perfect fit. Take your time with this part. Speed is the enemy of a clean finish.
Grouting Like a Pro for a Flawless Finish
Once your tile has set for at least 24 hours, pull out all those plastic spacers and scrape away any excess mortar that squeezed out between the joints. Mix your grout to a peanut butter consistency. Using a rubber grout float held at a 45-degree angle, pack the paste firmly into the joints. Move diagonally across the tiles to avoid scooping the grout back out of the spaces you just filled.
Let the grout firm up for about 15 to 30 minutes until it looks hazy. Then, take a damp tile sponge and gently wipe the face of the tiles in light, circular motions. Do not use too much water, or you will wash the pigment right out of your grout lines. Keep rinsing your sponge in clean water. Once everything dries completely, use a microfiber cloth to buff away the remaining powdery haze.
After a few days, finish the project by filling the gap between the countertop and the backsplash with a high-quality silicone caulk that matches your grout color. This allows for natural expansion and contraction without cracking.
Stepping back to admire a finished backsplash project is a phenomenal feeling. It is a weekend investment that brings immense value and visual punch to your living space. By focusing heavily on the prep work, measuring layout carefully, and pacing yourself through the cutting process, you can achieve a look that rivals any high-end professional installation. Grab your trowel, pick your favorite tile style, and give your kitchen the upgrade it truly deserves.