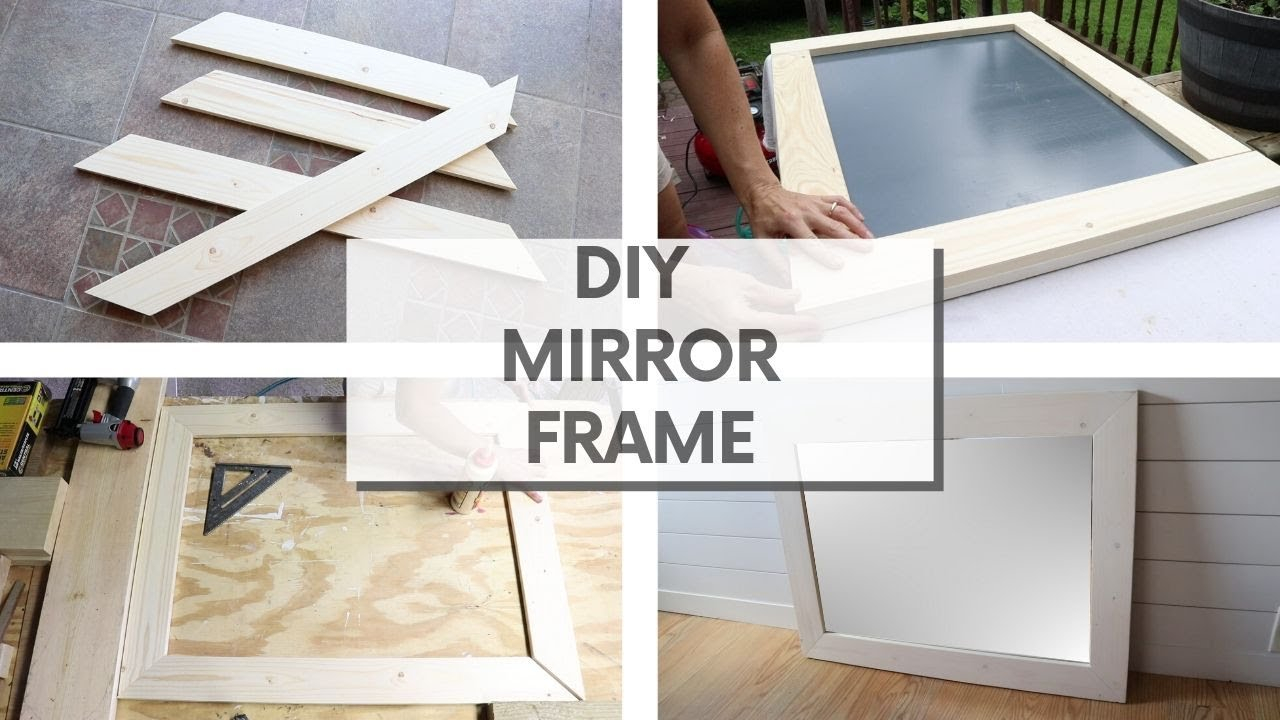
So you’ve got a blank wall staring back at you. Maybe it’s that awkward space above the sofa or the bare patch in the entryway. You decide, hey, I’ll make a mirror frame. It sounds simple enough. Wood, glue, maybe some nails. How hard can it be? Well, if you ask anyone who has actually done it, they’ll tell you it’s a journey. A beautiful, frustrating, rewarding journey. But man, wouldn’t it have been nice to know a few things before cutting that first piece of wood?
We talked to dozens of makers. People who have built frames for clients, for their own homes, and even for local shops. They all had stories. Stories about warped wood. Stories about mirrors that didn’t fit. Stories about spending three hours sanding only to realize they used the wrong grit. This isn’t just about following instructions. It’s about understanding the soul of the project. It’s about respecting the materials. And honestly, it’s about saving yourself a headache or two. Let’s dive into what these veterans wish someone had told them on day one.
The Trap of Cheap Materials
It is so tempting to grab the cheapest pine board at the big box store. We get it. Budgets are real. But here is the thing seasoned crafters learn the hard way: cheap wood moves. It warps. It twists. And when you attach a heavy glass mirror to it, those movements become disasters. One crafter, Sarah from Portland, told us she spent weeks on a frame only to find it bowed outward after a month. The mirror literally popped out of the clips. Ouch.
Invest in stable lumber. Look for quarter-sawn oak or maple if you can afford it. If not, high-quality plywood with a nice veneer is often more stable than solid softwood. Also, check the moisture content. In 2026, with climate control being such a huge factor in home preservation, using kiln-dried wood is non-negotiable. Don’t skip this step. Your future self will thank you when the frame stays square and true for years instead of months.
Another tip? Avoid wood with large knots near the joints. Knots are weak points. They can fall out or cause cracks when you drill or screw into them. Spend extra time at the lumber yard. Pick each board individually. Turn it over. Look down the length of it like you’re sighting a rifle. If it looks twisted, put it back. It’s not worth the savings.
Measuring Twice Isn’t Enough
You’ve heard the old saying. Measure twice, cut once. But for mirror frames, you need to measure thrice. And then measure again. Why? Because mirrors are unforgiving. Unlike a picture frame where you can mat around a slightly small photo, a mirror needs to fit snugly but not too tight. Glass expands and contracts with temperature changes. If you cut the rabbet (that’s the groove the mirror sits in) too tight, the glass will crack when summer hits.
Most beginners forget to account for the thickness of the finish. Paint, stain, polyurethane—they all add bulk. A layer of paint might seem thin, but on four sides, it can add up to 1/16th of an inch or more. That’s enough to prevent your mirror from seating properly. Experienced makers always do a dry fit with the unfinished pieces. They test the mirror fit before applying any finish. It saves so much heartache.
Also, don’t trust the tape measure blindly. Use a story stick. Mark your measurements on a scrap piece of wood instead of writing numbers down. Numbers get misread. Marks on wood don’t lie. This old-school trick is still the gold standard in 2026 workshops because it eliminates transcription errors. Plus, it helps you visualize the actual length rather than just a number on a page.
Choosing the Right Joinery
Glue and nails might hold a picture frame together, but a mirror frame carries weight. Significant weight. If you drop it, or if it hangs crooked for years, weak joints will fail. Many newbies rely solely on butt joints. These are where two pieces meet at 90 degrees with no interlocking shape. They are weak. Very weak.
Consider using miter joints reinforced with splines or biscuits. Or even better, try half-lap joints if the design allows. They offer much more surface area for glue and mechanical strength. One expert we spoke to, Marcus, swears by pocket holes for hidden strength. "It’s not pretty inside," he said, "but nobody sees the back. And it holds like a tank." He’s right. Function over form, sometimes.
Don’t underestimate the power of good clamps either. You can’t have too many clamps. When gluing corners, use corner clamps or strap clamps to ensure perfect 90-degree angles. If your frame isn’t square, the mirror won’t sit flat. And if the mirror doesn’t sit flat, it creates stress points. Stress points lead to cracks. It’s a domino effect. Take your time during assembly. Rushing here ruins everything later.
The Finish Makes or Breaks It
Sanding is boring. We know. But it’s crucial. Skipping grits is a classic mistake. Going from 80 grit straight to 220 leaves scratches that show up under stain. You need to progress gradually. 80, 120, 180, 220. Maybe even 320 for a super smooth feel. Each step removes the scratches from the previous one. It’s meditative, honestly. Put on some music and zone out.
When choosing a finish, think about the room. Is it a bathroom? Humidity is the enemy. Use a marine-grade varnish or a high-quality polyurethane. Regular wax won’t cut it in a steamy environment. For living rooms, oil-based stains bring out the grain beautifully, but water-based options have come a long way in 2026. They dry faster and have less odor. Just make sure to raise the grain with water before sanding if you go water-based. It prevents that fuzzy texture later.
Test your finish on scrap pieces first. Always. Wood species react differently to stains. Pine can blotch badly if you don’t use a pre-stain conditioner. Oak takes stain evenly but can look orange if you’re not careful. Seeing the result on a scrap piece saves you from ruining your main project. It’s a small step that makes a huge difference in the final look.
Hanging Hardware Matters More Than You Think
You’ve built a beautiful frame. The finish is flawless. The mirror fits perfectly. Now you hang it. And two weeks later, it crashes to the floor. Why? Because you used tiny picture hooks meant for lightweight prints. Mirror frames are heavy. Dense. They need serious hardware.
Use D-rings and braided wire. Not the cheap stuff. Get hardware rated for at least double the weight of your frame. If your frame weighs 10 pounds, use hardware rated for 20. Better safe than sorry. Also, anchor into wall studs whenever possible. Drywall anchors are okay for light loads, but for a heavy mirror, hitting a stud is the only way to sleep soundly at night.
Position the D-rings correctly. They should be about one-third of the way down from the top of the frame. This ensures the frame hangs flush against the wall and doesn’t tilt forward. Tilting creates leverage that pulls on the hardware. Over time, that pull weakens the connection. Proper placement distributes the weight evenly. It’s physics, plain and simple. Don’t guess. Measure.
Here is the truth no one tells you: your first frame won’t be perfect. And that’s okay. Really. Some of the most charming frames have slight quirks. A tiny gap in a corner. A slight variation in stain color. These aren’t failures. They’re signatures. They show handcraftsmanship. Mass-produced frames are perfect because machines make them. Yours is special because a human made it.
Don’t be afraid to make mistakes. Sand through the stain? No problem. Touch it up with a marker or embrace the distressed look. Cut a piece too short? Can you incorporate it into a different design? Maybe a smaller frame for a bathroom? Flexibility is key. Crafting is problem-solving. Every error teaches you something new.
Connect with other makers. Join online forums or local woodworking groups. In 2026, communities are more accessible than ever. Share your photos. Ask questions. You’ll find people eager to help. They remember their first projects too. They remember the frustration and the triumph. Sharing that experience builds confidence. And confidence leads to better work. So keep going. Keep building. Keep learning.
Wrapping up, building a mirror frame is more than just joining wood. It’s about patience. It’s about respect for materials. It’s about understanding that quality takes time. From choosing stable lumber to measuring meticulously, selecting strong joinery, applying careful finishes, using robust hardware, and accepting imperfections, every step matters. These lessons from experienced crafters aren’t just tips. They’re shortcuts to success. They save you time, money, and frustration. So take a deep breath. Grab your tools. And start creating. You’ve got this.