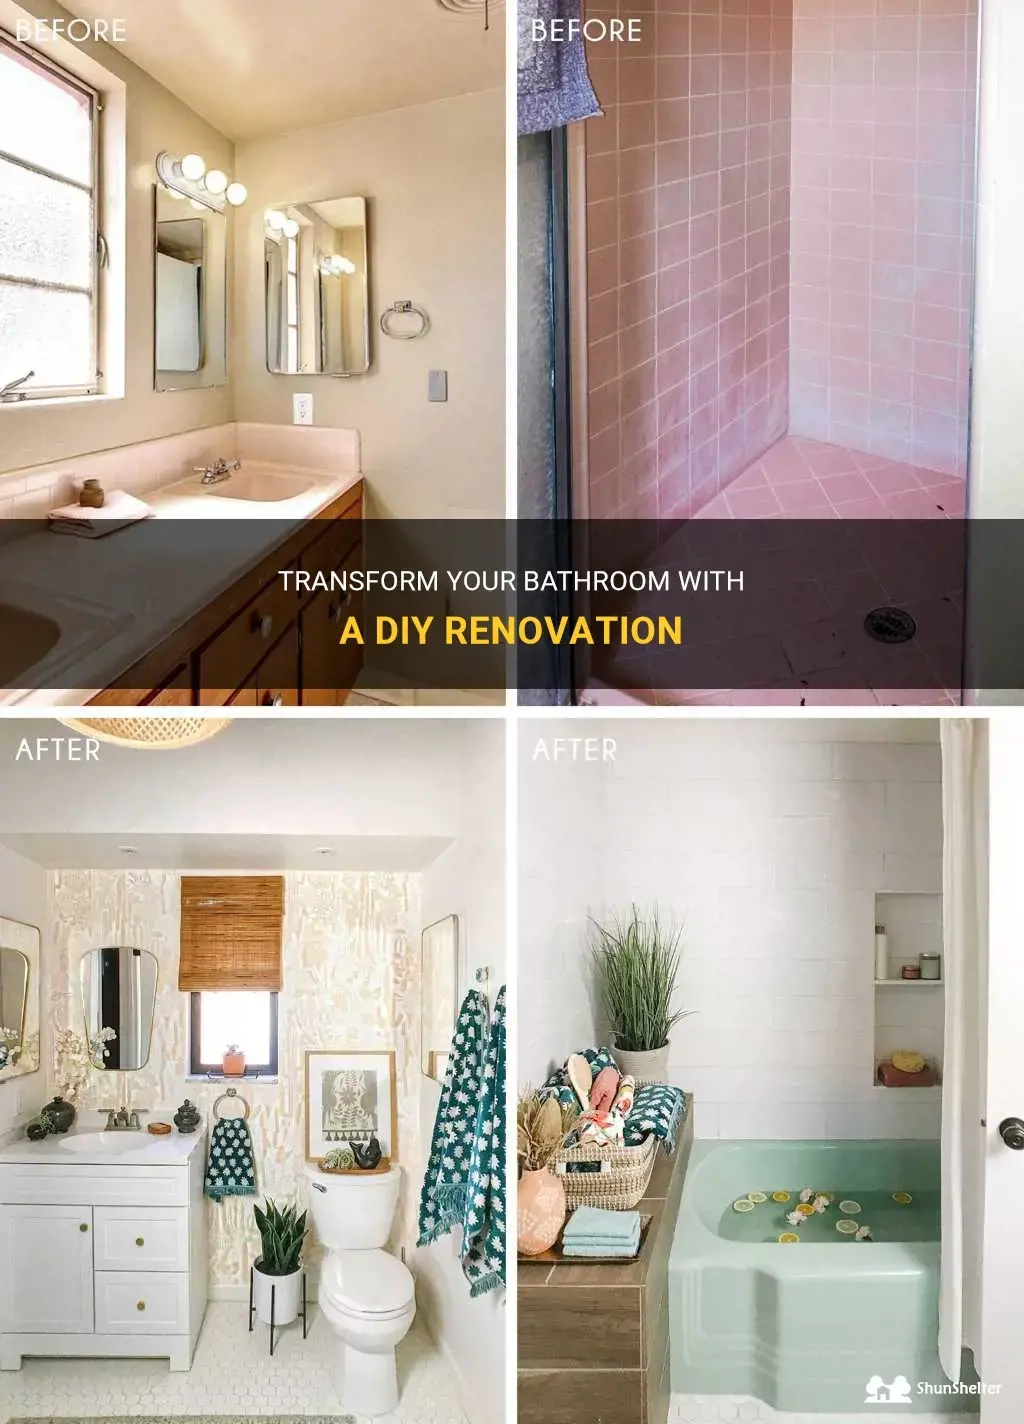
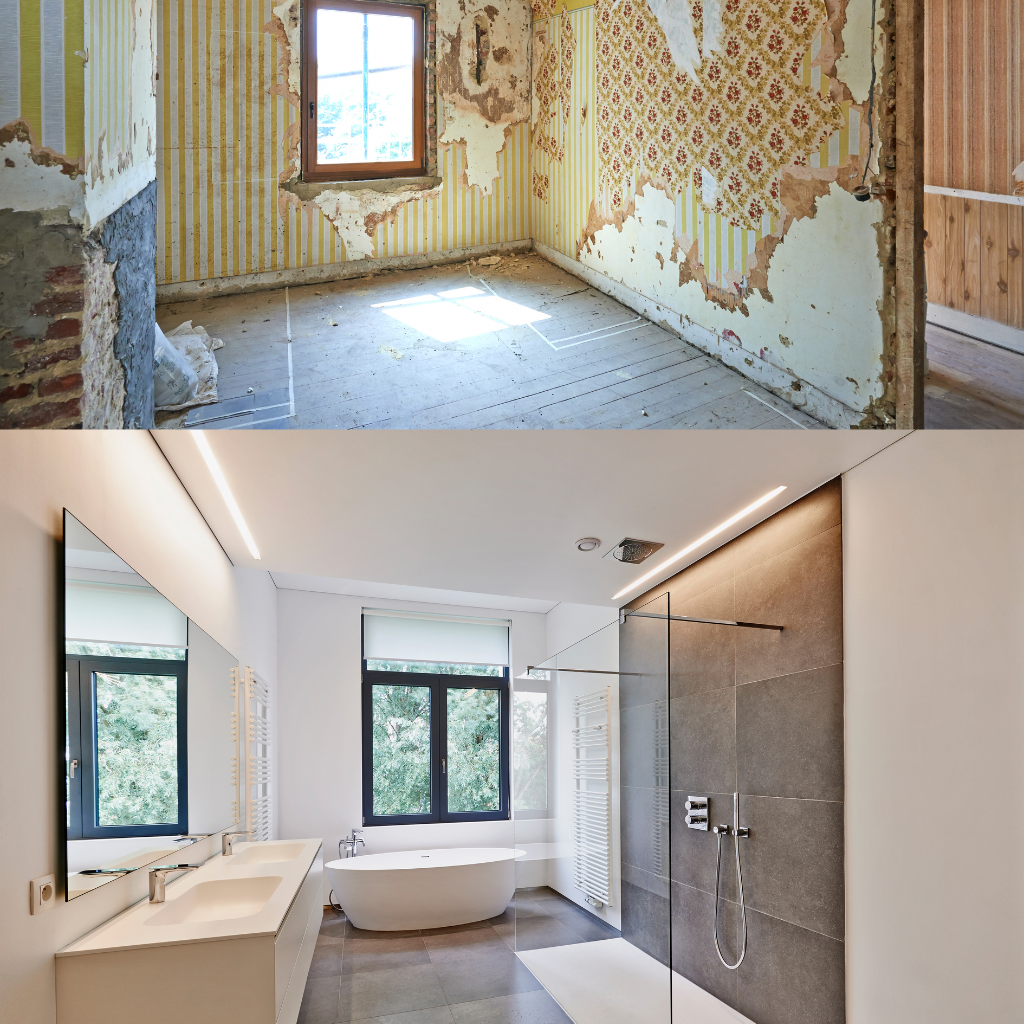
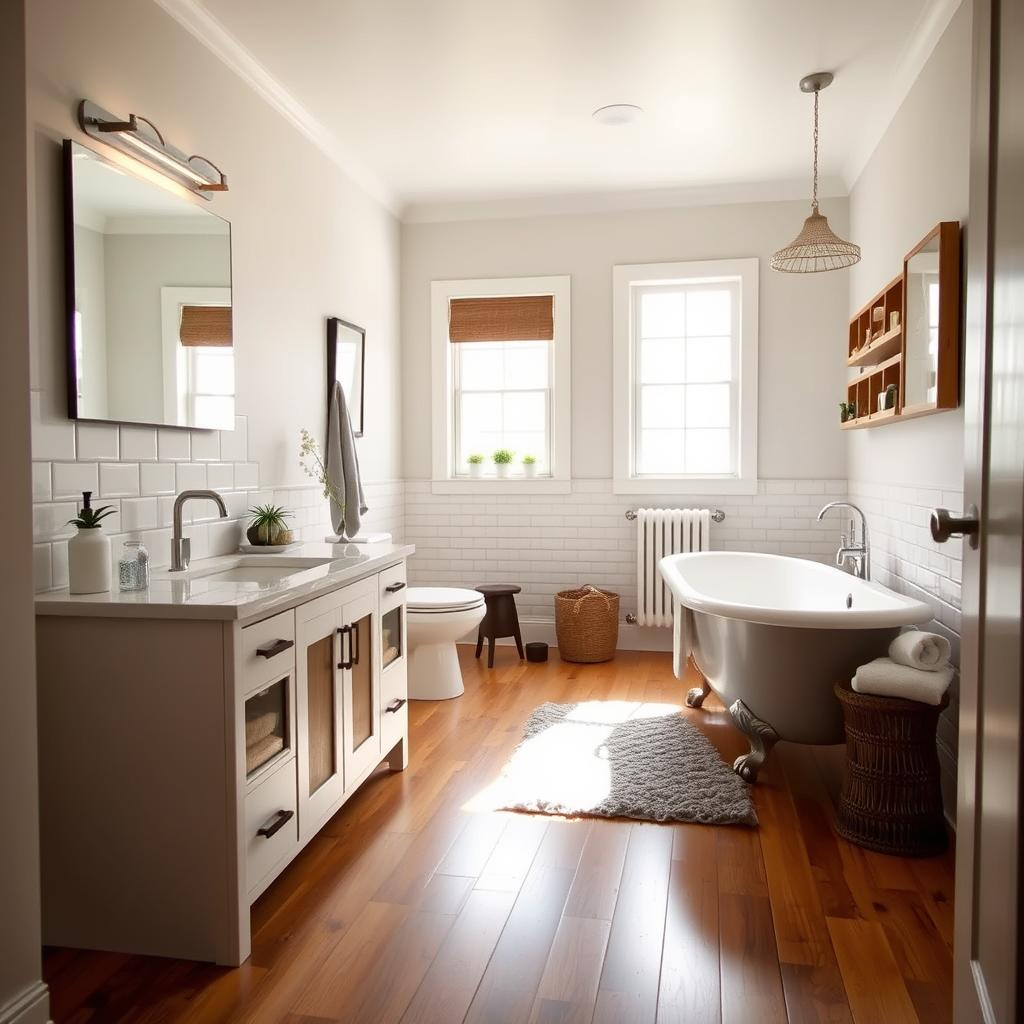
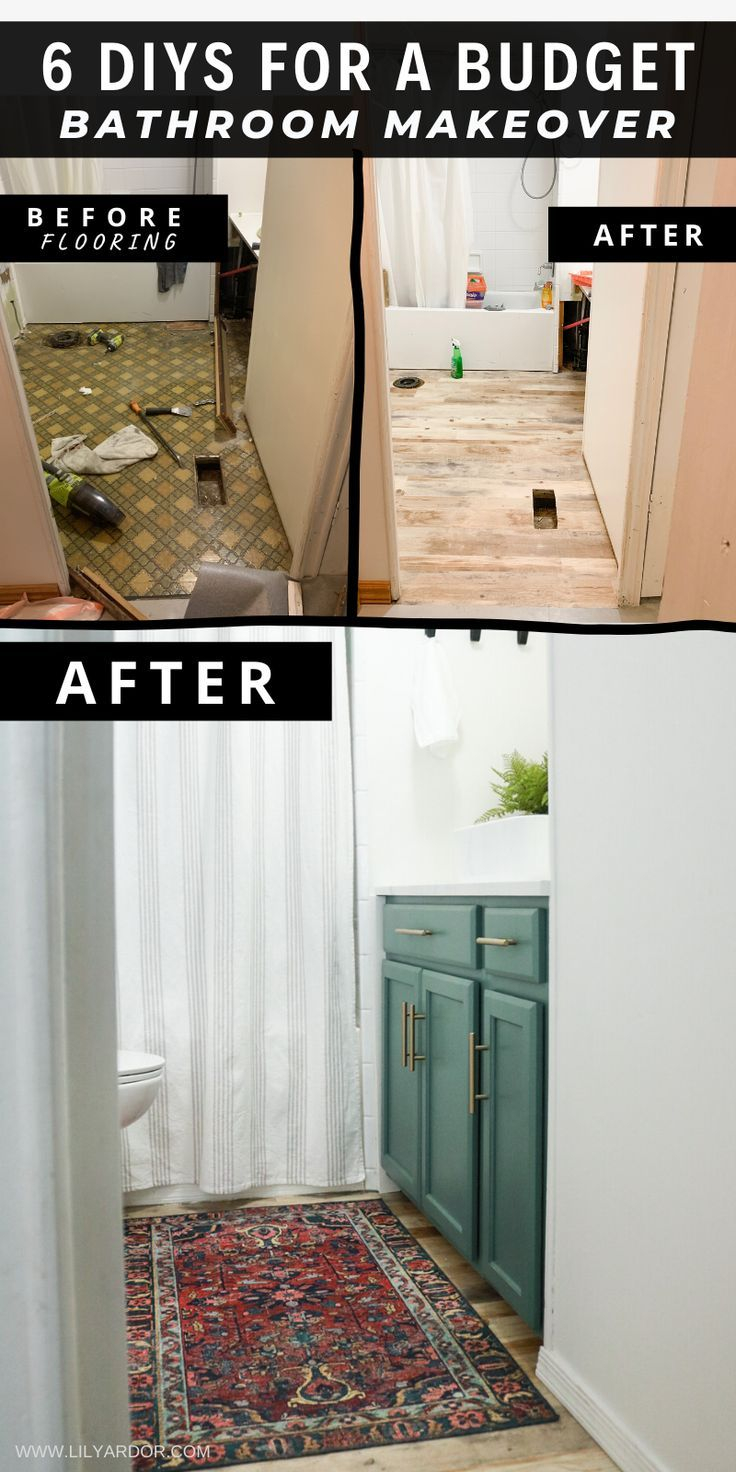
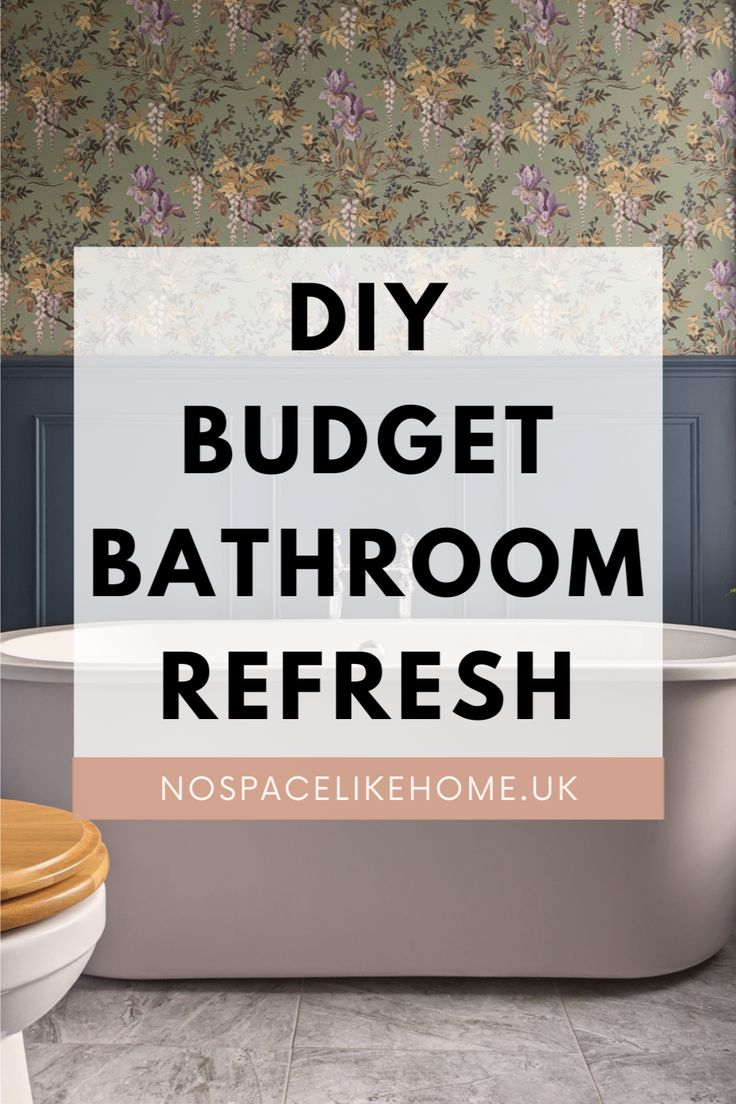
Morning light filters through frosted glass, illuminating water spots on a mirror that has seen better days. You stand barefoot on cold tile, staring at walls that once felt like a crisp sanctuary when you moved in years ago. Now, they carry a dull, tired yellowish cast—a subtle accumulation of steam, time, and changing tastes. You do not need a sledgehammer, a dumpster parked in the driveway, or a five-figure contractor invoice to fix this. You just need a gallon of paint, a brush, and a weekend.
We often fall into the trap of believing that upgrading our living spaces requires a wholesale teardown. Home renovation media feeds us a steady diet of gut jobs, custom marble slabs, and custom-milled vanities. Yet, interior designers and real estate professionals know a quiet secret: the human psychological response to a space is dictated heavily by color, light reflection, and surface texture. A bathroom is a small, intimate room where every square inch matters. Changing its skin through paint alters the ambient temperature of the room before you even turn on the tap.
The modern bathroom occupies a unique psychological space in the home. It is where we begin our frantic mornings and where we attempt to decompress from high-stakes professional lives at night. When the physical environment is bogged down by peeling caulk lines, scuffed baseboards, and dated pastel hues, it subtly drains our energy. Revitalizing this environment through targeted surface treatments is not merely a cosmetic choice; it is an act of environmental curation that yields an immediate, tactile return on investment.
The Chemistry of Sanctuary: How Color and Sheen Alter Spatial Perception
Human psychology is intrinsically tied to visual stimuli, and nowhere is this more apparent than in a compact room like a bathroom. When you walk into a space dominated by high-gloss builder-beige or water-stained drywall, your brain registers neglect. Conversely, blanketing those same walls in a sophisticated, moisture-resistant coating completely resets the spatial dynamic. The chemistry of modern paint formulations allows light to bounce differently across surfaces, instantly making cramped half-baths feel expansive and cavernous primary baths feel intimate and grounded.
Choosing the right color palette is less about following fleeting internet trends and more about understanding how light behaves within restricted dimensions. Bathrooms frequently suffer from a lack of natural sunlight, relying instead on harsh overhead vanity bulbs or warm-toned LED arrays. A bright, crisp white or a muted, chalky sage green absorbs and diffuses artificial light without creating aggressive glare. This interplay between illumination and pigment is what transforms a utilitarian room into an intentional sanctuary.
Beyond visual aesthetics, the tactile experience of a freshly painted room changes how we interact with it. Walls that have been properly primed and coated feel uniform and smooth to the touch. The absence of microscopic texture imperfections, lingering humidity stains, and hairline cracks creates a subconscious sense of order. When you touch a wall that feels solid, clean, and meticulously maintained, your nervous system responds to the implicit cleanliness of the environment.
The shift in mood achieved through color can be profound. Dark, moody charcoals and rich navy blues wrap a small water closet in a cocoon-like drama that feels luxurious and upscale, reminiscent of high-end boutique hotels. Lighter, warm-toned neutrals create an airy, spa-like atmosphere that promotes relaxation and mindfulness. This psychological flexibility is unique to paint; no other medium allows you to completely rewrite the emotional vocabulary of a room for the price of a few tools and a few hours of labor.
Engineering Against Entropy: Protecting Vulnerable Surfaces From Invisible Threats
A bathroom is arguably the most hostile interior environment in any residential structure. Every time someone takes a hot shower, boiling water vaporizes into the air, seeking out the coldest surfaces to condense upon. Unprotected drywall acts like a sponge, absorbing this moisture and creating an ideal breeding ground for mold, mildew, and microscopic fungi. Over time, this constant environmental assault degrades the structural integrity of the wallboard, leading to bubbling paint, crumbling joint compound, and costly structural remediation.
High-performance bathroom paints are engineered with specialized chemical additives designed to combat this exact form of entropy. Unlike standard living room wall paint, formulations intended for high-humidity zones contain robust acrylic resins and anti-microbial agents. These ingredients create a breathable yet impermeable barrier that prevents moisture from penetrating the substrate while stopping mold spores from taking root on the surface. Applying these specialized coatings is a preventative maintenance strategy that extends the lifespan of your drywall by years.
Furthermore, a properly painted bathroom surface is exponentially easier to maintain and clean. Everyday life in a bathroom involves toothpaste splatters, soap scum accumulation, and water droplet rings near the sink. Traditional flat or matte paints found in older homes absorb these substances, leaving permanent stains that cannot be scrubbed away without stripping the finish. Modern moisture-resistant satin or semi-gloss formulations provide a smooth, washable shield that allows you to wipe away grime effortlessly with a damp microfiber cloth.
The economic implications of this proactive approach are significant. Deferring basic surface maintenance in wet zones often leads to catastrophic failure down the road, requiring professional mold remediation and drywall replacement. By treating a paint refresh not just as a design update, but as a critical envelope-sealing exercise, you safeguard your home’s equity. It is a classic low-risk, high-reward intervention that addresses both aesthetic decay and structural vulnerability simultaneously.
The Systematic Blueprint: A Professional Approach to Bathroom Painting
Achieving a factory-quality finish in a confined space like a bathroom requires rigorous discipline and a strict sequence of operations. Amateurs often rush the preparation phase, leading to peeling paint and uneven coverage within months. A professional painter approaches a bathroom not as a quick weekend chore, but as a technical project that demands patience, proper material selection, and precise execution.
Preparation is eighty percent of the battle, particularly in a room filled with porcelain, tile, and chrome fixtures. Before a single drop of paint touches the walls, the room must be completely stripped of removable items, hardware, and accessories. Taping off complex interfaces like the bathtub surround, vanity edges, and light fixtures requires a steady hand and high-adhesion blue painter’s tape that leaves no residue behind.
The actual execution of the project follows a disciplined timeline that ensures optimal curing and bonding. Every step must be executed with an eye toward moisture management and adhesion security:
- Step 1 (Surface Deep Cleaning & De-greasing): Wash all walls and baseboards with a TSP (trisodium phosphate) substitute or a heavy-duty degreaser to remove invisible soap film, body oils, and dust accumulation. Rinse thoroughly and allow the surfaces to dry completely for at least 24 hours.
- Step 2 (Defect Repair & Sanding): Scrape away any flaking or bubbling old paint using a putty knife. Fill nail holes, dents, and hairline cracks with a moisture-resistant spackle or exterior-grade patching compound, then sand smooth with 120-grit sandpaper.
- Step 3 (Priming Vulnerable Substrates): Apply a coat of shellac-based or high-adhesion acrylic primer over any patched areas, water stains, or raw drywall. If you are painting over glossy surfaces, use a bonding primer to ensure mechanical grip.
- Step 4 (Precision Cutting-In): Using an angled, high-grade synthetic bristle brush, carefully cut in around the ceiling perimeter, baseboards, door frames, and permanent fixtures before rolling the main wall fields.
- Step 5 (Rolling the Wall Fields): Apply two thin, even coats of 100% acrylic interior paint formulated with mildew inhibitors using a 3/8-inch nap roller sleeve for smooth walls or a 1/2-inch nap for textured plaster. Maintain a wet edge and allow proper drying time between coats according to manufacturer specifications.
Avoiding the Trapdoors: Common Pitfalls and Field-Tested Workarounds
Even enthusiastic DIYers can stumble when tackling a bathroom painting project due to the unique environmental constraints of the space. Ignoring the nuances of humidity, paint chemistry, and application tools can turn a simple weekend refresh into a frustrating exercise in redoing work. Understanding where projects typically fail allows you to bypass these expensive mistakes entirely.
The most frequent error is selecting the wrong paint sheen out of a desire for a trendy, ultra-matte look. While flat paints look velvety and sophisticated in a living room, they are an absolute disaster in a bathroom. The microscopic pores in flat paint trap moisture and dirt, making them impossible to clean and highly susceptible to water spotting.
Another major trapdoor is rushing the drying intervals between primer and topcoats, or between the first and second coats of paint. High humidity slows down the evaporation of solvents and water within the paint film. Applying a second coat over a seemingly dry surface that still retains internal moisture leads to blistering, wrinkling, and premature delamination.
To navigate these challenges successfully, seasoned painters rely on specific field-tested workarounds that guarantee professional results:
- Pitfall 1 (Choosing Flat or Eggshell Finishes): Avoid low-sheen paints that absorb moisture. Always opt for a high-quality satin, pearl, or semi-gloss finish in bathrooms to ensure washability and moisture resistance.
- Pitfall 2 (Trapped Humidity During Application): Never paint a bathroom immediately after someone has taken a shower, and run the exhaust fan continuously throughout the painting and drying process. If humidity is exceptionally high, run a portable dehumidifier in the room.
- Pitfall 3 (Peeling Paint Over Glossy Tile or Trim): Skipping primer over semi-gloss builder paint or glossy trim results in poor adhesion. Always lightly scuff-sand glossy surfaces with 220-grit paper and apply a bonding primer before painting.
- Pitfall 4 (Leaving Painter’s Tape on Too Long): Allowing paint to dry completely over standard painter’s tape creates a hard film that tears when the tape is pulled. Remove tape carefully at a 45-degree angle while the final coat is still slightly tacky (within two hours of application).
- Pitfall 5 (Skimping on Product Quality): Using cheap, bargain-bin paint means lower solids content, requiring three or four coats to achieve coverage. Invest in premium, top-tier interior acrylic paint; it saves time, covers in two coats, and lasts twice as long.
The Broader Economic and Sustainable Value of Surface Renewal
In an era dominated by discussions of sustainable living and circular economies, the philosophy of renovation has undergone a quiet shift. Tearing out a functional bathroom vanity, ripping up tile floors, and sending tons of construction waste to local landfills is an expensive and environmentally taxing endeavor. Choosing to preserve existing architectural elements while radically updating their aesthetic through surface treatments represents the ultimate expression of sustainable home maintenance.
The economic rationale is equally compelling. Real estate market analyses consistently demonstrate that cosmetic updates offer the highest return on investment of any home improvement project. A buyer walking into a home with dingy, water-stained bathroom walls immediately calculates the cost of a full gut renovation in their purchase offer. Conversely, walking into a bathroom with crisp, modern color schemes, clean caulk lines, and flawless wall surfaces signals that the entire property has been meticulously cared for.
Furthermore, modern paint chemistry has evolved to align with stringent environmental and health standards. The widespread availability of zero-VOC (volatile organic compounds) and low-VOC formulations means that homeowners no longer have to endure noxious chemical fumes or respiratory irritation while painting indoor spaces. These advanced formulations use water-based carriers and safer mineral pigments, ensuring that indoor air quality remains uncompromised during and after the application process.
This approach democratizes home design. It proves that creating a luxurious, spa-like environment does not require an inheritance or a revolving line of credit. By focusing labor and financial resources on high-impact, low-waste interventions like painting, homeowners take direct control of their living spaces. It is an empowering process that reconnects the inhabitant with the physical fabric of their home.
Actionable Frameworks for Choosing Palettes and Maximizing Impact
Transforming your bathroom successfully requires a structured decision-making framework that balances personal taste with the architectural realities of your space. Walking down the aisle of a paint store without a clear strategy often leads to decision fatigue and color choices that look entirely different under fluorescent showroom lights compared to your private water closet.
Start by auditing the permanent elements in your bathroom that you do not plan to change—such as floor tile, vanity countertops, and plumbing fixtures. A paint color must harmonize with these fixed undertones. If your floor tile features cool gray veining, pairing it with a warm, creamy beige wall paint will create a jarring visual dissonance. Conversely, matching cool grays with crisp whites or muted blues ties the entire room together effortlessly.
Lighting is the final arbiter of color success. Always purchase sample pots of your top three color choices and paint large swatches directly onto different walls in the bathroom. Observe how those colors shift throughout the day—from the cool natural light of morning to the warm artificial glow of evening vanity lamps. This simple testing protocol prevents costly mistakes and ensures absolute confidence before you commit to rolling an entire gallon.
To maximize the transformative power of your project, consider extending the paint application beyond just the drywall. Painting dated wooden vanity cabinets in a contrasting satin enamel, refreshing builder-grade mirrors with a painted wooden frame, or applying a durable porch-and-floor paint to tired linoleum floors can elevate a simple wall paint job into a cohesive, designer-level transformation.
We spend a significant portion of our lives navigating the small, transitional spaces of our homes. The bathroom is where we shed our public armor at the end of the day and prepare to face the world each morning. Allowing this space to languish under the weight of peeling paint, water stains, and outdated colors subtly diminishes our daily quality of life.
The decision to pick up a paintbrush is more than a weekend project; it is a declaration of agency over your immediate environment. It proves that profound, uplifting change does not require massive financial outlays or architectural upheaval. Through careful preparation, smart material selection, and deliberate color curation, you can rewrite the atmosphere of your home one room at a time.
Take a hard look at your bathroom walls today. Envision the light bouncing off a flawless, satin-smooth surface in a color that genuinely calms your mind. The tools are waiting at the hardware store down the street, and the transformation is entirely within your hands.