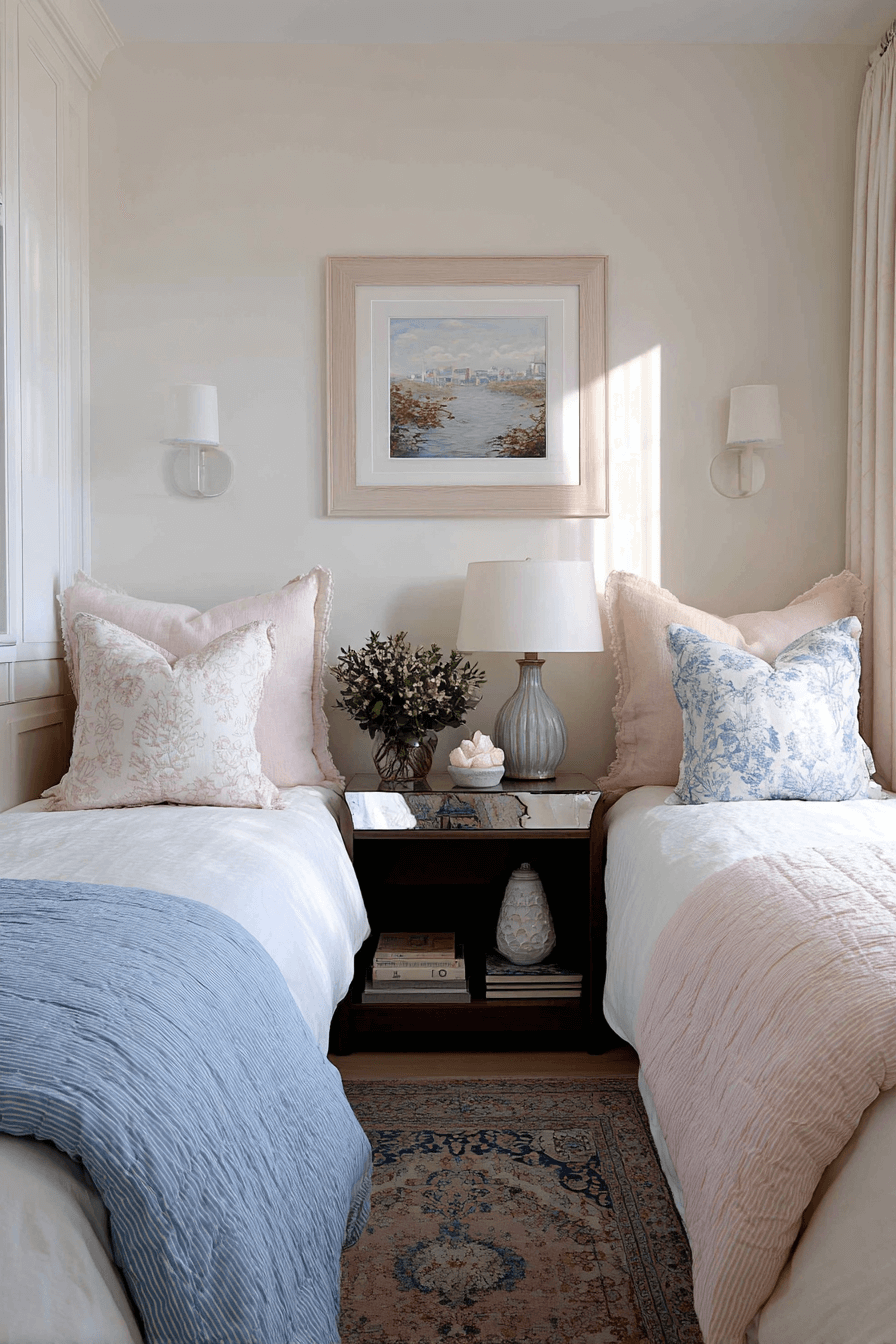
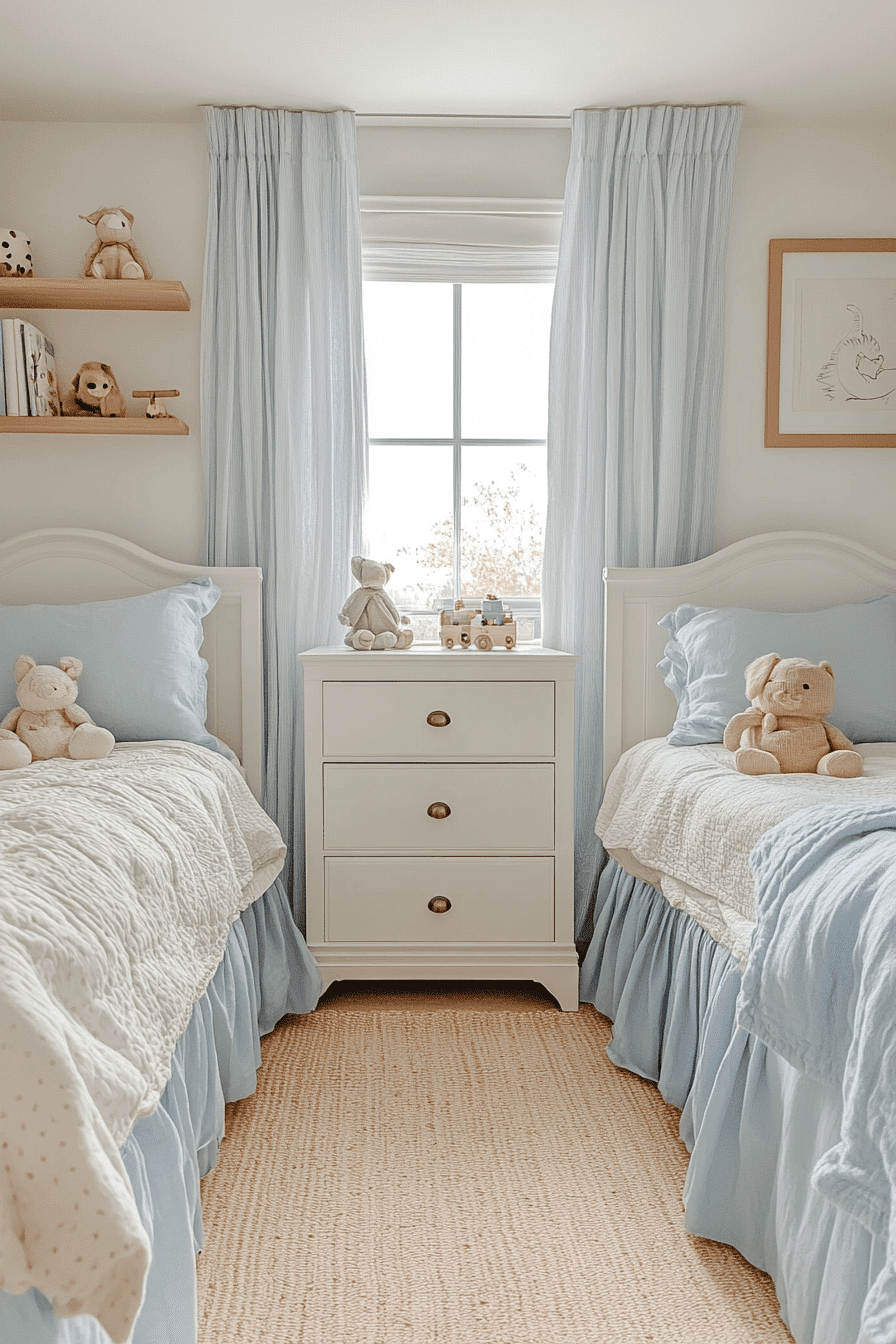
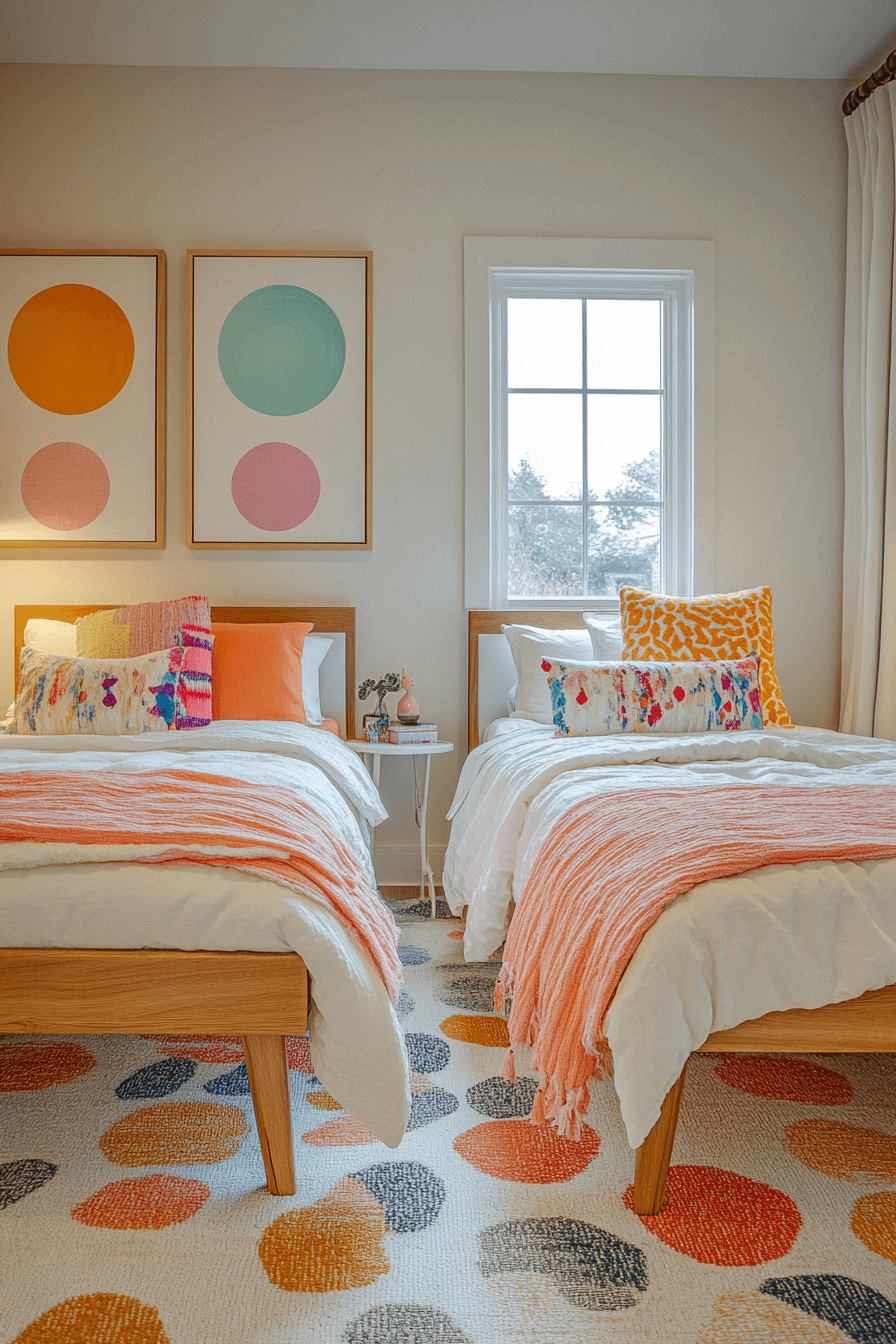
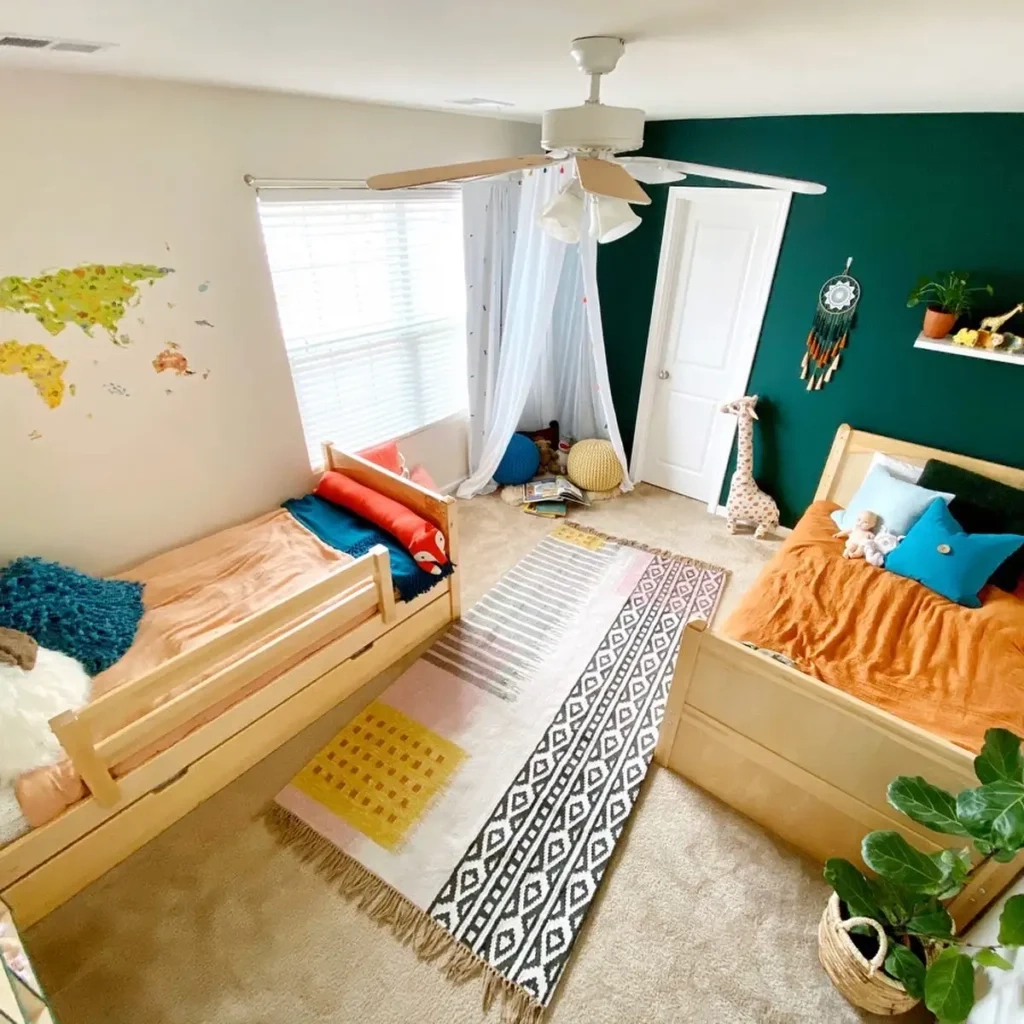
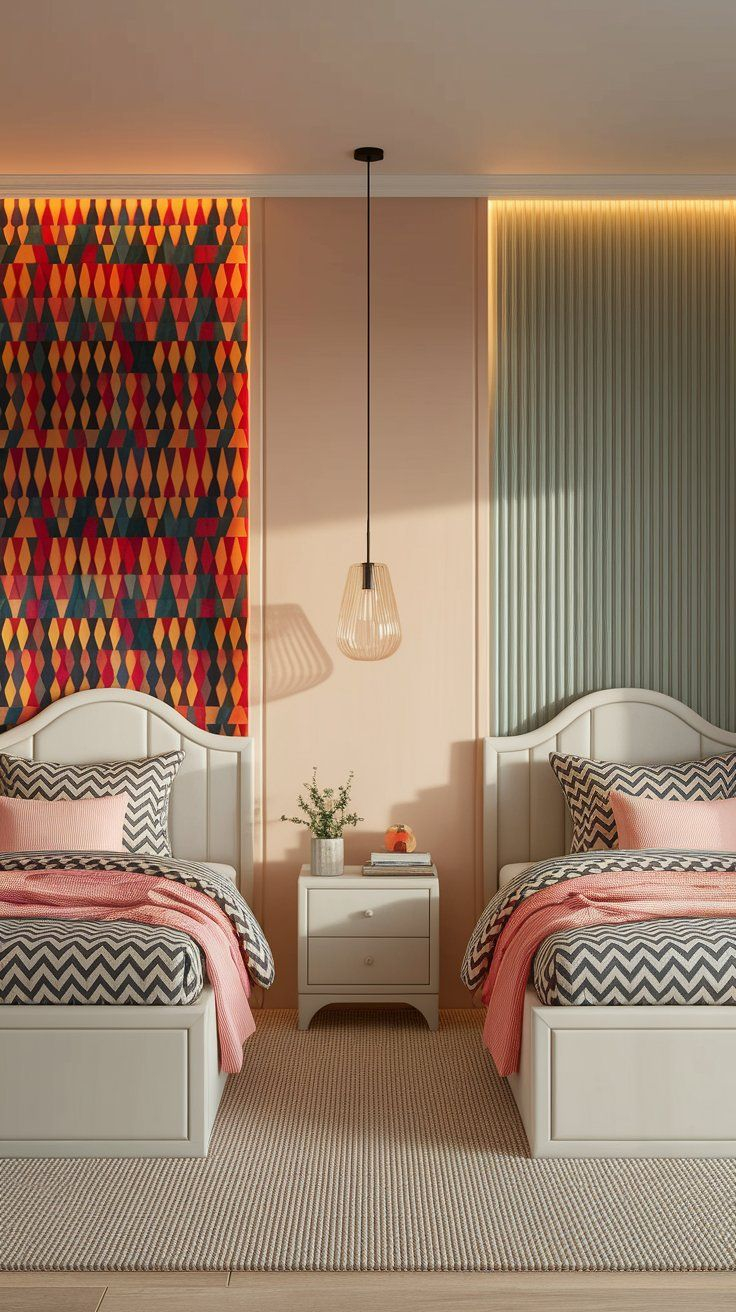
We’ve all been there. You walk into your child’s room and sigh. The walls are bare, the furniture is scuffed, and that "temporary" pile of laundry has become a permanent fixture. It feels overwhelming, doesn’t it? Especially when you look at those glossy magazine spreads or Instagram feeds showing perfect, pristine spaces that cost more than our monthly mortgage. But here is the truth: you don’t need a massive budget to create a space your kids will love. In fact, some of the best rooms are the ones built with creativity, not cash.
This isn’t just about saving money. It’s about making a home. Over the last few months, we tackled a complete bedroom overhaul for our seven-year-old, Leo. The goal was simple: make it cool, make it functional, and spend less than $500. Sounds impossible? It wasn’t. It took sweat equity, a lot of second-hand hunting, and a willingness to let go of perfection. If you are staring at a blank wall or a tired dresser right now, wondering where to start, this story is for you. Let’s dive into the messy, beautiful reality of a budget-friendly makeover.
Starting With What You Have (And What Your Child Wants)
Before buying a single can of paint, we stopped. We looked. Really looked. Most of us rush to the store because we think we need new things to fix old problems. But the first step in any successful budget makeover is an honest assessment of what already exists. We pulled everything out of Leo’s closet and drawers. We checked the structural integrity of his old bookshelf. Surprisingly, the bones were good. The wood was solid oak, just covered in ugly orange varnish from the 90s. Instead of tossing it, we saw potential. This aligns with recent advice from design experts who suggest that upcycling existing furniture is the most transformative way to breathe new life into a room without spending a fortune.
Then, we talked to Leo. Not a superficial "what color do you like?" chat, but a real conversation. Did he want a jungle theme? A space station? Turns out, he just wanted a place to build Legos without them getting lost under the bed and a cool spot to read. His preferences drove the function, while our budget dictated the form. By aligning the project with his actual needs and our financial limits, we avoided buying trendy items that would be obsolete in six months. This stage sets the foundation. It prevents buyer’s remorse and ensures every dollar spent serves a purpose.
We also measured everything. Twice. There is nothing worse than buying a rug that is too small or a bed frame that blocks the window. We sketched a rough layout on graph paper. This free step saved us from costly mistakes. We realized we had dead vertical space above the desk that was wasted. That insight led to one of our biggest wins later on. Taking the time to plan, rather than impulse buy, is the secret weapon of the budget decorator. It turns chaos into a strategy.
The Magic of Paint and Peel-and-Stick Solutions
Paint is the cheapest way to change the entire mood of a room. We chose a soft, earthy green for the main walls. It’s calming, gender-neutral, and hides scuffs better than white. But we didn’t stop there. To add personality without the commitment of wallpaper, we used peel-and-stick decals. These have come a long way since the sticky, hard-to-remove versions of the past. Today’s options are high-quality, repositionable, and incredibly affordable. We found a set of mountain peaks for the wall behind the bed. They cost under $30 and took twenty minutes to apply.
The beauty of stickers is their flexibility. Kids’ interests change fast. One day it’s dinosaurs, the next it’s astronauts. With traditional wallpaper, you’re stuck. With decals, you can peel them off when your son decides dinosaurs were so 70 million years ago. This low-commitment approach is perfect for renters or parents who don’t want to repaint every year. We mixed large statement decals with smaller accents. It created depth and visual interest without cluttering the space.
We also painted the trim. It sounds minor, but fresh white trim against the green walls made the room feel crisp and clean. We used leftover paint from another project for the ceiling, which saved us another $40. If you don’t have leftovers, sample pots are a great hack for small areas like accent walls or furniture. Just remember to prep properly. Cleaning the walls and taping the edges takes time, but it makes the finish look professional. A sloppy paint job looks cheap, no matter how good the color is. Take your time here. It pays off.
Upcycling Furniture Like a Pro
Remember that orange oak bookshelf? This was our biggest challenge and our biggest victory. Sanding it down was dusty work, but necessary. We used a medium-grit sandpaper to remove the glossy varnish, then wiped it down with a tack cloth. Next came the primer. Never skip primer on older wood. It ensures the paint sticks and covers evenly. We chose a matte black paint for a modern, grounded look. Two coats later, that dated piece looked like a custom designer item. The total cost? $15 for sandpaper, $12 for primer, and $20 for paint. A new bookshelf would have cost upwards of $150.
We applied the same logic to the nightstand. It was a hand-me-down with a scratched surface. Instead of painting it, we contacted a local hardware store about mis-tinted paints. We found a quart of deep navy blue for $5. We painted the top and sides, leaving the drawer fronts natural wood for a two-tone effect. It added character and hid the scratches perfectly. This technique of mixing finishes is very popular in 2026 design trends. It looks intentional and curated, not just "budget."
For storage, we repurposed wooden crates from a local market. They were free if we took them. We sanded them smooth, stained them lightly, and stacked them sideways to create cubbies. We secured them to the wall with L-brackets for safety. These became the perfect home for Leo’s toys and books. Upcycling isn’t just about saving money; it’s about sustainability. It teaches kids that things can have second lives. Plus, there is a unique pride in saying, "I made that," when guests compliment the room. It adds a layer of warmth that store-bought items often lack.
Smart Storage Hacks That Don’t Cost a Fortune
Clutter is the enemy of a peaceful room. But storage solutions are notoriously expensive. We had to get creative. Vertical space is your best friend. We installed floating shelves using inexpensive brackets and pine boards cut to size at the hardware store. Painting the boards to match the wall made them disappear, letting the items on display pop. We used these for Lego creations and special rocks Leo finds. Keeping floor space clear makes the room feel larger and safer for play.
Under-bed storage was another key area. We didn’t buy expensive bins. Instead, we used flat plastic containers we already had and labeled them with a label maker. Clear bins are great because kids can see what’s inside, which encourages them to put things back. For clothes, we simplified the wardrobe. We removed half the hangers and used drawer dividers made from cardboard boxes covered in contact paper. It sounds silly, but it works. Organizing by category (shirts, pants, socks) helped Leo get dressed independently.
We also utilized the back of the door. An over-the-door shoe organizer became a toy sorter. Small cars went in the pockets. Art supplies went in others. It kept small items off the desk and floor. This kind of multi-functional thinking is crucial in small spaces. Every surface should have a purpose. By thinking vertically and using hidden spaces, we maximized storage without adding bulky furniture. The result is a room that stays tidy longer, which means less stress for parents. And honestly, that peace of mind is worth more than any decorative pillow.
Lighting and Textiles: The Soft Touches
Lighting can make or break a room. The original ceiling light was harsh and fluorescent. We swapped it for a simple pendant light with a warm LED bulb. The fixture was a find from an online marketplace for $25. Warm light creates a cozy atmosphere, essential for winding down before bed. We also added a small task lamp on the desk for reading and building. Layering light sources—ambient, task, and accent—makes the room feel sophisticated. It’s a trick designers use, and it costs almost nothing if you shop second-hand.
Textiles add warmth and texture. We couldn’t afford a huge rug, so we layered two smaller, inexpensive rugs. This creates a custom look and allows for easier cleaning. If one gets stained, you only replace a part of the flooring solution. We chose durable, washable materials because, let’s be real, kids spill things. Cotton and wool blends are great for comfort and longevity.
Bedding was another area where we splurged slightly on quality but saved on style. We bought plain white sheets and added colorful throw pillows and a quilt. This allows for easy seasonal updates. Swap the pillows for autumn colors, then winter blues. It’s cheaper than buying new duvet covers every few months. We also added a canopy over the bed using sheer curtains and a hoop. It cost under $20 and made the bed feel like a fort. Kids love nooks and hidden spots. These soft touches make the room feel safe and inviting. It’s not just a place to sleep; it’s a sanctuary.
When we finally stepped back to look at the finished room, it wasn’t perfect. There were a few paint drips we missed. The rug wasn’t centered exactly. But it felt alive. Leo ran in, eyes wide, and immediately started building on the new desk. He loved the mountain decals. He loved the black bookshelf. The room reflected him, not a catalog. That is the ultimate success. We stayed under our $500 budget, coming in at $485. Every dollar was accounted for.
The process taught us patience. Rushing leads to mistakes and wasted money. Taking time to sand, to plan, to hunt for deals, resulted in a higher quality outcome. It also taught us to involve our child. Leo felt ownership over the space because his ideas were included. He is more likely to keep it clean because he helped create it. This emotional connection is something you can’t buy. It’s built through shared effort and listening.
Looking back, the "imperfections" are what make it charming. The slight wobble in the crate shelf reminds us of the weekend we built it together. The mismatched knobs on the dresser tell a story of scavenging and creativity. A budget makeover isn’t about hiding your constraints; it’s about celebrating your resourcefulness. It shows that style isn’t about price tags. It’s about vision, effort, and love. And those things are free.
So, if you are feeling stuck, start small. Pick one corner. Paint one piece of furniture. Talk to your kid. You don’t need to do it all at once. Let the room evolve. The journey is just as important as the destination. And who knows? You might find that the real story behind your makeover isn’t about the money you saved, but the memories you made along the way. Go grab that paintbrush. You’ve got this.