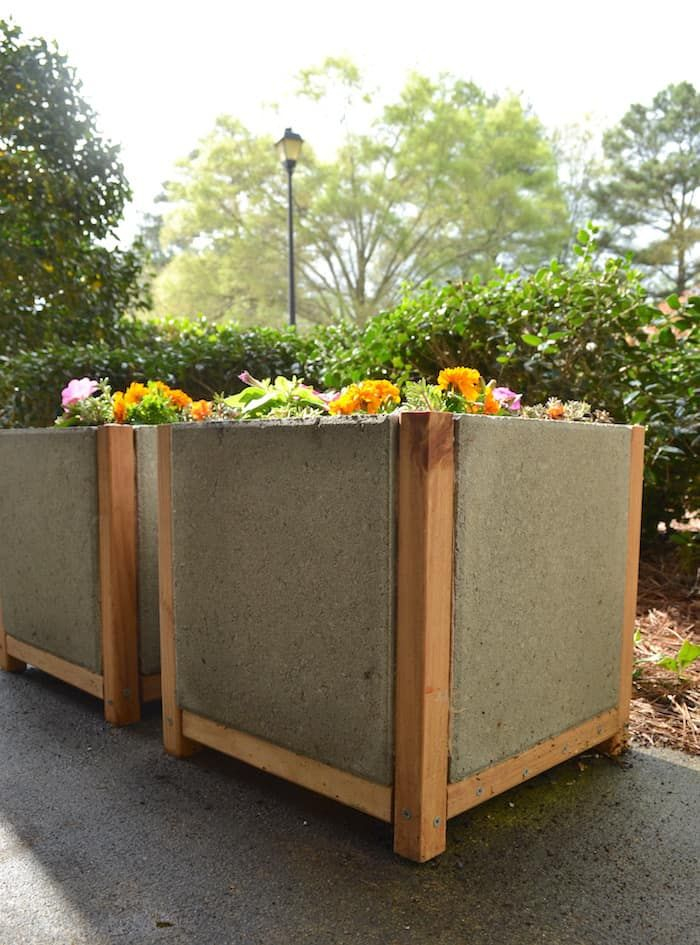
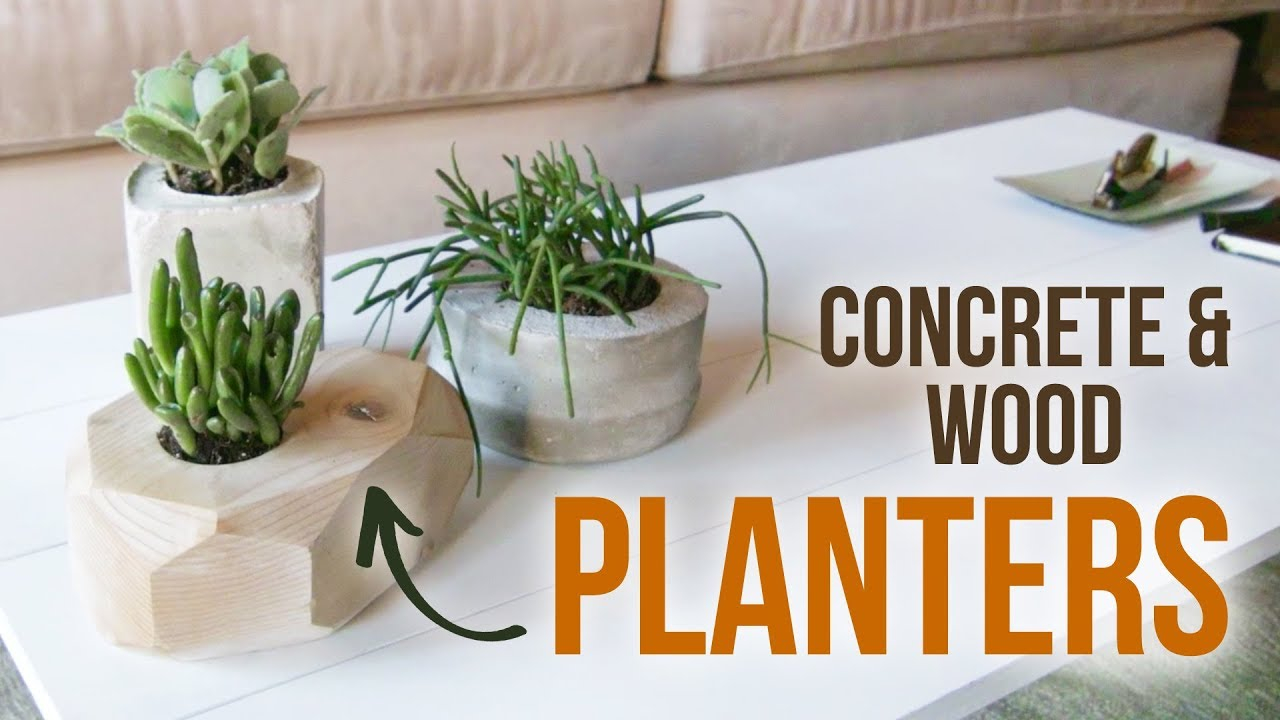
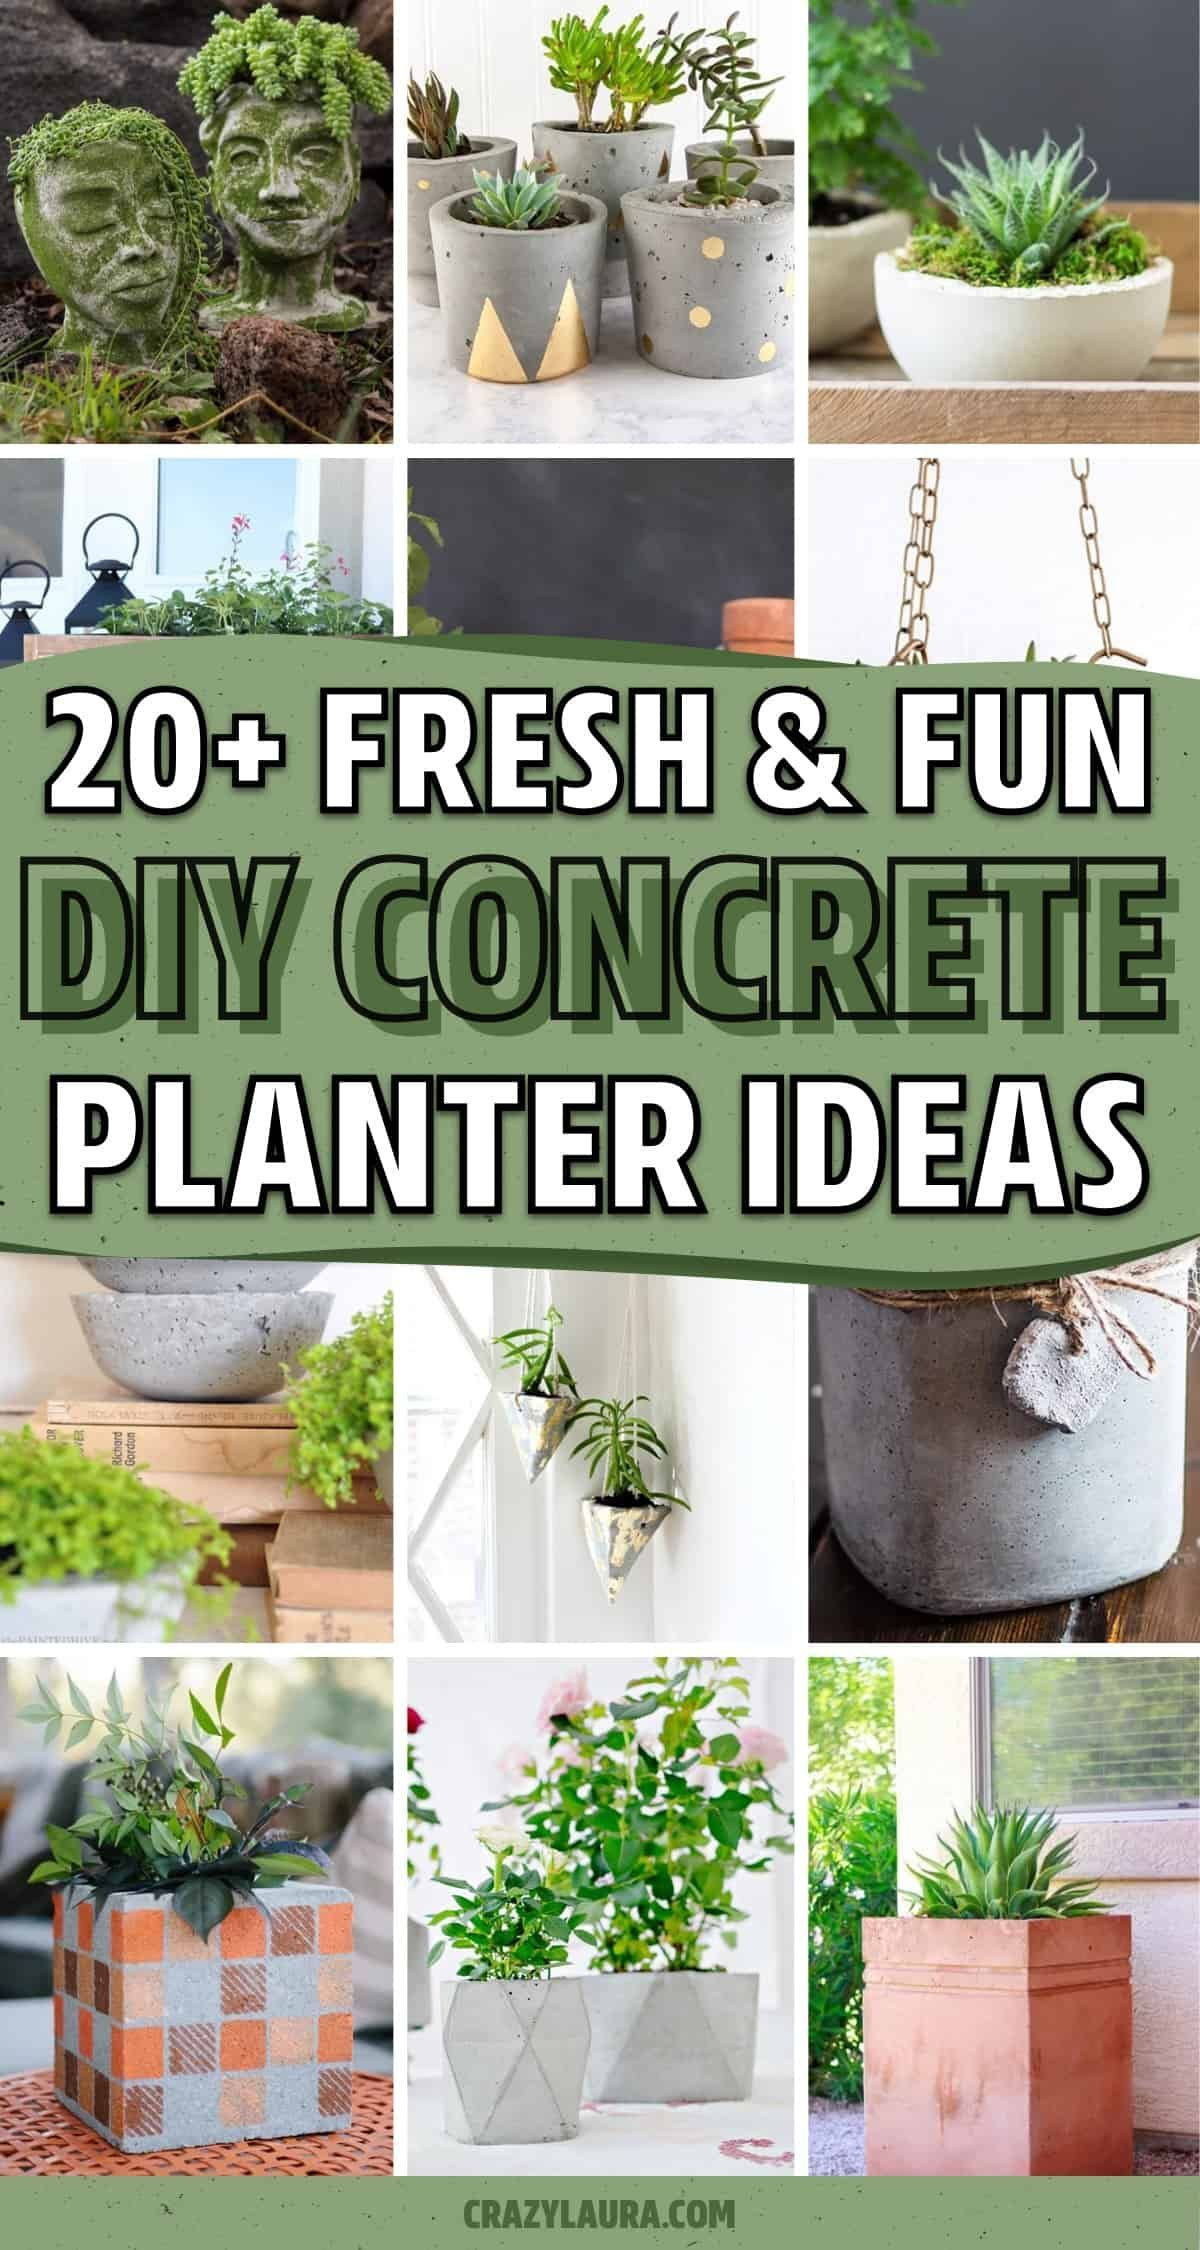
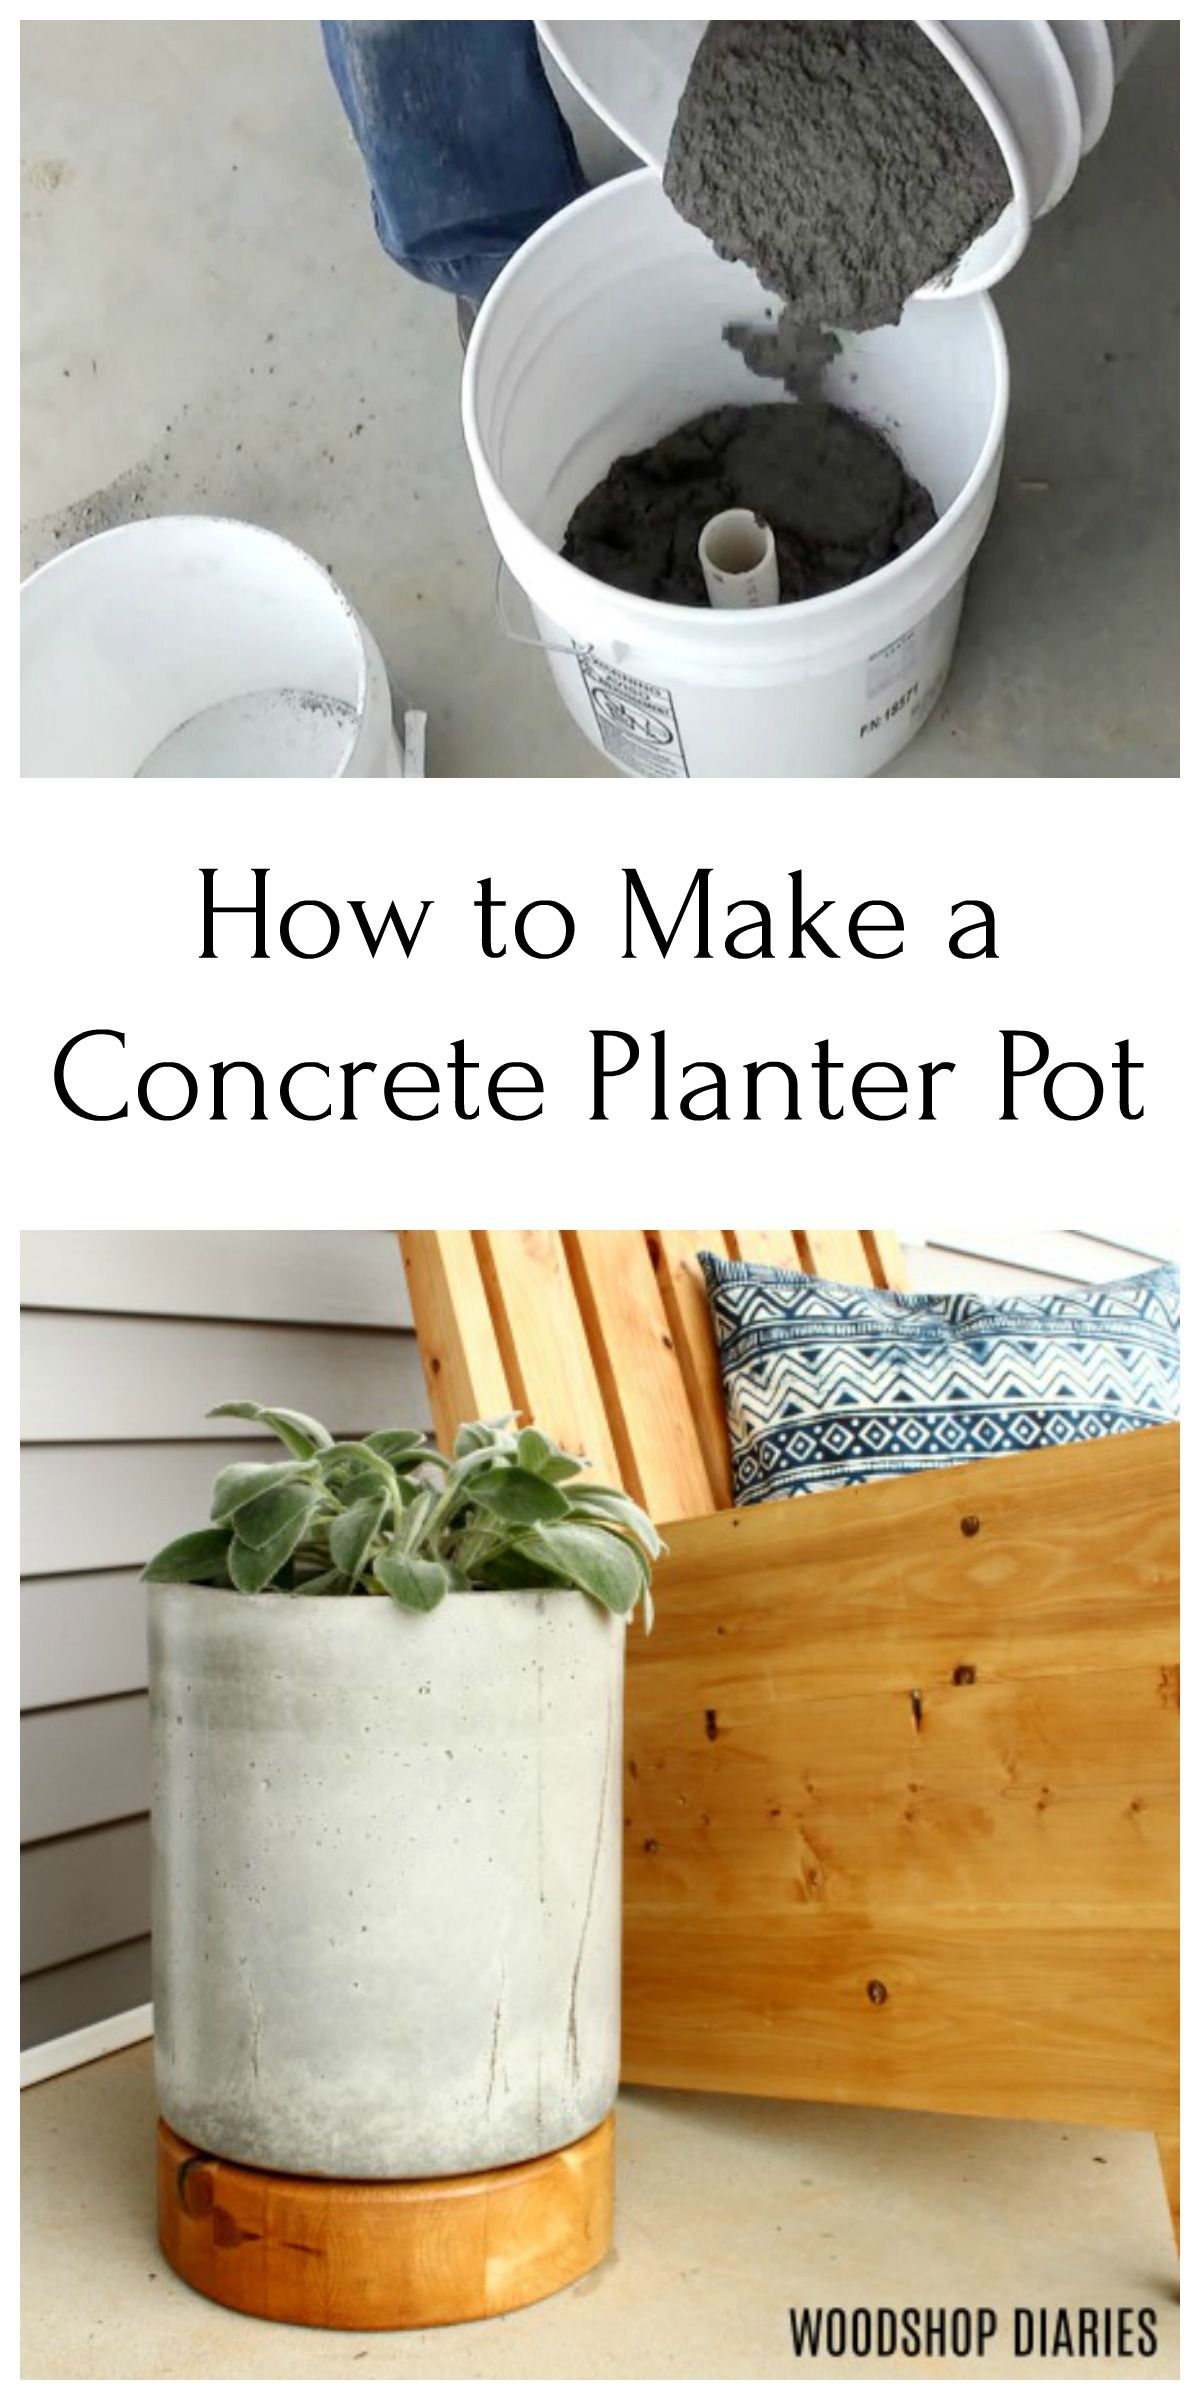
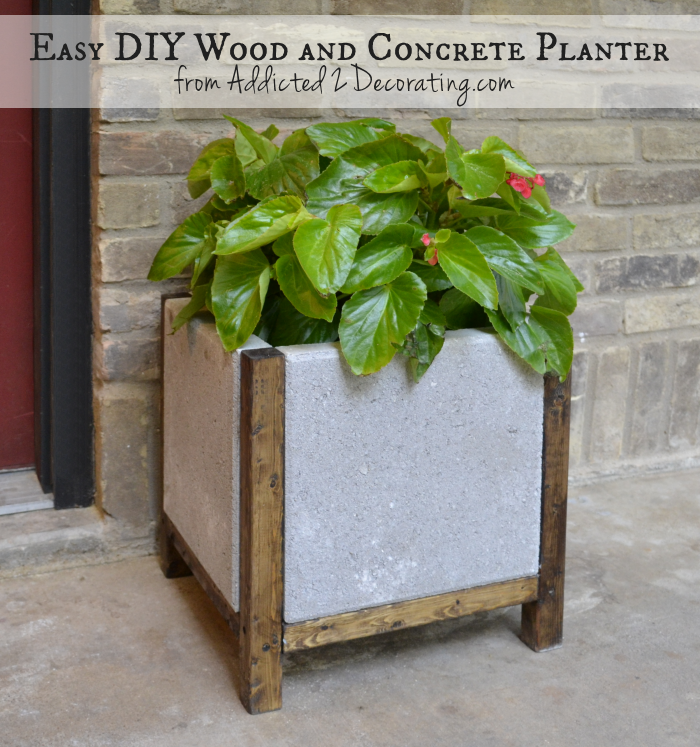
Walking past a sleek, high-end botanical boutique last spring, I paused to admire a row of minimalist concrete planters priced well north of a hundred dollars apiece. They looked striking, perfectly textured, and aggressively modern. Yet, looking closer at the structural aggregate, I realized they were little more than poured cement mixed inside discarded plastic food containers and reinforced with scraps of chicken wire. The raw components cost pennies. The design secret, however, lay in recognizing the sculptural potential of trash before it ever reached the municipal curb.
That single observation encapsulates the quiet revolution happening in backyards, balconies, and urban windowsills worldwide. Gardeners are no longer content with buying uniform plastic pots shipped halfway across the globe. Instead, they are looking at their recycling bins, construction sites, and thrift stores through an entirely different lens. Every broken chair, discarded tin can, worn-out rubber boot, and obsolete kitchen appliance suddenly looks like a vessel waiting for soil, roots, and green foliage. This shift is not just about pinching pennies; it is a profound reclamation of creativity in a mass-produced consumer culture.
Transforming discarded items into living containers bridges the gap between ecological stewardship and artistic expression. When you plant a cascading pothos inside an old copper kettle or propagate succulents within the hollowed-out spine of an unreadable encyclopedia, you are telling a story. You are creating a dialogue between the manufactured past and the organic present. As material costs rise and environmental consciousness deepens, learning to engineer planters from what is already at hand has transformed from a quirky hobby into an essential, highly rewarding skillset for modern growers.
The Anatomy of Repurposed Gardening and Material Science
Working with recycled materials requires a fundamental understanding of how different substances interact with moisture, root systems, and organic soil chemistry. Not every discarded object makes a successful home for plant life. A metal can left unprimed will quickly rust and leach heavy iron oxides into the root zone, while untreated timber pallets might carry chemical treatments that you certainly do not want near your edible herb garden. Analyzing the structural integrity, porosity, and chemical makeup of your salvaged items is the critical first step before any dirt gets shoveled.
Porous materials like unglazed terracotta, untreated wood, and certain concrete composites breathe naturally, allowing air to reach the root ball and excess moisture to evaporate through the sides. Non-porous materials—such as plastics, glass, and glazed ceramics—retain water far longer, demanding much stricter attention to drainage engineering. When you repurpose a glass jar or a galvanized steel bucket, you are stepping into a completely different watering paradigm. Knowing how to balance these material traits prevents root rot, mineral buildup, and structural failure down the road.
Furthermore, weight distribution and thermal conductivity play massive roles in plant health. Metal containers, for instance, heat up rapidly under direct summer sunlight, effectively cooking delicate root systems if left unprotected or unshaded. Conversely, thick stone or dense rubber tires retain ambient warmth well into the evening, protecting tender perennials from sudden overnight temperature drops. Evaluating these thermodynamic properties ensures that your salvaged containers act as nurturing microclimates rather than botanical traps.
Categorizing the Thirty Unique Upcycled Planter Concepts
To truly master the art of custom planter creation, it helps to organize the vast landscape of recyclable materials into manageable categories. By breaking down potential candidates by their physical traits, we can systematically explore thirty distinct, highly creative concepts that turn everyday waste into horticultural marvels.
The first category revolves around metal objects, where industrial strength meets rustic charm. You can easily transform 1. Galvanized steel buckets, 2. Old metal colanders (which come pre-perforated for instant drainage), 3. Rusted hand tools welded into structural frames, 4. Vintage watering cans, and 5. Discarded mailboxes into stunning focal points. Metal develops a gorgeous patina over time, contrasting sharply against vibrant green foliage.
The second category embraces textiles and soft goods, offering unexpected flexibility and texture. Ingenious gardeners routinely utilize 6. Heavy-duty canvas tool bags, 7. Worn leather work boots, 8. Denim jeans stuffed and sealed at the ankles, 9. Felt grocery totes, and 10. Burlap coffee sacks lined with landscape fabric. These soft containers provide exceptional breathability, though they require careful consideration regarding evaporation rates.
Paper, wood, and organic waste form the third structural tier. You can craft durable planters from 11. Dismantled wooden shipping pallets, 12. Hollowed-out logs and tree branches, 13. Wine cork mosaics glued around plastic liners, 14. Waterproofed cardboard moving boxes coated in resin, and 15. Newspaper paper-mache reinforced with exterior wood glue. These items bring earthy, natural textures directly into urban balconies or sterile patio spaces.
Plastics, glass, and synthetic items make up the fourth category, celebrated for their waterproof nature and endless colors. Clever upcyclers regularly engineer 16. Hanging soda bottle vertical gardens, 17. Plastic gallon milk jugs cut into scoop planters, 18. Old glass fishbowls and aquariums, 19. Vintage tea tins with punched drainage holes, and 20. Plastic laundry detergent jugs transformed into whimsical animal pots. These require minimal maintenance regarding rot, making them ideal for indoor humidity-loving houseplants.
Finally, the fifth category celebrates quirky household objects and architectural salvage that instantly spark conversation. Imagine growing trailing vines from 21. Vintage hardback books, 22. An old wooden kitchen chair with the seat replaced by a pot, 23. Hollowed-out acoustic guitars, 24. Retro ceramic teapots and mugs, 25. Galvanized wheelbarrows, 26. Old birdcages lined with moss, 27. Abandoned bicycle baskets, 28. Ceramic sink basins rescued from remodeling sites, 29. Antique metal bed frames supporting trailing flowers, and 30. Rubber tractor tires painted in vibrant geometric patterns. Each of these items instantly anchors a garden design with undeniable personality.
Step-by-Step Practical Implementation Guide
Turning a piece of raw trash into a thriving botanical ecosystem requires a systematic, methodical approach. Skipping even a single preparation step can lead to waterlogged soil, toxic chemical leeching, or structural collapse halfway through the growing season. Follow this field-tested framework to ensure your custom creation stands the test of time.
- Step 1 (Material Inspection and Safety Audit): Examine your salvaged item for sharp edges, structural cracks, or hazardous residues. Scrub metal objects to remove flaking rust, wash plastics with mild soap to eliminate chemical films, and verify that wooden items have not been treated with toxic pressure-treatment chemicals if you plan to grow edible crops.
- Step 2 (Drainage Engineering): Drill, punch, or melt adequate drainage holes into the bottom or lower sides of your container using appropriate tools like masonry bits, step drill bits, or heated metal spikes. For items that cannot be drilled—such as glass jars—create a foundational two-inch drainage layer using expanded clay pebbles or horticultural gravel before adding soil.
- Step 3 (Lining and Protection): Protect vulnerable materials from moisture damage and soil acidity by inserting heavy-duty UV-resistant plastic liners, landscape fabric, or applying non-toxic waterproofing sealants like marine-grade spar varnish to wood and rust-inhibiting primers to exposed metals.
- Step 4 (Soil Formulation and Layering): Do not fill your container with heavy yard dirt, which compacts terribly in enclosed spaces. Mix a custom, highly aerated potting medium consisting of quality compost, peat moss or coco coir, and perlite or vermiculite to ensure optimal moisture retention and root oxygenation.
- Step 5 (Plant Selection and Installation): Match your plant varieties to the container’s size, sunlight exposure, and thermal traits. Gently loosen root balls before placing them into the fresh medium, backfill firmly to eliminate air pockets, and water thoroughly to settle the soil around the roots.
Common Pitfalls and Field-Tested Workarounds
Even experienced DIYers occasionally stumble when working with unconventional materials. A planter that looks magnificent on crafting day can quickly turn into a botanical disaster if hidden physical or chemical challenges are ignored. Anticipating these hurdles saves your plants from premature decline.
- Pitfall 1 (Absence of Drainage): Many beautiful items like glass containers and tin cans lack drainage, causing water to pool at the bottom and rot root systems. Workaround: Always use the "pot-in-pot" method by placing a smaller nursery pot with drainage holes inside your decorative outer container, leaving a space at the bottom to catch runoff.
- Pitfall 2 (Toxic Chemical Leaching): Using old pressure-treated lumber or industrial drums can release heavy metals and chemical preservatives directly into your soil and plants. Workaround: Restrict toxic or unknown salvaged materials strictly to ornamental non-edible plants, or line the interior completely with heavy food-grade plastic sheeting.
- Pitfall 3 (Thermal Shock in Metal Containers): Thin metal buckets absorb intense solar heat, literally boiling plant roots during peak summer afternoons. Workaround: Paint the exterior of metal containers in light, reflective colors, line the inner walls with insulating bubble wrap or burlap, or position them in partial shade during the hottest hours of the day.
- Pitfall 4 (Rapid Soil Compaction and Nutrient Depletion): Smaller or irregularly shaped recycled containers often lack adequate soil volume, leading to quick nutrient exhaustion and root crowding. Workaround: Amend your potting mix with slow-release organic granular fertilizer and worm castings, and commit to refreshing the top two inches of soil every spring.
- Pitfall 5 (Unstable Center of Gravity): Tall, narrow recycled items like old boots or slender pipes easily tip over in strong winds once top-heavy plants mature. Workaround: Anchor the bottom half of lightweight or tall containers with heavy stones, bricks, or broken pottery shards before adding lighter potting soil.
The Broader Ecological and Economic Impact of Upcycled Gardening
Embracing upcycled planters does far more than just beautify a windowsill or lower your gardening budget; it represents a tangible rejection of the linear "take-make-dispose" economic model. Every plastic jug, shipping pallet, or worn-out kitchen tool diverted from a landfill reduces municipal waste streams and lessened demand for newly manufactured petroleum-based plastics and energy-intensive ceramics. In an era where sustainability is frequently reduced to corporate buzzwords, hands-on upcycling is a genuinely radical, grassroots act of environmental preservation.
Economically, custom upcycling democratizes gardening. Horticulture can often feel prohibitively expensive when factoring in retail ceramic pots, specialized soil amendments, and decorative accessories. By sourcing your containers for free from thrift stores, curbsides, and garage corners, you redirect your financial resources toward what truly matters: high-quality seeds, resilient starter plants, and nutrient-dense organic amendments. This financial accessibility opens the therapeutic, mental health benefits of gardening to individuals and communities of all income levels.
Furthermore, these creative containers foster deep community engagement and storytelling. When neighbors or visitors spot a cascading floral arrangement bursting from an antique bicycle basket or a thriving herb garden sprouting from a reclaimed wooden pallet, conversations start naturally. People begin sharing material finds, swapping propagation cuttings, and brainstorming new ways to keep useful items out of the waste stream. This shared creative impulse builds resilient, connected communities centered around sustainability and hands-on craftsmanship.
Actionable Recommendations and Strategic Frameworks
To maximize your success when diving into the world of recycled planters, you need a clear operational framework that keeps your projects organized, safe, and visually cohesive. Randomly tossing dirt into every old shoe or tin can you find can quickly result in cluttered visual noise rather than an intentional garden design.
First, establish a collection protocol. Designate a specific storage area—such as a corner of a garage or shed—where you can clean, sort, and store salvaged items by category. Inspect each item for structural soundness immediately upon acquisition rather than waiting until planting day. This prevents wasted effort when you discover a hidden crack or rust perforation halfway through a project.
Second, curate with a distinct design vision. Group your recycled planters by color palette, material theme, or historical era. For instance, pairing a collection of galvanized metal buckets with weathered wood creates an instant industrial-farmhouse aesthetic, while grouping colorful plastic detergent jugs together in a children’s play area creates a vibrant, playful pop art installation. Unity in texture or color elevates repurposed junk into sophisticated interior and exterior design.
Finally, prioritize plant matching over aesthetic convenience. Always let the physical dimensions, root depth, and environmental needs of the plant dictate your choice of container rather than forcing a large root system into a stylishly tiny container. By honoring the biological needs of your flora while celebrating the quirky history of your salvaged vessels, you achieve the ultimate balance of form and function.
The humble act of turning trash into a cradle for living flora changes how you perceive the material world. Walking down an ordinary suburban street or urban alleyway transforms from a mundane commute into a treasure hunt. You stop seeing useless garbage and start envisioning future root systems, cascading greenery, and blooming petals housed within forgotten everyday objects.
As we navigate an increasingly automated and mass-produced world, working directly with our hands to repair, repurpose, and cultivate grounds us in something essential and deeply human. Your garden does not need to look like a glossy catalog page to be breathtaking. In fact, the most compelling spaces are those stamped with personal history, resourcefulness, and imaginative flair. Grab a drill, inspect your recycling bin, and start building a greener world out of the very things the world left behind.