The morning sun always hits a fresh kitchen countertop at the exact wrong angle. If there is a microscopic ridge along a seam, a ripple in the resin polish, or an uneven overhang above the base cabinets, morning light will find it instantly. I learned this lesson the hard way in a cramped 1970s split-level house, standing knee-deep in drywall dust while holding a four-hundred-pound slab of Carrara marble that was moments away from catastrophic fracture. My hands were shaking, my boots were caked in plaster, and the client was staring expectantly from the living room doorway.
That specific day marked my fiftieth kitchen renovation, yet I felt entirely amateurish. Over the ensuing decades, that initial panic morphed into a disciplined obsession with the mechanics, chemistry, and structural realities of kitchen upgrades. I have watched trends roar through the industry like wildfire—from the absolute dominance of absolute black granite to the reign of engineered quartz, and onward to the contemporary fascination with sintered stone and ultra-compact porcelain surfaces. Every single material behaves differently under pressure, reacts uniquely to household acids, and demands an entirely distinct installation philosophy.
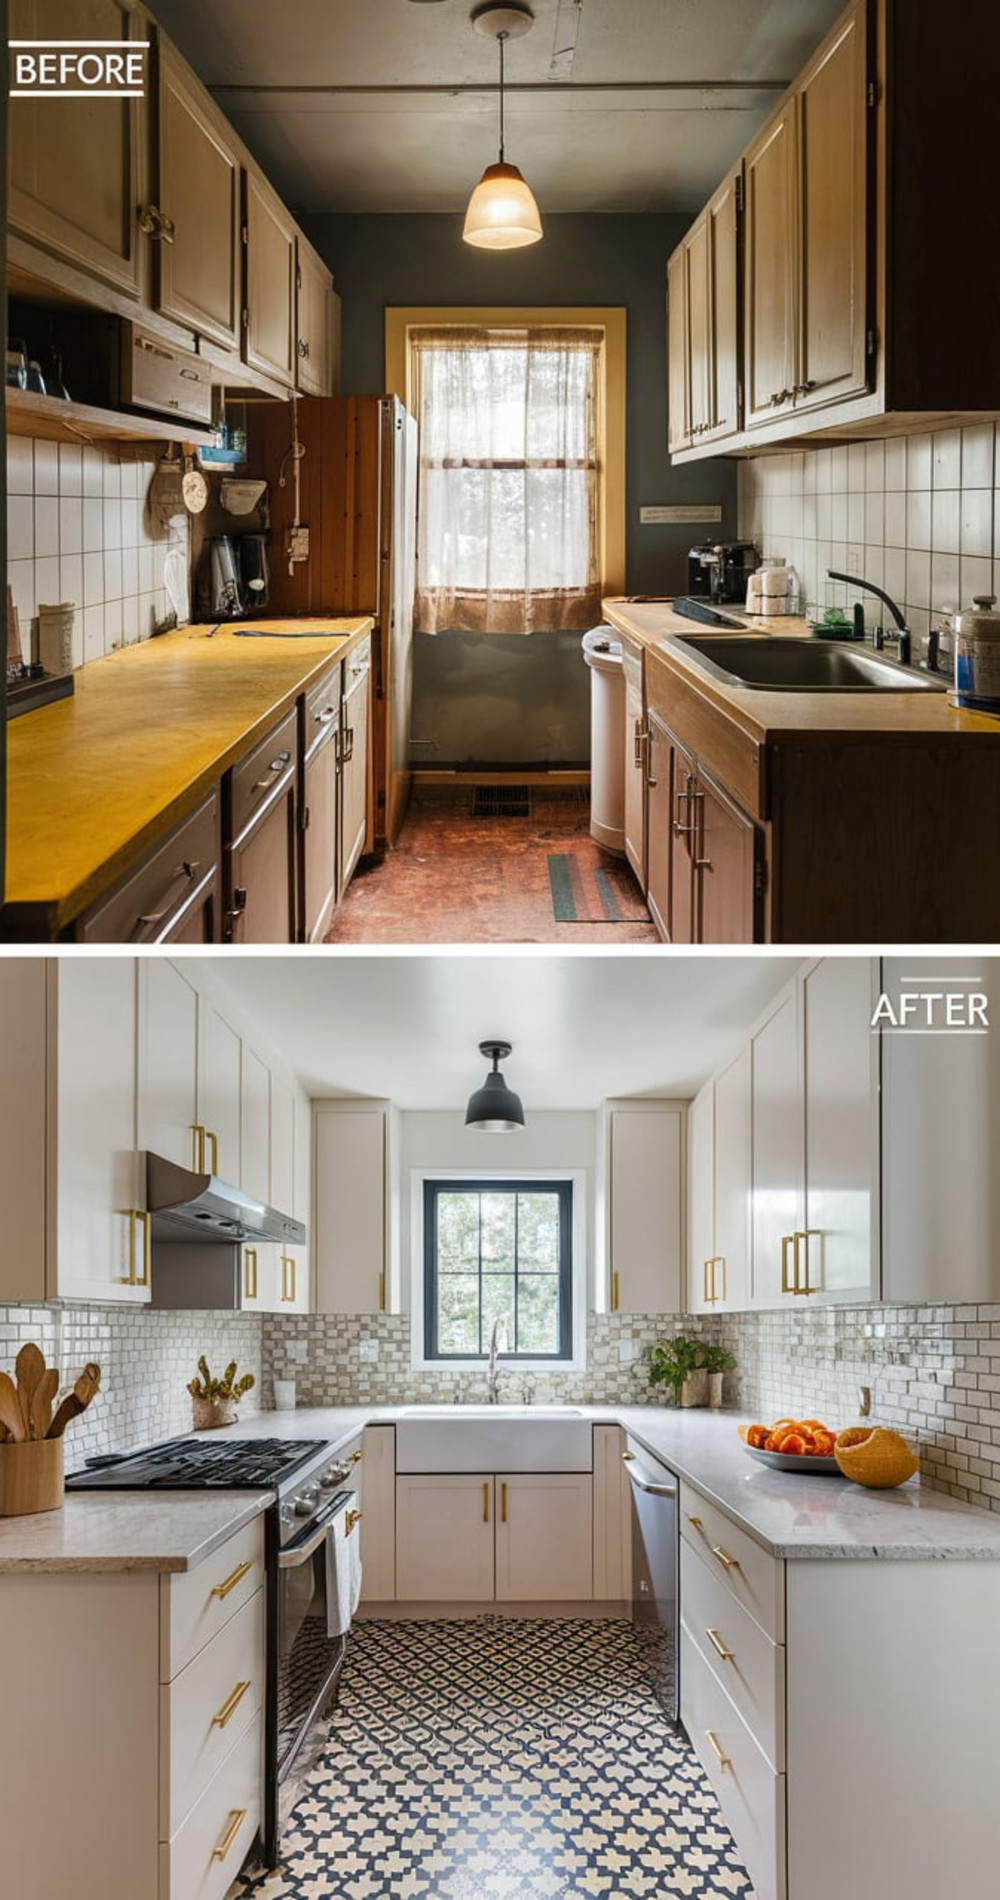
Kitchen remodeling is rarely about straightforward construction; it is an exercise in managing weight, moisture, structural settlement, and human habit. When you rip out an old laminate counter that has quietly absorbed thirty years of spilled coffee and Sunday roasts, you are pulling back the layers of a family’s daily life. What replaces it dictates the emotional gravity of the entire house. The countertop is the functional epicenter, the primary workspace, and the physical anchor of the modern home. Understanding how to transform that surface successfully requires more than a Pinterest board and a weekend trip to the stoneyard. It demands field-tested wisdom.
The Anatomy of Material Selection: Beyond Aesthetics and Instagram Boards
Choosing a countertop material purely on visual appeal is the single most destructive mistake homeowners make during a renovation. I remember a client who fell entirely in love with a soft, dolomite marble slab featuring dramatic charcoal veining. It looked like a Renaissance painting laid horizontally across her base cabinets. Within three months of heavy cooking, olive oil had etched deep rings around the range, red wine had left ghost marks near the island seating, and a cast-iron skillet had chipped the front bullnose edge. Beauty on day one means very little if the surface cannot survive a Tuesday night taco dinner.
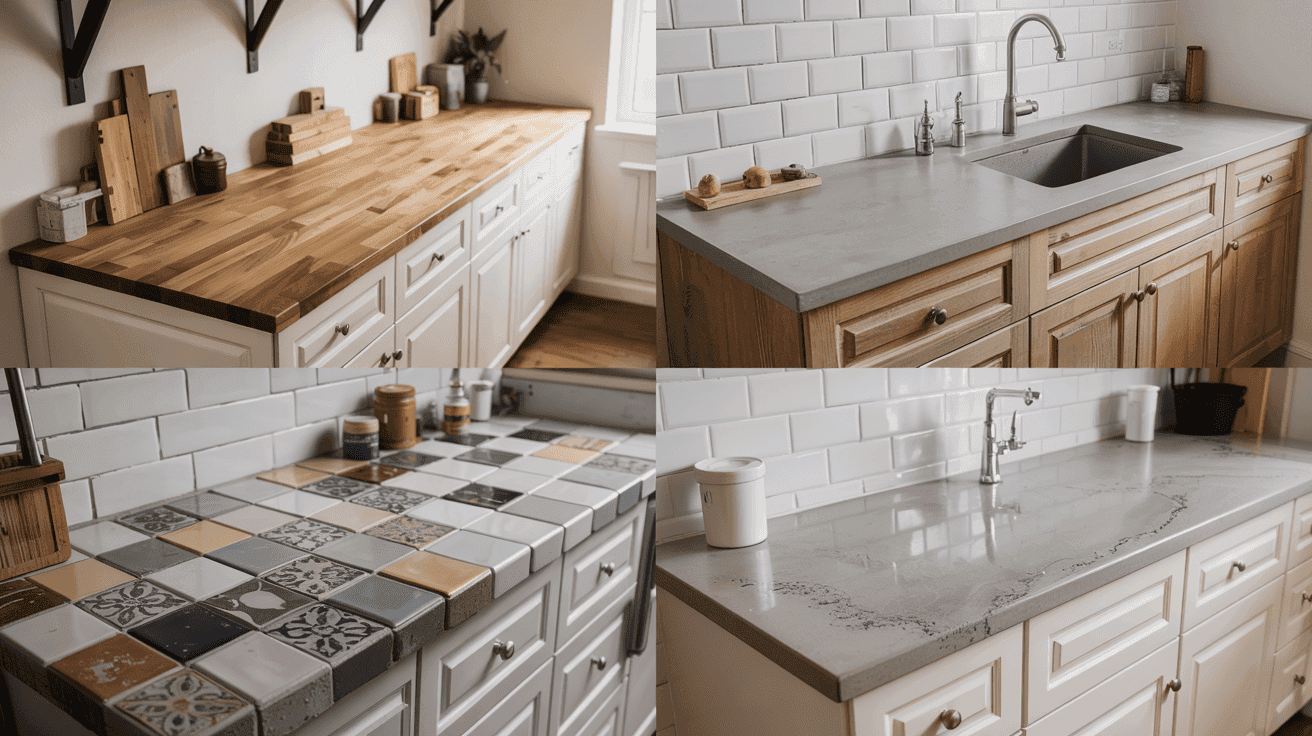
Understanding material composition is the foundational pillar of any successful kitchen transformation. Natural stones like granite, quartzite, and marble possess unique geological personalities. Granite is igneous, born from cooled magma, making it exceptionally dense, heat-resistant, and forgiving of daily abuse. Quartzite is metamorphosed sandstone—harder than granite in many cases, but prone to micro-fissures that require meticulous sealing. Marble is calcium carbonate; it is soft, porous, and chemically reactive to anything acidic, etching the moment lemon juice or vinegar makes contact. Yet, people choose marble for its cool, timeless touch, accepting its patina as a record of living.
Engineered stones, led by quartz composites, completely altered the renovation landscape by blending natural mineral aggregates with resilient polymer resins. They offer predictable consistency, non-porous hygiene, and zero requirement for chemical sealers. However, quartz has its own hidden vulnerability: ultraviolet sensitivity. Installing a vibrant, resin-heavy quartz countertop directly beneath a wall of unshaded south-facing windows can lead to noticeable discoloration over a span of several years. Sintered stones and ultra-compact porcelain surfaces have emerged as the modern heavyweights, firing minerals under extreme heat and pressure to create surfaces that shrug off UV rays, thermal shock, and scratching, though they demand master-level fabrication expertise to prevent edge shattering during cutting.
Structural Realities and Cabinet Load-Bearing Physics
Most homeowners focus exclusively on the top surface while ignoring the skeletal framework holding it up. A standard three-centimeter granite or quartz slab weighs approximately eighteen to twenty-two pounds per square foot. When you scale that across a large kitchen island with a twelve-inch overhang for bar seating, you are looking at a dead load exceeding six hundred pounds concentrated in a relatively small footprint. If your base cabinets are flimsy, poorly anchored particle-board boxes from a discount supplier, or if the floor joists underneath have sagged over forty years, disaster is mathematically guaranteed.
Load distribution is an invisible engineering puzzle that dictates whether your countertops will remain flat or develop hairline stress fractures along the cooktop cutout within six months. Before a single slab is measured, a professional remodeler evaluates the plumb, level, and squareness of the underlying cabinetry. Shimming a cabinet run is not merely about making the countertop level so rolling pins do not slide off; it is about ensuring uniform contact across every linear inch of the substrate. Any void beneath a heavy stone slab creates a fulcrum point. When someone leans heavily onto the center of an unsupported span to reach for a mixing bowl, that void turns the stone into a lever, snapping it cleanly in two.
Furthermore, cabinetry modifications are frequently required to accommodate modern slab thicknesses and undermount sink weights. Undermount sinks filled with water and heavy pots exert a continuous downward pull supported only by epoxy adhesive and mechanical clips fastened to the underside of the counter. If the cabinet stiles surrounding the sink base are not reinforced with vertical plywood gussets or steel angle brackets, the entire sink assembly can drop away from the stone, creating a catastrophic leak inside the base cabinet. Every transformation requires looking beneath the surface to ensure the bones of the kitchen can carry the weight of modern luxury.
The Precision Protocol: Measuring, Templating, and Layout Strategy
The moment of truth in any countertop project happens during the templating phase. I have seen multi-thousand-dollar stone orders rendered completely useless because a homeowner measured their walls with a standard tape measure, assuming nineteenth-century or mid-century construction was perfectly square. Walls are almost never square, corners rarely form exact ninety-degree angles, and old houses settle continuously. Relying on linear measurements without accounting for wall undulations will leave unsightly gaps between the backsplash and the stone, or force installers to grind down expensive material on-site with diamond-blade angle grinders, filling the client’s home with billowing plumes of silica dust.
Modern digital templating using laser distance meters and CAD software has drastically reduced human error, but the human eye remains irreplaceable during the slab layout phase. When working with heavily patterned natural stones or dramatic veined quartz, where the slabs are cut from a block determines how the pattern flows across the kitchen. This is known as "book-matching" or "flow-matching." If two adjacent pieces are cut haphazardly from different ends of a quarry run, the transition at the corner seam looks chaotic and disjointed.
- Step 1 (Substrate Verification): Confirm that all base cabinets are permanently anchored to wall studs, completely level across the entire run, and structurally braced to support heavy stone loads without deflection.
- Step 2 (Laser Templating): Deploy digital laser measuring tools to map out every wall angle, appliance garage, corner radius, and overhang dimension down to a fraction of a millimeter.
- Step 3 (Slab Layout Inspection): Review the physical or digital slab layouts with the fabricator, ensuring prominent veining patterns and color concentrations flow logically across high-visibility zones like islands and peninsulas.
- Step 4 (Cutout Optimization): Map out precise locations for undermount sinks, faucet holes, pop-up power outlets, and drop-in cooktops, verifying clearance for internal cabinet plumbing and gas lines.
- Step 5 (Dry Fit and Seam Planning): Prior to final adhesive bonding, perform a dry fit of all pieces on-site to inspect seam tightness, color match of epoxy fillers, and overall edge alignment under natural lighting conditions.
Navigating the Minefield: Common Installation Pitfalls and Field Workarounds
Even with meticulous planning, kitchen remodeling is a dynamic environment where unexpected variables constantly threaten to derail the schedule. One of the most common pitfalls involves underestimating clearance issues during delivery. I once watched an installation crew realize mid-morning that a massive, single-piece island top could not fit around a sharp ninety-degree hallway turn in a historic brownstone. The slab had to be craned in through a second-story window at considerable expense, simply because nobody checked the access route beforehand.
Another perennial hazard is poor seam placement. Amateurs often place countertop seams directly over the dishwasher or adjacent to the primary sink basin. Dishwashers vent hot steam and moisture upward during their drying cycles, which degrades epoxy seam adhesives over time, causing the joint to swell, crack, and collect grime. Similarly, placing a seam directly through the thinnest section of a sink cutout creates a structural weak point that is bound to fail under thermal stress from hot water rinses.
- Pitfall 1 (Ignoring Wall Bows): Forcing a rigid stone slab against a bowed plaster wall without proper scribing, resulting in massive, unsightly gaps that require excessive silicone caulk filling. Workaround: Always scribe the back edge of the stone against irregular walls during templating, or plan for a full tile backsplash that bridges minor wall undulations cleanly.
- Pitfall 2 (Improper Seam Positioning): Locating joins across high-stress zones, sink cutouts, or appliance vent paths. Workaround: Center seams over sturdy cabinet partitions and away from thermal or moisture extremes, utilizing color-matched polyester or epoxy adhesives tinted to mimic surrounding mineral veins.
- Pitfall 3 (Inadequate Overhang Support): Leaving stone overhangs exceeding ten to twelve inches without steel corbels, hidden flat-bar supports, or wood knee-wall bracing. Workaround: Install heavy-gauge steel support brackets countersunk flush into the top of the cabinet framing for any cantilevered breakfast bar exceeding specified limits.
- Pitfall 4 (Thermal Shock Cracking): Placing boiling pots directly onto cold engineered quartz or natural stone surfaces, causing localized thermal expansion and cracking. Workaround: Educate clients thoroughly on thermal limits and mandate the use of trivets, particularly for resin-bound composite stones sensitive to sudden heat spikes.
- Pitfall 5 (Neglecting Sealer Maintenance): Failing to apply and maintain appropriate impregnating sealers on porous stones like marble, soapstone, and soft quartzites. Workaround: Establish a strict post-installation care regimen, applying high-grade penetrating sealers annually and testing porosity with water droplet checks.
The Long-Term Economics and Sustainable Evolution of Kitchen Surfaces
When homeowners invest in a kitchen transformation, they are rarely thinking about twenty-year depreciation schedules, yet countertops represent one of the few interior upgrades that offer a genuine return on investment during home resale. Real estate market data consistently demonstrates that durable, high-end surfaces like quartz and quartzite act as primary psychological triggers for prospective buyers. A dated laminate or cracked tile countertop instantly dates a home to a specific decade, whereas a flawless stone slab signals quality, cleanliness, and financial investment throughout the property.
However, true sustainability in kitchen remodeling goes beyond mere financial resale value. It touches upon material sourcing, quarrying ethics, and lifecycle durability. The environmental cost of extracting natural stone from remote quarries and transporting multi-ton slabs across oceans is substantial. In response, the industry has experienced a major shift toward regional sourcing, recycled glass composites, and ultra-durable sintered surfaces manufactured with zero-waste water recycling systems. Choosing a material that will last forty years without needing replacement is fundamentally more sustainable than installing a trendy, cheap surface destined for a landfill in five years.
Furthermore, the evolution of hygiene technology has changed how we evaluate kitchen surfaces. Modern antimicrobial treatments integrated into resin matrices and non-porous manufacturing processes ensure that bacteria cannot penetrate the countertop substrate. In a post-pandemic residential landscape, homeowners demand surfaces that do not harbor pathogens after raw meat preparation or accidental spills. This fusion of industrial-grade sanitation with residential elegance represents the pinnacle of modern countertop engineering.
Blueprint for Success: Actionable Frameworks for Your Remodel
Translating years of chaotic construction experience into a repeatable, foolproof process requires establishing strict operational guardrails. Whether you are managing a DIY weekend project or hiring a multi-trade general contractor, certain non-negotiable rules govern every successful kitchen transformation. Neglecting even one of these structural tenets can turn a dream renovation into a stressful, expensive ordeal that drags on for months.
- Establish a Realistic Contingency Fund: Always allocate at least fifteen to twenty percent of your total budget toward unforeseen structural surprises, such as rotted subflooring beneath old sinks or damaged drywall that requires repair once old backsplashes are stripped away.
- Finalize All Appliance Specifications Early: Never template your countertops until the exact make and model of your range, cooktop, downdraft vent, and refrigerator are purchased and on-site. Dimensional discrepancies of even a quarter-inch can ruin a precise stone cutout.
- Coordinate the Critical Path Schedule: Ensure your plumber, electrician, cabinet installer, and stone fabricator are locked into a synchronized timeline. Installing countertops before electrical rough-ins are inspected or plumbing is capped creates massive logistical bottlenecks.
- Insist on Physical Template Sign-Offs: Never give final approval for digital drawings alone when working with dramatic natural stones. Visit the stoneyard, stand over the physical slabs, and sign off on the exact cutting orientation with chalk templates marked on the stone face.
- Prioritize Daily Post-Installation Maintenance: Adopt a cleaning protocol tailored specifically to your chosen material. Use pH-neutral cleaners for natural stone, avoid abrasive scouring pads on polished quartz, and treat soapstone with food-safe mineral oils to maintain its rich, matte luster.
Standing in a recently completed kitchen, watching the afternoon light settle softly across a seamless, perfectly leveled quartz island, I am reminded why I have spent decades elbows-deep in mortar and sawdust. Remodeling a kitchen is an act of transformation that extends far beyond physical materials. It changes how a family gathers, how a home breathes, and how daily rituals unfold within the four walls of a house.
The industry will continue to evolve, introducing lighter ultra-compact materials, smarter integrated induction cooktops embedded directly beneath stone surfaces, and increasingly sustainable manufacturing practices. Yet, the foundational truths of the trade remain stubbornly unchanged. Success relies entirely on patience, uncompromising precision, respect for structural physics, and the humility to measure twice, cut once, and respect the weight of the materials we invite into our homes. Approach your next kitchen transformation with that disciplined mindset, and you will build a space that not only withstands the rigors of daily life but stands as a testament to craftsmanship for generations to come.