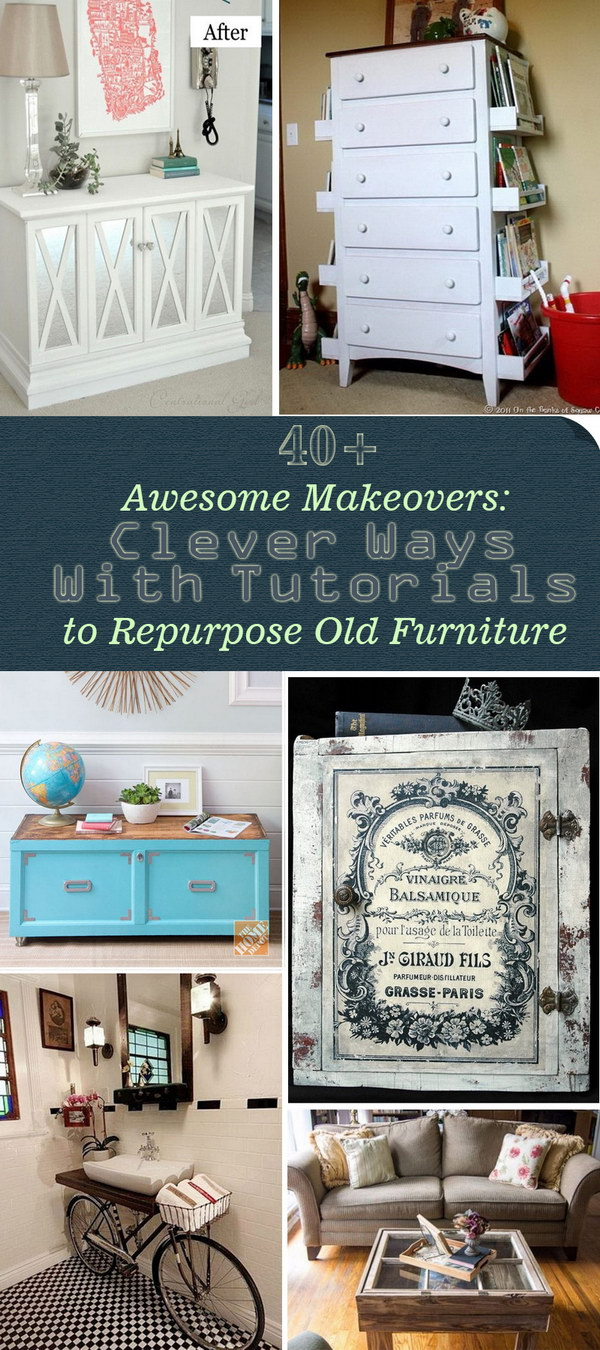
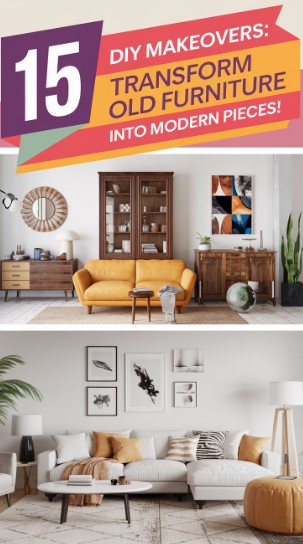
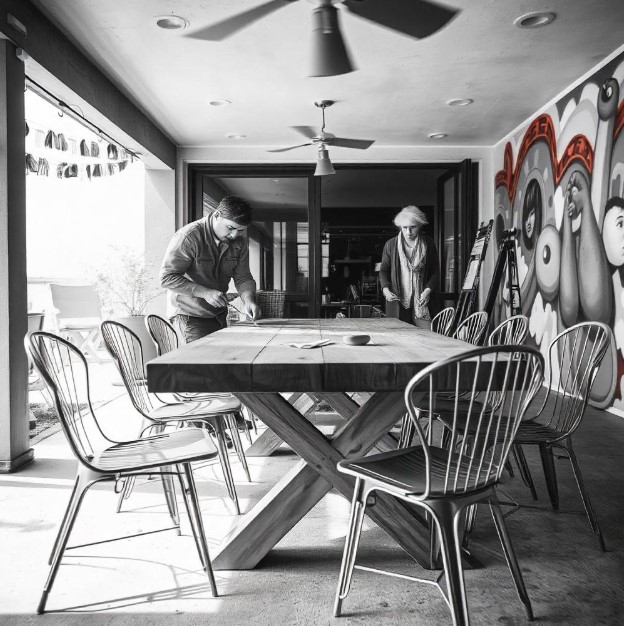
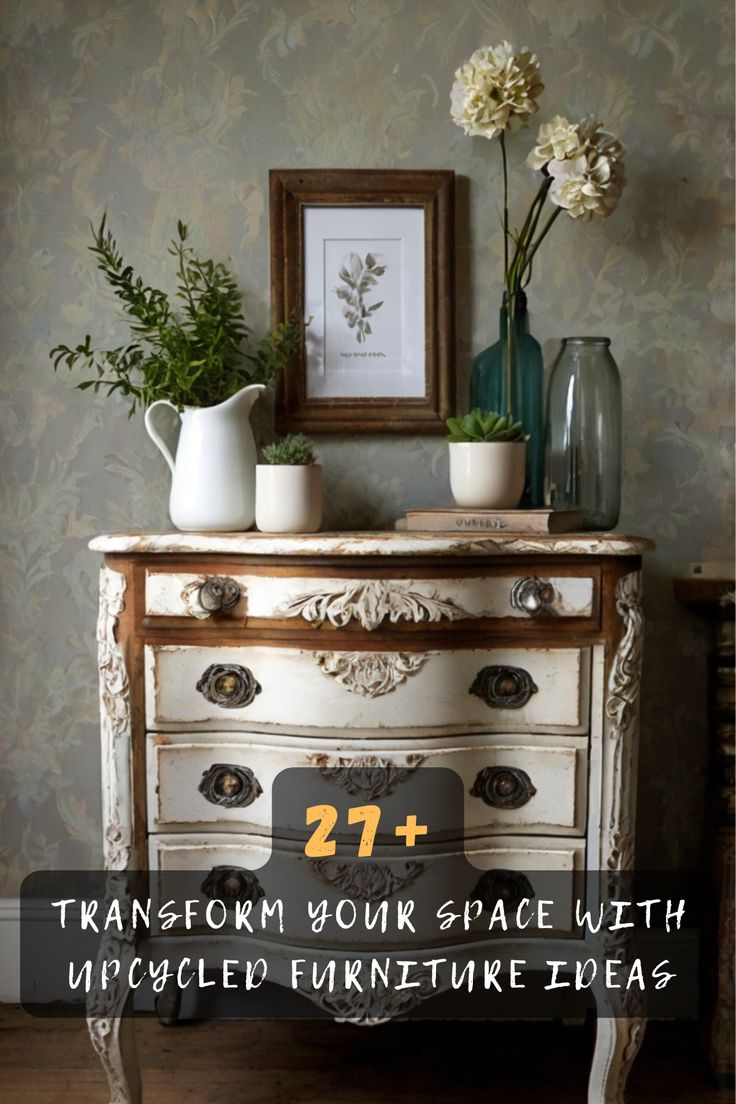
You know that chair. The one sitting in the corner of your garage, or maybe tucked away in a spare room, collecting dust and regret. It’s got a wobbly leg, sure, but the wood is solid. Or perhaps you spotted it at a thrift store for five bucks, and something about its curved back spoke to you, even if the finish was peeling like sunburnt skin. We’ve all been there. In 2026, the urge to toss things out is fighting a losing battle against the desire to create something meaningful. We are tired of the disposable. We want stories. We want soul.
That old chair isn’t trash. It’s a blank canvas waiting for your signature.
Transforming ordinary chairs with paint isn’t just about covering up scratches. It’s an act of preservation. It’s about slowing down in a world that moves too fast. When you pick up a sanding block, you’re not just smoothing wood; you’re clearing space for new memories. Whether you are a seasoned DIYer or someone who has never held a paintbrush outside of a high school art class, this process is accessible. It requires more patience than skill. And honestly? That’s the best part. You can’t rush it. You have to let the layers dry. You have to wait. And in that waiting, you find a strange, quiet satisfaction.
Let’s talk about how to do it right. Not the quick-fix way that chips off in a month, but the way that lasts. The way that makes your friends stop and ask, "Did you buy that at a boutique?" when you tell them you found it in a dumpster.
Seeing Potential Where Others See Waste
The first step isn’t buying paint. It’s looking. Really looking. When you stand in front of a battered wooden chair, try to ignore the ugly beige varnish from the nineties. Look at the lines. Is it a mid-century modern piece with clean, sharp angles? Or is it a Victorian relic with spindles that look like lace made of wood? The structure dictates the style. You wouldn’t paint a delicate, curvy rococo chair with heavy, industrial black enamel. It would look wrong. It would fight the form.
In 2026, we are seeing a huge shift toward "imperfect perfection." People don’t want furniture that looks like it came off a factory line yesterday. They want character. A chair with a few dents tells a story. Maybe it was sat in by a grandmother reading bedtime stories. Maybe it survived a move across the country. These flaws are features. When you assess a chair, check for structural integrity first. Give it a shake. If it rattles like a maraca, you’ll need to glue and clamp it before you even think about color. But if it’s solid, you’re golden.
Don’t be afraid of the weird ones. I recently saw someone take a standard kitchen chair with a broken seat and turn the backrest into a vertical garden holder. Another person converted chair backs into chalkboard surfaces using specialized paint. Imagine writing the menu on your dining chair, or leaving love notes for your partner on the back of their seat. It’s playful. It’s interactive. It keeps the piece fresh because you can change the message whenever you want. This kind of thinking—seeing a chair not just as a place to sit, but as a functional art piece—is what separates a basic makeover from a transformation.
The Prep Work: Where Patience Pays Off
Here is the truth nobody wants to hear: ninety percent of a good paint job is prep work. I know. You want to open the can of bright teal paint and start slapping it on. Don’t. If you skip the prep, your beautiful chair will look cheap within weeks. The paint will peel. It will chip. It will mock you. So, take a breath. Grab your sandpaper.
Start by cleaning the chair thoroughly. Use a degreaser if it’s from a kitchen or a thrift store. You’d be surprised how much grime builds up in the crevices. Once it’s dry, it’s time to sand. You don’t need to strip it down to bare wood unless the old finish is flaking off in large chunks. Usually, scuff-sanding is enough. You just want to rough up the surface so the new paint has something to grab onto. Think of it like priming a wall before painting. If the surface is slick, the paint slides right off. If it’s toothy, it sticks.
Pay attention to the details. Those tight corners where the legs meet the seat? Use a detail sander or just fold your sandpaper into a tiny point. Get in there. If you leave glossy spots, they will show through the new paint like ghosts. After sanding, wipe everything down with a tack cloth or a damp rag. Dust is the enemy. It creates bumps. And nobody likes a bumpy chair. This stage is meditative if you let it be. Put on a podcast. Listen to the rhythm of the sandpaper. Feel the wood getting smoother under your hands. It’s a connection to the material that we rarely get in our digital lives.
Choosing Your Weapon: Paints and Finishes for 2026
The world of furniture paint has changed dramatically in the last few years. Gone are the days when you had to use smelly oil-based enamels that took three days to dry. Today, we have water-based mineral paints, chalk paints, and hybrid options that are durable, low-odor, and easy to use. But which one should you choose?
Chalk paint is still popular for a reason. It requires minimal prep and gives a lovely matte, velvety finish. It’s great for that shabby-chic or farmhouse look. However, it needs to be sealed with wax or a topcoat, or it will stain easily. Mineral paints, on the other hand, are self-sealing. They bond directly to the surface and are incredibly tough. If you are painting dining chairs that will see daily use, mineral paint is your best friend. It stands up to spills, scratches, and the general chaos of family life.
For those wanting a bit of funk, consider textured finishes. Adding sand to your paint can create a stone-like effect. Or, try decoupage. Yes, decoupage. It’s not just for elementary school crafts. Using napkins or specialized tissue paper, you can apply intricate patterns to chair backs. Seal it with a clear coat, and it becomes as durable as any painted surface. In 2026, we are also seeing a rise in "color drenching," where you paint the chair, the walls, and the trim in the same bold hue. It’s immersive. It’s bold. Don’t be afraid to go dark. Navy, charcoal, and forest green are having a moment. They hide wear and tear better than white, and they look sophisticated.
The Application: Technique Over Speed
Now comes the fun part. Actually painting. But hold your horses. Don’t just dip and slap. There is a technique to getting a smooth, professional look. First, remove the hardware if there is any. Take off the cushion if it’s removable. If the seat is upholstered and you aren’t painting the fabric, tape it off carefully. But honestly? Painting fabric is a thing now. There are specific fabric mediums you can mix with paint to make it flexible and soft. It’s risky, but when it works, it’s magic.
Use a high-quality synthetic brush. Natural bristles can leave streaks with water-based paints. Start with the undersides and the back legs. Work your way up. This prevents drips from ruining your finished surfaces. Apply thin coats. I repeat: thin coats. One thick coat will sag and drip. Two or three thin coats will build up a smooth, even layer. Let each coat dry completely. Rushing this step is the most common mistake. If the paint feels tacky, it’s not ready. Wait.
Between coats, lightly sand with very fine grit sandpaper (like 220 or higher). This knocks down any dust nibs or brush marks. It makes the next layer adhere better. It’s tedious, yes. But run your hand over the chair after that second sanding. Feel how smooth it is? That’s the difference between amateur and pro. When you apply the final coat, pull your brush strokes in one direction. Long, steady strokes. Don’t go back over areas that are starting to set. Just let it be.
Adding Personality: Stencils, Patterns, and Whimsy
A solid color is beautiful. But sometimes, you want more. You want personality. This is where stencils and freehand details come in. In 2026, maximalism is creeping back into design. People are tired of beige. They want joy. A simple stencil on the backrest of a chair can transform it from generic to custom. You can buy pre-cut stencils, or make your own with mylar sheets. Geometric patterns, florals, or even abstract shapes work well.
If you’re feeling brave, try a two-tone look. Paint the legs one color and the seat another. Or paint the inside of the backrest a contrasting pop of color. It’s a subtle surprise when you walk around the chair. For a more artistic approach, consider using painter’s tape to create crisp lines. Mask off sections to create stripes or chevrons. The key is precision. Press the tape down firmly so paint doesn’t bleed underneath.
Don’t forget the power of hardware. Swapping out plain wooden knobs for brass, ceramic, or colorful plastic handles can elevate the piece. It’s like jewelry for your furniture. A vintage brass pull on a freshly painted navy chair looks incredible. It adds weight and history. Mix and match. There are no rules anymore. If you like it, it works. That’s the mantra of modern DIY. Experiment. If you mess up, sand it down and try again. The beauty of paint is that it’s forgiving. Unlike wood carving, you can always start over.
You’ve sanded. You’ve painted. You’ve added your fancy stencil. Now you need to protect it. This step ensures your hard work lasts for years, not months. The type of sealer you use depends on the paint and the use. For chairs that will be sat on daily, you need a tough topcoat. Polyurethane is a classic choice. Water-based poly is clear and doesn’t yellow over time, which is important if you’ve used white or light colors. Oil-based poly is tougher but can add a slight amber tint.
Apply the topcoat in thin layers, just like the paint. Sand lightly between coats if you want a glass-smooth finish. For chalk paint, wax is traditional, but it requires maintenance. You have to re-wax it every year or so. For a low-maintenance option, stick to a poly or a specialized furniture sealant. Make sure to cover all surfaces, including the underside of the seat. Moisture and dirt accumulate there, and if it’s unsealed, the wood can swell or rot.
Once the final coat is dry, let the chair cure. Curing is different from drying. Drying means it’s touch-dry. Curing means it’s fully hardened. This can take up to 30 days for some products. Be gentle with it during this time. Don’t stack heavy things on it. Don’t scrub it. Let it settle. After a month, it’s ready for real life. It’s ready to be sat on, spilled on, and loved. And when it eventually shows wear, you won’t mind. Because that wear is part of its new story. Your story.
So, go find that chair. The one everyone else overlooked. Bring it home. Give it a second chance. In a world of mass-produced sameness, there is profound joy in creating something unique with your own two hands. It takes time. It takes patience. But when you sit down in that chair for the first time, knowing you saved it, knowing you made it beautiful… well, that feeling is worth every grain of sand.