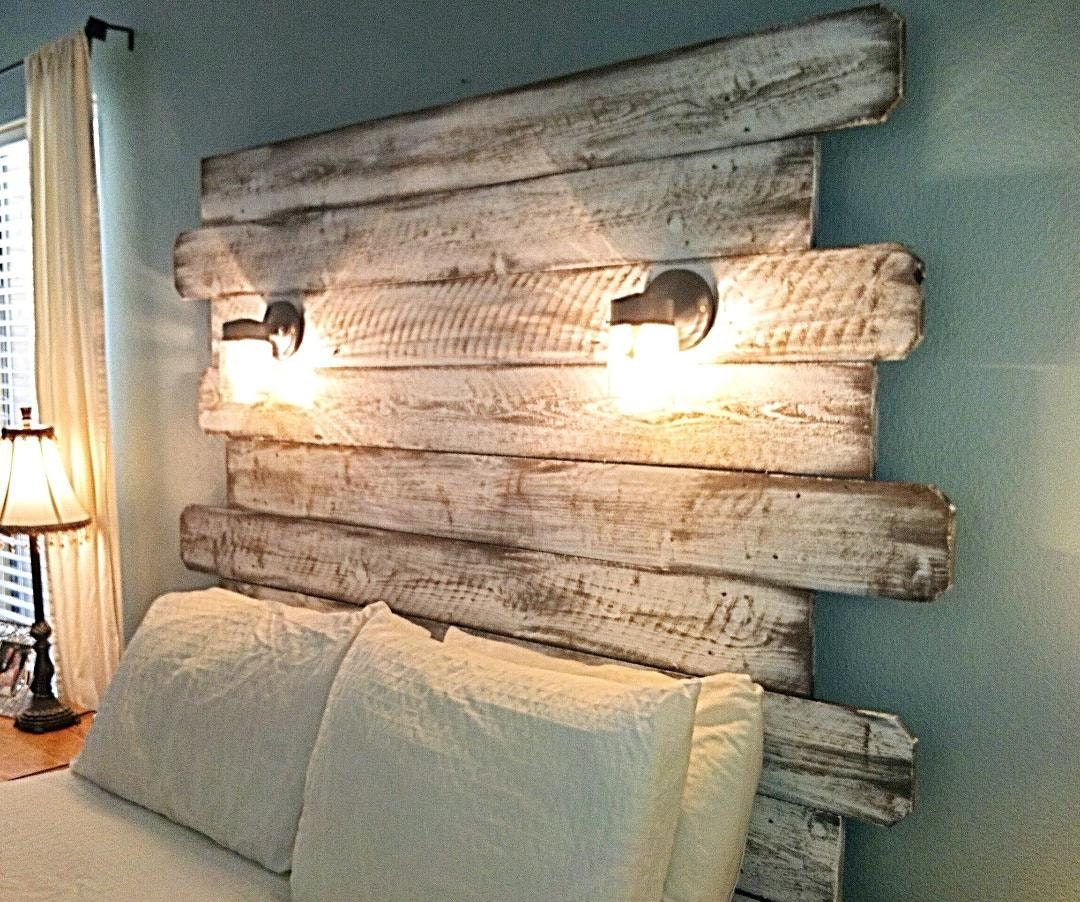
There is something incredibly satisfying about walking into your bedroom and seeing a gorgeous, custom headboard that you designed yourself. It is the undisputed focal point of the room, setting the stage for your entire decor. But if you talk to the artisans who spend their lives pulling fabric tight and hammering decorative studs, they will tell you that a lot of DIY dreams hit a roadblock before the staple gun even gets plugged in.
Designing a headboard is more than just picking a cool shape and a pretty fabric. It is a physical, tactile puzzle where the materials you choose have to work together under tension. Let’s look at the insider secrets professional upholstery makers wish everyone knew before embarking on their design journey.
1. The Fabric You Love Might Not Love Your Headboard Shape
We have all been there—you fall in love with a bold, beautiful pattern or a crisp, classic stripe. But professional makers warn that fabric behavior is everything. If you are designing a headboard with dramatic curves, deep tufts, or intricate shapes, a stiff fabric will fight you every step of the way.
Woven materials like heavy linen look amazing on flat, modern panels but can bunch up horribly around tight corners. If your design has lots of curves, you need a fabric with a bit of "give" or stretch, like a rich velvet or certain chenilles. Also, if you choose a geometric pattern, keeping those lines perfectly straight across a curved surface is a total nightmare, even for the pros.
2. Foam Density Is Where the True Comfort Lies
When people think about headboards, they usually focus on the final look. But what about when you are actually sitting up in bed reading or watching a show. That is where foam selection comes in, and it is a common place where DIYers try to save a few pennies.
Cheap, low-density foam will feel fine for the first few weeks. After that, it starts to compress, leaving sad, hollow dips where your head and shoulders rest. Pros recommend using high-density upholstery foam that is at least two inches thick. To get that soft, professional loft and keep your fabric from rubbing directly against the foam, always wrap the foam in a layer of polyester dacron batting first.
3. Think About How It Will Mount to Your Wall or Bed
It is easy to get carried away designing a massive, dramatic statement piece that reaches all the way to the ceiling. But how is it actually going to stay up? This is one of the most common oversights in the design phase.
You need to decide early on if your headboard will be wall-mounted or attached directly to the bed frame. Wall-mounted designs usually rely on French cleats, which are incredibly sturdy but require you to secure them into wall studs. If you are renting or do not want to drill heavy anchors into your drywall, a bed-mounted frame is safer, but you will need to design the legs to align perfectly with your bracket measurements.
4. The Hidden Secret of the "Pull" and Staple Allowance
When you measure your headboard plywood, say it is 60 inches wide, you might think you only need 60 inches of fabric. This is a classic mistake that leaves makers shaking their heads. Upholstery requires a massive amount of excess material just to wrap around the edges and secure to the back.
As a general rule, you should add at least 3 to 4 inches of extra fabric on every single side. This "pull allowance" gives you enough grip to pull the fabric tight and even out the tension before stapling. If you are doing deep diamond tufting, you need even more fabric because each tuft eats up several inches of material as it is pulled down into the foam.
Let’s get real for a moment. Head