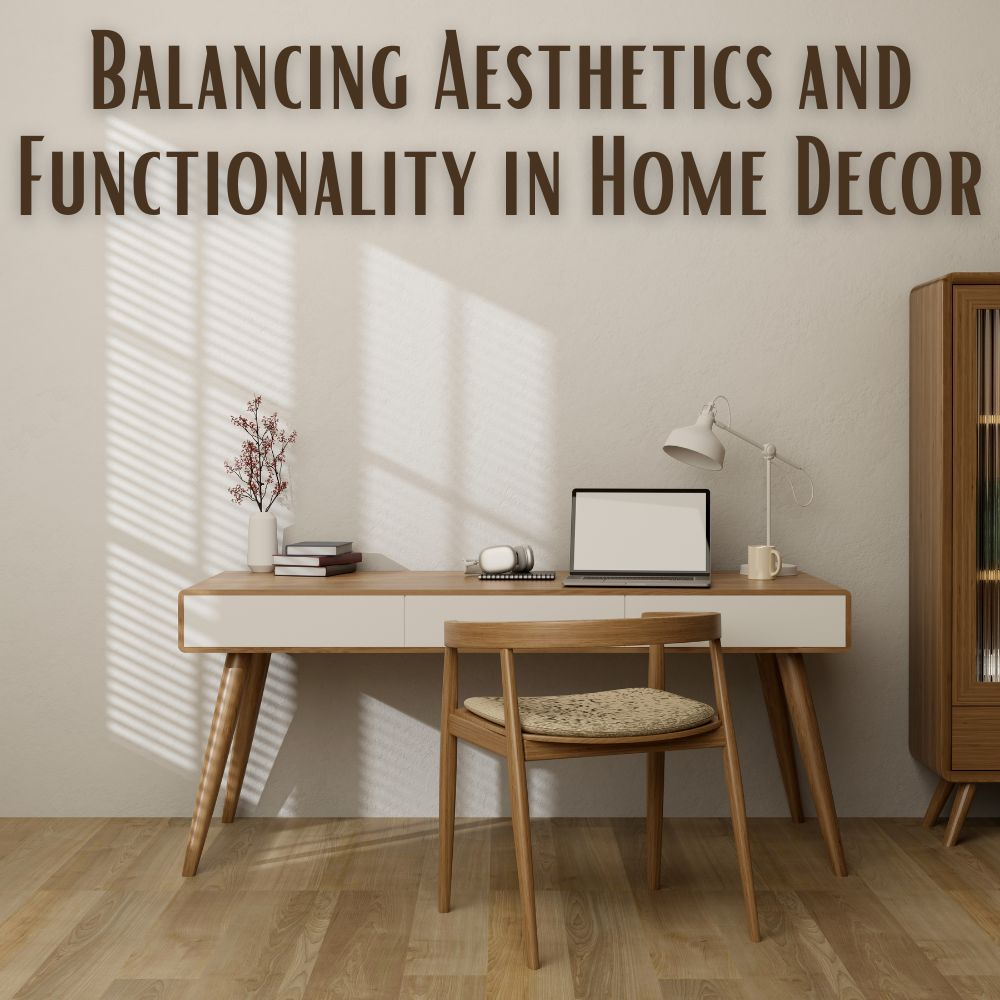
Ever stared at a cramped corner of your apartment and wondered if it could actually feel… airy? We’ve all been there. You have this vision in your head—maybe it’s a cozy reading nook or a dining area that doesn’t feel like an afterthought—but when you look at the square footage, reality hits hard. It feels impossible. But here’s the secret: size isn’t the enemy. Chaos is. And lack of a plan.
Most people think interior design is just about picking pretty pillows or choosing the right shade of beige. Nope. It’s so much more than that. It’s a method. A roadmap. When you strip away the fluff, professional designers don’t just guess; they follow a structured path. This path turns messy ideas into livable, functional, and genuinely beautiful spaces. Whether you’re renting a studio in the city or trying to make a spare bedroom pull double duty, following these steps can change everything. And the best part? You don’t need a millionaire’s budget to do it.
Step 1: Programming and Discovery – Knowing What You Actually Need
Before you buy a single throw pillow or paint swatch, you have to stop and ask yourself some tough questions. This phase is called programming, but let’s call it what it really is: getting honest with yourself. In 2026, our lives are hybrid. We work from home, we exercise in living rooms, and we entertain via Zoom. Your space needs to reflect that reality, not the magazine cover from ten years ago.
Start by listing every activity that happens in the room. Be specific. Do you need a desk that disappears at night? Do you need storage for hiking gear? Write it all down. Then, prioritize. If you only have 200 square feet, you can’t have a grand piano and a home gym. Something has to give. This step saves you money later because you won’t buy things that look nice but don’t serve a purpose. It’s about function first, form second.
Also, consider your lifestyle rhythms. Are you a night owl who needs blackout curtains and warm, dimmable lighting? Or do you crave morning sun? Understanding how you move through your day helps you place furniture where it makes sense, not just where it fits. This foundational work is boring, sure, but it’s the bedrock of a space that actually works for you. Skip this, and you’ll end up with a pretty room that frustrates you every time you try to live in it.
Step 2: Concept Development – Finding Your Vibe Without the Overwhelm
Now that you know what the room needs to do, it’s time to figure out how it should feel. This is the fun part, but it’s also where most people get stuck scrolling through Pinterest for hours. Stop. Instead, create a mood board. It doesn’t have to be digital; cutouts from magazines work fine. The goal is to identify a cohesive style. Are you drawn to minimalist Scandinavian lines? Warm, textured Bohemian vibes? Or maybe industrial chic?
In small spaces, consistency is key. If you mix too many styles, the room feels cluttered and smaller than it is. Pick a direction. Look for common threads in the images you save. Is it a color? A material like wood or metal? A feeling of calm? Once you have a concept, stick to it. This acts as a filter for every decision you make next. If a piece of furniture doesn’t fit the vibe, it doesn’t come into the house. Simple.
Think about the emotional response you want. Do you want the space to energize you or help you unwind? For a small bedroom, calm is usually the goal. That means softer colors, natural textures, and minimal visual noise. For a home office, maybe you want focus and clarity. Your concept guides these choices. It’s not just about aesthetics; it’s about psychology. A clear concept prevents "decision fatigue" and keeps your budget in check because you’re not impulse buying things that don’t belong.
Step 3: Schematic Design – Mapping Out the Magic
Here is where the rubber meets the road. Schematic design is basically space planning. You need to know if that sofa will actually fit through the door, and if it does, will it block the window? Grab a tape measure and graph paper, or use a free app on your phone. Measure everything. Walls, windows, doors, ceiling height. Don’t guess. Guessing leads to returns, and returns are a hassle.
Draw your room to scale. Then, start placing your essential items. In small spaces, flow is critical. You need clear pathways. Can you walk around the coffee table without shimmying sideways? Can you open the closet door fully? These seem like obvious questions, but you’d be surprised how often they get overlooked. Try different layouts. Maybe the bed goes against the opposite wall. Maybe the desk floats in the middle instead of being pushed against a corner.
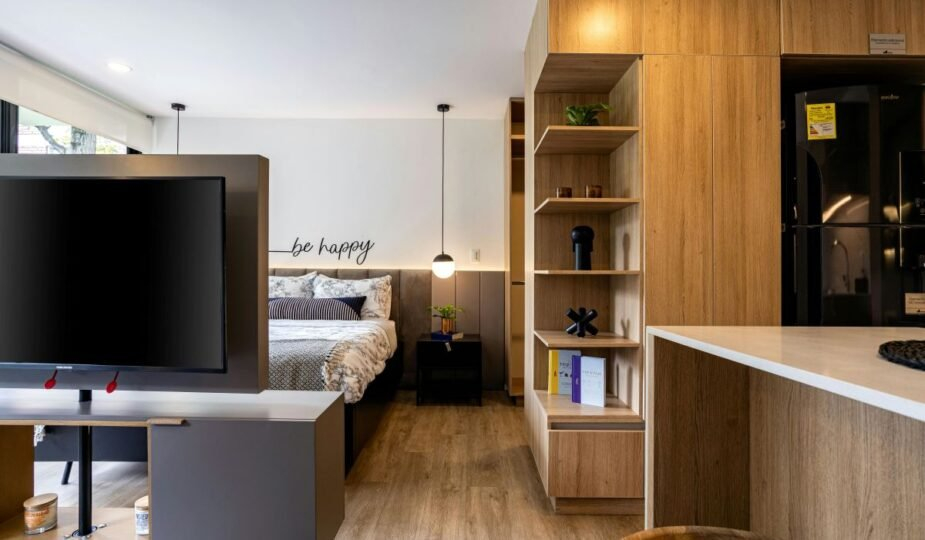
This stage is also where you identify "zones." Even in a studio apartment, you can create distinct areas for sleeping, eating, and working using rugs or furniture placement. A rug under the seating area anchors it visually. A bookshelf can act as a room divider without blocking light. By mapping this out on paper first, you avoid the physical exhaustion of moving heavy furniture back and forth. It’s smarter, faster, and frankly, less stressful.
Step 4: Design Development – Choosing the Right Pieces for Small Footprints
Now that you have a layout, it’s time to select the actual items. But remember the constraint: small space. This means every piece must earn its keep. Look for multi-functional furniture. A storage ottoman that serves as seating, a coffee table, and extra blanket storage. A sofa bed that doesn’t look like a dorm room relic. In 2026, furniture design has come a long way, with sleek, convertible options that are actually stylish.
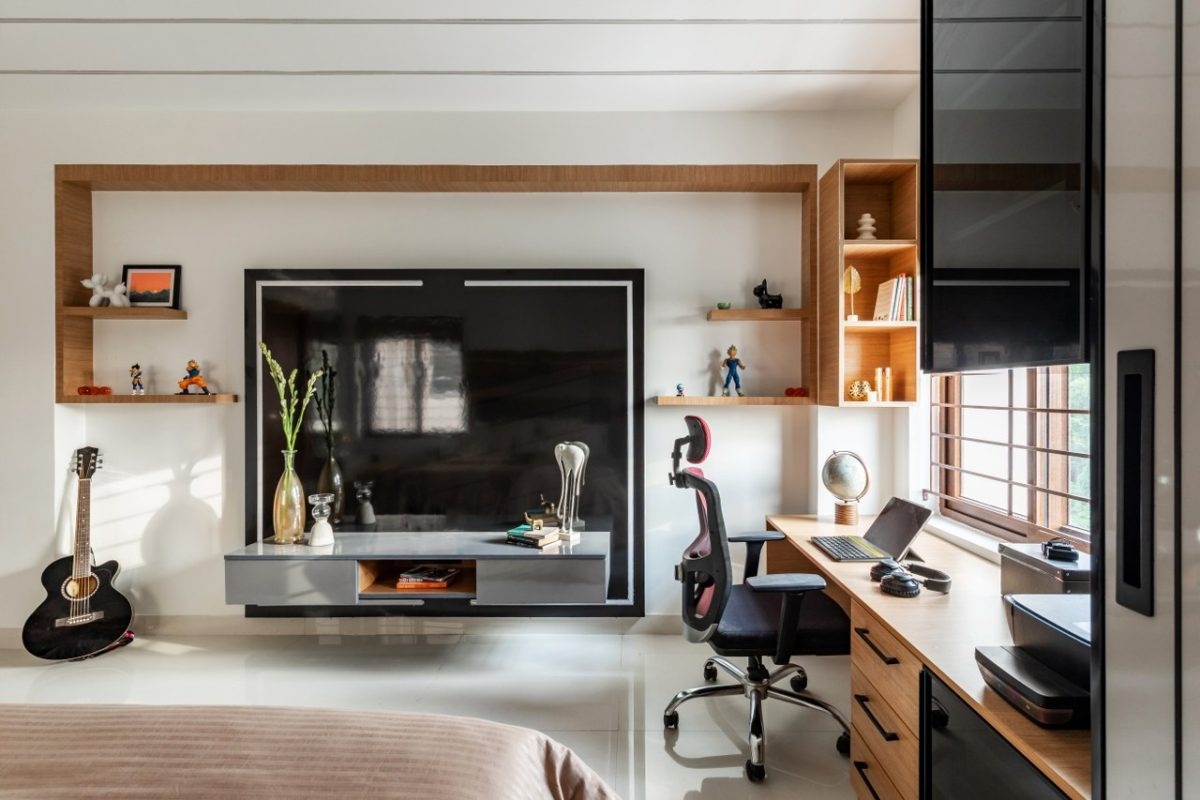
Scale is everything. A massive, overstuffed sectional will swallow a small living room whole. Opt for pieces with exposed legs. Seeing the floor continue underneath furniture makes the room feel larger. Glass tops on tables also help because they don’t visually block the space. Think vertical, too. Use tall bookshelves that draw the eye upward, making ceilings feel higher.
Don’t forget lighting. One overhead light is the kiss of death for small spaces. It creates harsh shadows and makes corners feel dark and cramped. Layer your lighting. Use floor lamps, table lamps, and wall sconces. This creates depth and warmth. Also, consider mirrors. Strategically placed mirrors bounce light around and create the illusion of depth. It’s an old trick because it works. But be careful not to overdo it, or you’ll feel like you’re in a funhouse.
Step 5: Budgeting and Procurement – Smart Spending Strategies
Let’s talk money. Decorating on a budget doesn’t mean buying junk. It means being strategic. Start by setting a total budget, then break it down by category. Allocate more money to items you use every day, like a mattress or a good chair. Save on decor items like vases, art, and side tables. These are easy to swap out later or find cheaply.
Shop secondhand. Vintage stores, online marketplaces, and estate sales are goldmines for unique, high-quality pieces that cost a fraction of retail. A solid wood dresser from the 1970s can be sanded and painted to look custom-made. Plus, it adds character that new, flat-pack furniture just can’t match. In 2026, sustainability is huge, so buying used is not just economical, it’s eco-friendly.
Wait for sales, but don’t wait forever. If you see the perfect item at a good price, buy it. Inventory moves fast. Also, consider DIY projects for simple things. Painting a thrifted frame or sewing simple curtain panels can save hundreds. Just know your limits. Don’t take on a complex upholstery project if you’ve never held a needle. Keep it simple. The goal is to stretch your dollar, not lose your mind.
The furniture is delivered. The paint is dry. Now comes the styling. This is where personality shines. Start with the big items, then layer in the details. Hang your art at eye level—not too high. A common mistake is hanging pictures too close to the ceiling. Bring them down to connect with the furniture below. Group items in threes or fives; odd numbers are more visually appealing to the human eye.
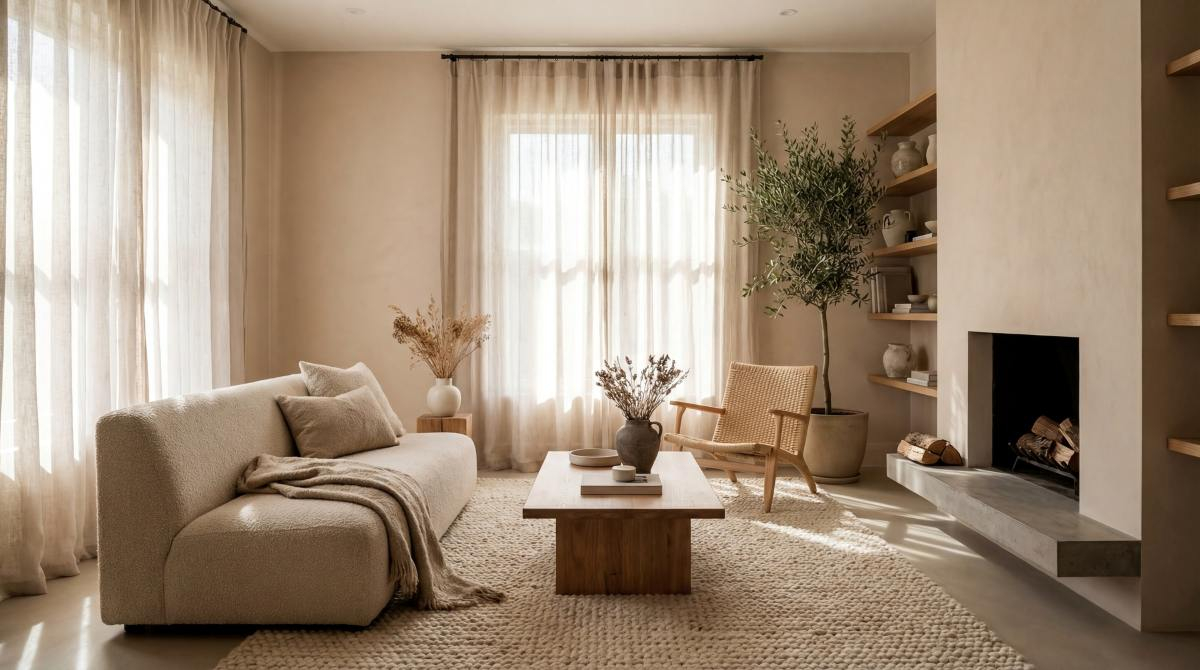
Add texture. Small spaces can feel flat if everything is smooth. Mix materials. A chunky knit throw on a sleek leather chair. A woven basket next to a metal lamp. These contrasts add interest and warmth. Plants are also essential. They bring life and color into a room. Choose low-maintenance varieties if you’re not a green thumb, like snake plants or pothos.
Finally, edit. This is crucial. Look around the room. Is there too much stuff? Remove one item. Then another. Clutter is the enemy of small spaces. Every surface doesn’t need to be decorated. Leave some negative space. It lets the eye rest and makes the room feel bigger and more curated. Step back and look at the room from the doorway. Does it feel balanced? Does it feel like you? If yes, you’re done. If not, tweak until it does.
Wrapping up a design project feels amazing, but it’s important to remember that a home is never truly "finished." It evolves as you do. The 7-step process gives you a strong foundation, but don’t be afraid to adjust as you live in the space. Maybe you realize you need more task lighting, or that one chair is just uncomfortable. That’s okay. Design is iterative.
The key takeaway is intentionality. By following these steps—from understanding your needs to the final styling touch—you avoid costly mistakes and create a space that truly supports your life. You don’t need a huge budget or a huge house. You just need a plan. So grab that tape measure, dream big, and start transforming your small space into something extraordinary. You’ve got this.