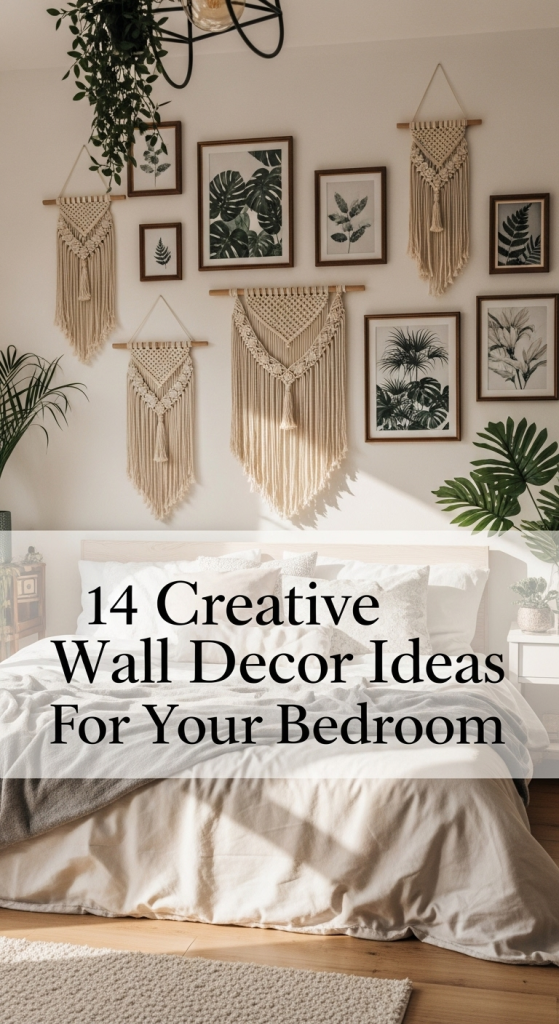
Standing in a newly finished room can feel strangely hollow. The contractor’s dust has settled, the baseboards are primed, and the perimeter is neatly cordoned off by expanses of blank, gypsum board. That expanse of pale gray or off-white drywall represents a peculiar kind of psychological weight. It is an invitation, but it is also an interrogation. It asks you what kind of space you intend to occupy, what stories you plan to tell within these four corners, and whether you possess the courage to mark up a surface that is pristine precisely because it is empty.
Buying mass-produced prints from a big-box retailer offers a quick fix, but it rarely cures the architectural loneliness of a bare wall. There is an unmistakable sterility to hanging framed, generic graphics purchased simply to fill a void. It lacks friction. It lacks narrative. Conversely, stepping up to raw drywall with a bucket of joint compound, a putty knife, and an unformed idea transforms the act of decorating into something visceral. You are no longer just a consumer accessorizing a domicile; you are an occupant carving your identity directly into the physical structure of your environment.
This transformation—from sterile construction material to deeply personal aesthetic statement—mirrors an internal psychological shift. It forces a confrontation with self-doubt, perfectionism, and the fear of aesthetic failure. Yet, on the other side of that initial hesitation lies an extraordinary sense of reclamation. When you run your fingers across a cured, self-made plaster relief or step back to view a large-scale composition born from your own hands, the room ceases to be a rental unit or a generic floor plan. It becomes yours, charged with the memory of physical labor, messy experimentation, and quiet triumph.
Confronting the Empty Surface and the Psychology of the Blank Slate
The human nervous system reacts viscerally to vast, unadorned expanses. Environmental psychologists note that completely blank walls trigger subtle feelings of impermanence or institutional coldness, echoing hospital corridors or corporate offices rather than lived-in sanctuaries. When that blank wall is constructed of raw drywall, the intimidation factor multiplies. Drywall is inherently utilitarian. It is meant to be hidden beneath layers of paint, wallpaper, or paneling. Exposing it to artistic experimentation feels mildly transgressive, as though you are violating a rule of domestic construction.
Overcoming this psychological barrier requires a fundamental redefinition of the material. Joint compound, often called drywall mud, is one of the most forgiving, versatile, and inexpensive artistic mediums available to the modern homeowner. At roughly fifteen dollars for a massive bucket, it strips away the financial anxiety that usually accompanies large-scale art acquisition. If you ruin a canvas that cost two hundred dollars, the loss stings. If you mess up a square foot of drywall mud, you scrape it off with a utility knife, sand it down, and try again. This low-stakes financial reality creates a high-reward psychological playground where experimentation is actively encouraged.
Embracing the blank slate also means abandoning the tyranny of the digital render. In contemporary interior design culture, spaces are often meticulously planned on screens before a single nail is driven, leaving zero room for happy accidents or organic evolution. Creating art directly on or for drywall invites spontaneity. As you mix the compound, feel its weight, and drag a notched trowel or palette knife across the surface, you enter a tactile dialogue with the material. The physical exertion—the sweeping arm movements, the controlled pressure, the wrist rotation—grounds you in the present moment, dragging your attention away from digital fatigue and anchoring it firmly in the physical room.
The Chemistry and Craft of Plaster Textures and Joint Compound Art
Before any artistic vision can materialize, a foundational understanding of the medium is non-negotiable. Joint compound is formulated primarily of calcium carbonate, binders, and water. As it dries, water evaporates, causing the material to shrink slightly and harden into a chalky, durable crust. Understanding this drying process is crucial for avoiding structural cracks, warping, or surface delamination. Slathering mud onto drywall in thick, unyielding layers without considering cure times is a recipe for disaster; the surface may dry while the core remains wet, leading to deep fissures that ruin the visual integrity of the piece.
Working with drywall mud as an artistic medium demands a mastery of consistency. For sweeping, organic ridges reminiscent of desert dunes or rolling waves, a heavier, ready-mixed lightweight compound provides the necessary body to hold high peaks. For subtle, misty washes or delicate micro-textures, thinning the compound with clean water yields a fluid medium that behaves almost like heavy-bodied gesso. Professional muralists and DIY texture artists often mix acrylic paint directly into the wet mud to tint the base layer, bypassing the arduous task of painting over complex three-dimensional topography later.
The tools of the trade are delightfully unpretentious. Forget expensive hog-bristle brushes or imported sable filberts. Your arsenal consists of drywall taping knives ranging from four to twelve inches, notched trowels, rubber margin scrapers, sea sponges, and household items like plastic forks, crumpled plastic wrap, or even old credit cards. Each tool leaves a distinct topographical signature on the wall. A notched trowel creates rhythmic, architectural fluting, while a crumpled plastic bag pressed into wet mud yields organic, fossil-like crinkles that catch dramatic shadows as natural light shifts across the room throughout the day.
A Step-by-Step Methodology for Transforming Raw Walls into Masterpieces
Executing a successful drywall art piece requires a deliberate choreography of preparation, execution, and finishing. Rushing any single phase compromises the structural and aesthetic longevity of your work.
- Step 1 (Surface Preparation and Priming): Clean the drywall surface thoroughly to remove construction dust, sanding residue, or greasy fingerprints. Apply a coat of high-adhesion PVA drywall primer to seal the porous gypsum paper, ensuring the joint compound bonds securely rather than absorbing moisture too rapidly and chalking off.
- Step 2 (Mapping and Compositional Layout): Use a chalk line or a soft pastel pencil to lightly sketch your focal points, horizon lines, or geometric boundaries directly onto the primed wall. Keep lines faint so they can be easily obscured or wiped away as the texture builds.
- Step 3 (The Primary Application Phase): Load your hawk or pan with joint compound. Using a wide taping knife or trowel, apply the medium using deliberate, confident gestures. Do not overthink this stage; raw, energetic strokes often yield the most compelling organic movement. Build up thick areas where you want heavy shadow play.
- Step 4 (Detailing and Texturing): While the compound is still wet and pliable, switch to your secondary tools. Use a smaller palette knife to carve intricate lines, press textured fabrics into the surface for woven impressions, or use a damp sponge to soften harsh ridges and create atmospheric blending.
- Step 5 (Curing, Sanding, and Sealing): Allow the piece to cure completely for 24 to 48 hours depending on humidity and thickness. Once bone dry, use fine-grit sanding sponges (around 120 to 220 grit) to knock down razor-sharp burrs that could snag dust. Finish with a matte clear acrylic sealer to protect the chalky surface from scuffs and allow for effortless dusting.
Navigating Common Pitfalls and Field-Tested Practitioner Workarounds
Even with meticulous planning, translating a mental vision onto a vertical drywall surface presents distinct mechanical hurdles. Anticipating these roadblocks saves hours of frustrating rework.
- Pitfall 1 (Deep Cracking from Thick Application): Piling joint compound an inch thick in a single pass causes surface skinning and internal fracturing as moisture gets trapped. Workaround: Build your texture in thin, successive layers, allowing each pass to dry completely before applying the next.
- Pitfall 2 (Poor Adhesion and Flaking): Skipping primer on raw drywall causes the gypsum paper to suck the moisture straight out of the wet mud, ruining the chemical cure. Workaround: Never omit a dedicated PVA primer layer; it acts as a stabilizing bridge between the wall and your artistic medium.
- Pitfall 3 (Overworking and Muddying Textures): Fiddling with drying compound creates gummy, unsightly burrs that ruin smooth gradients. Workaround: Accept the imperfections of the first pass. Let it dry, sand down the mistakes, and layer fresh mud over the top rather than trying to fix wet plaster.
- Pitfall 4 (Monochromatic Flatness Under Room Lighting): Beautiful textured art can disappear entirely under harsh, direct overhead recessed lighting, washing out all dimension. Workaround: Position directional wall sconces or picture lights at a sharp angle to the piece to cast long, dramatic shadows across the raised ridges.
- Pitfall 5 (Surface Vulnerability to Impact): Cured joint compound is essentially dried chalk and will easily gouge or chip if bumped by furniture or vacuum cleaners. Workaround: Always lock in your finished piece with a durable, non-yellowing matte polyurethane or acrylic clear coat varnish.
The Interplay of Architecture, Light, and Emotional Resonance
Art created directly on architectural drywall is fundamentally different from a framed canvas hanging on a nail. It occupies the room in a three-dimensional dialogue with the surrounding architecture. As the sun arcs across the sky, morning light skimming horizontally across a textured plaster wall reveals valleys, ridges, and micro-cracks that were completely invisible under noon glare. This dynamic interplay forces the room to breathe. Your living space becomes a living timepiece, registering the passage of hours through changing shadow lengths and tonal shifts.
This integration of art and architecture alters the psychological energy of a home. When visitors admire a piece on your wall and you can casually remark, "I built that directly onto the drywall last weekend," the social dynamic of the room shifts. It breaks down the polished, intimidating perfectionism often curated by interior design magazines. It introduces vulnerability. You have exposed your creative impulses for everyone to see, inviting touch, curiosity, and authentic conversation.
Furthermore, crafting your own wall art establishes a profound sense of territorial anchoring. In a transient modern culture where many people frequently pack up and move, leaving behind rented, white-box apartments with zero imprint of their existence, carving out a permanent aesthetic moment in your environment is an act of psychological grounding. Even if you eventually patch the wall before moving out, the internal transformation remains yours. You have proven to yourself that your environment is not something passively consumed, but something actively sculpted.
Cultivating Creative Confidence Through DIY Spatial Design
The journey from a blank drywall sheet to a finished artistic statement serves as a powerful incubator for broader creative confidence. Most adults abandon artistic pursuits early in life, paralyzed by the internal critic whispering that they are not "real artists." By stripping away the intimidation of traditional fine art mediums—expensive canvases, intimidating oil paints, formal training—and substituting them with accessible construction materials, the barrier to entry collapses.
This newfound confidence frequently spills over into other areas of home improvement and personal expression. Someone who successfully designs and executes a large-scale textured mural on their living room drywall suddenly looks at outdated cabinetry, blank hallway corridors, or tired furniture with an entirely new lens. They realize that the physical world of their home is malleable. The materials required to transform it are readily available at any local hardware store, and the only missing ingredient was the permission to try.
Ultimately, this creative evolution rewrites your relationship with your living space. A home stops being a static container for your belongings and becomes an ongoing, collaborative autobiography. Every imperfection in the plaster, every deliberate sweep of the trowel, and every color wash tells a story about a weekend spent experimenting, failing, adjusting, and ultimately succeeding.
Turning bare drywall into meaningful art is rarely a smooth, linear process. It involves moments of doubt when the wet mud looks messy, frustrating hours of sanding away mistakes, and hesitant pauses before making that first definitive mark on a pristine wall. Yet, it is precisely this friction that makes the finished result so profoundly satisfying.
When you sit in your living room at the end of a long day, watching the evening light catch the textured ridges of a wall you built with your own hands, the drywall is no longer just a building material. It is a canvas of your own making, a quiet testament to your willingness to take up space, make a mess, and create something entirely your own. Grab a trowel, step up to that blank slate, and begin.