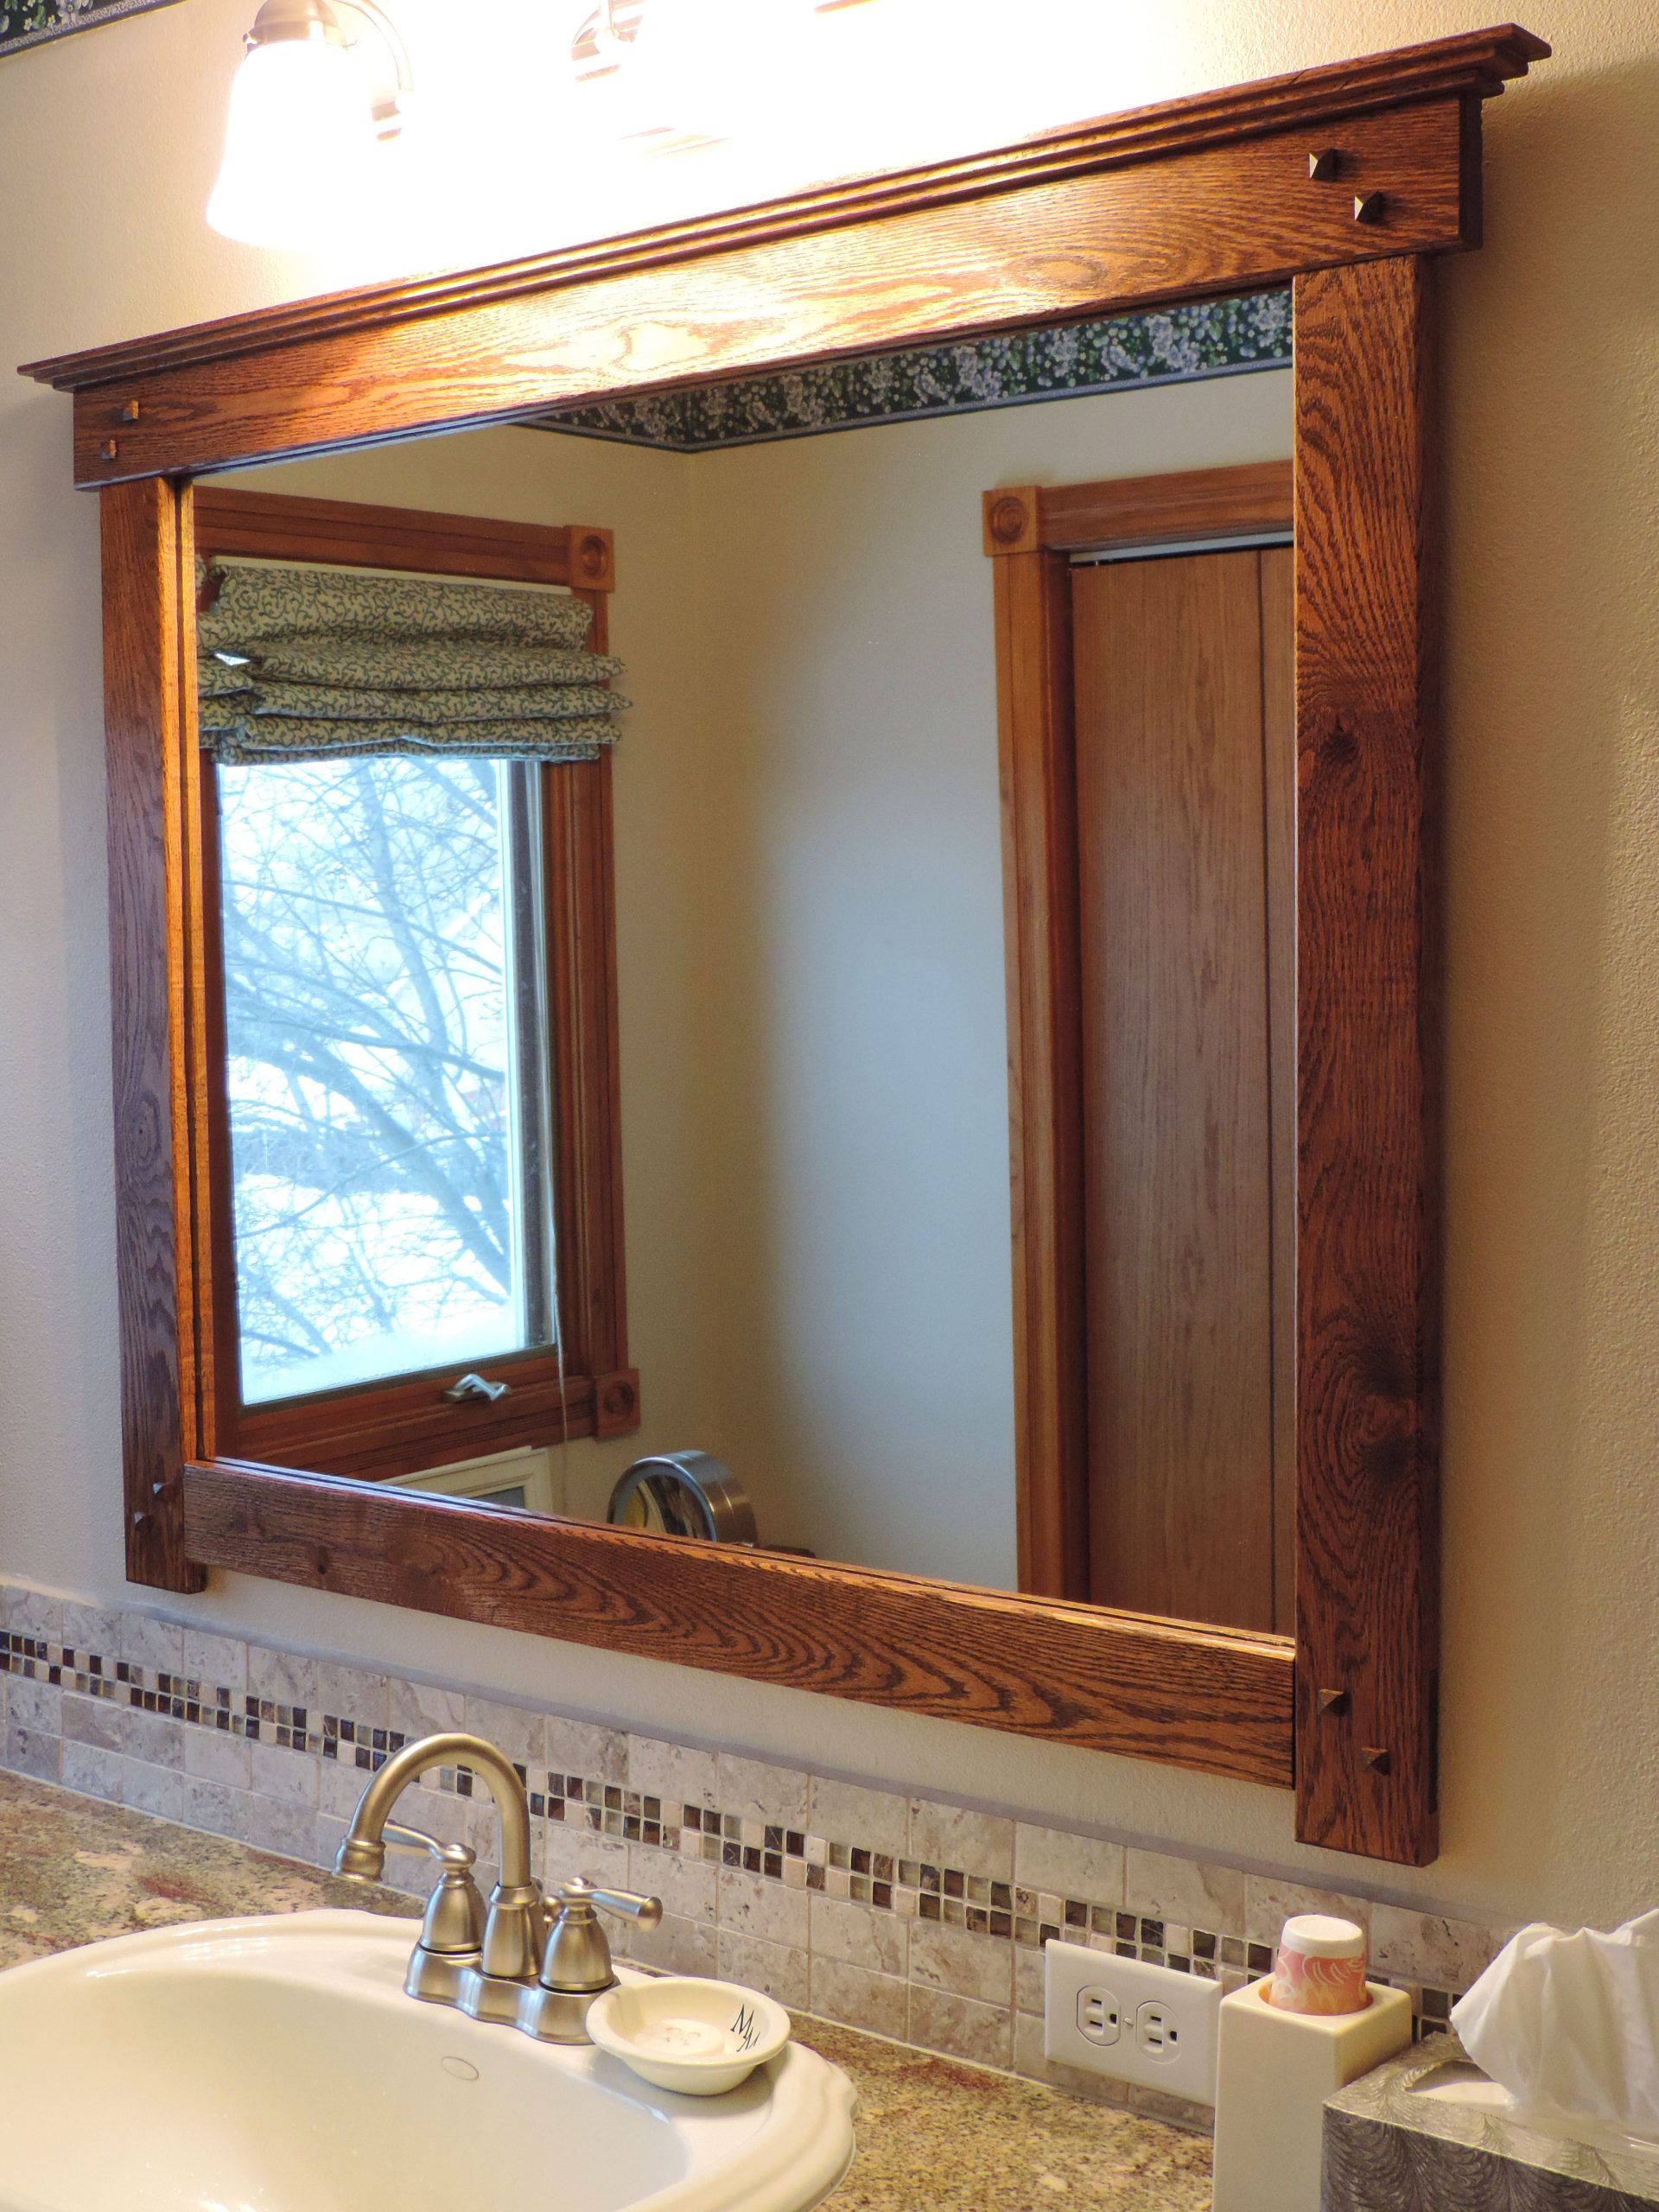
Have you ever walked down the aisle of a secondhand shop and spotted a mirror that looked totally forgettable. It had no shape, no charm, and honestly, a pretty depressing price tag of like three dollars. Most folks would walk right past it. But what if I told you that little piece of plain glass holds massive potential.
Thrifting has exploded in popularity as a way to decorate sustainably in 2026. People are constantly looking for budget friendly ways to personalize their living spaces without breaking the bank. Buying brand new home decor can cost a fortune, yet secondhand items are sitting there waiting for a second chance. Giving old objects a fresh look is satisfying, creative, and remarkably cheap.
Hunting for the Perfect Plain Mirror
Finding the right base is the most important step of the entire project. You want something with sturdy glass and a solid backing, even if the outer frame looks hideous. Scratches on the glass are hard to fix, but a boring border can easily be covered up.
Keep your eyes open for unusual shapes like arches or vintage ovals. Don’t worry about ugly colors or outdated patterns because paint or trim will hide all of that. The goal is to spend less than five dollars on the mirror itself so you have room left in your ten dollar budget for supplies.
Gathering Your Budget Supplies
Once you secure your treasure, it is time to round up the extra items needed for the transformation. You do not need professional workshop tools to get amazing results. A trip to the local craft store or dollar shop will yield everything required.
Grab a hot glue gun if you do not already own one, plus a few glue sticks. Wooden craft sticks, cardboard strips, or lightweight molding pieces work wonders for building a new border. Pick up a bottle of acrylic paint in your favorite shade and a cheap foam brush to apply it.
Cleaning and Preparing the Surface
Before doing any fancy work, you have to get that thrift store dust off. Grab some glass cleaner and give the mirror a thorough scrubbing. Old sticker residue can be a pain to remove, so use a little rubbing alcohol or warm soapy water to scrape it away gently.
Make sure the frame area is completely dry before moving forward. If the original frame is glossy, take a piece of sandpaper and scuff it up slightly so your paint or glue will stick better. Taking your time during this prep stage ensures your final creation lasts for years.
Building the New Custom Frame
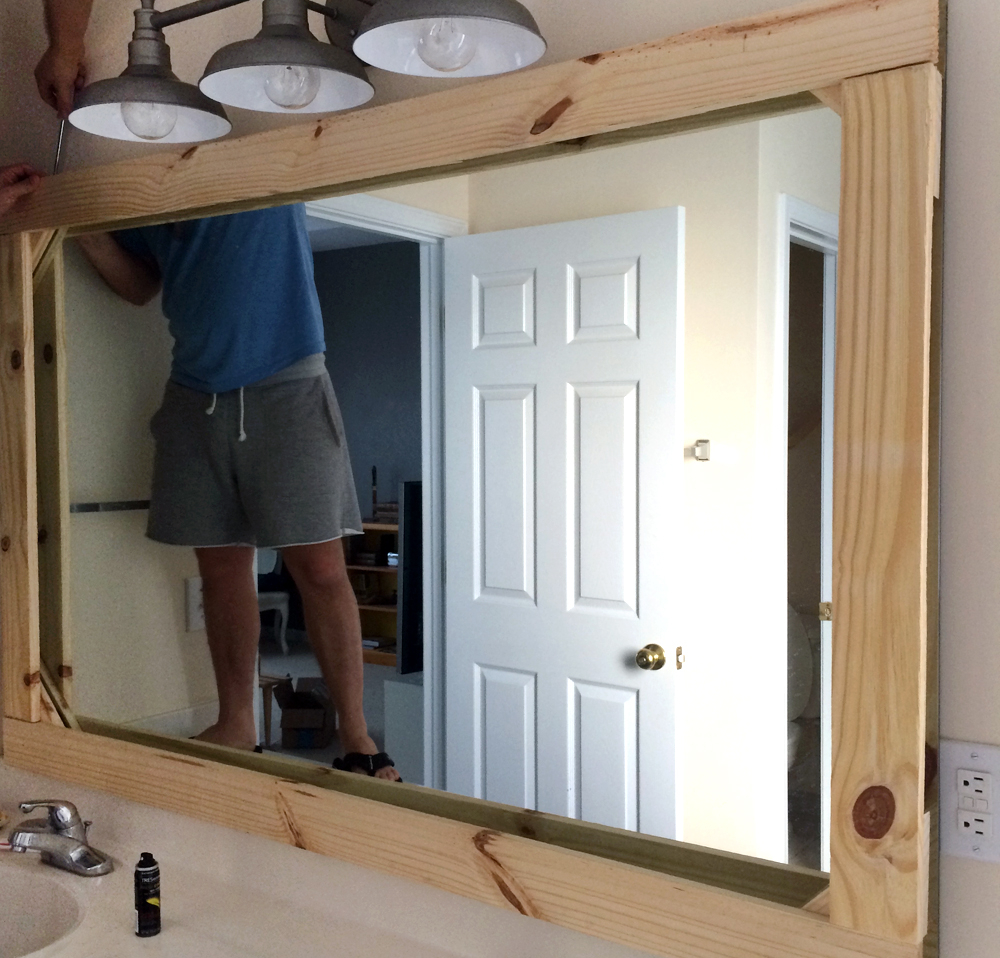
This is where the real magic happens. If you are using wooden craft pieces, measure them against the edges of your mirror and cut them to fit using heavy duty scissors or hand snips. Arrange your pieces around the border to check the layout before making any permanent moves.
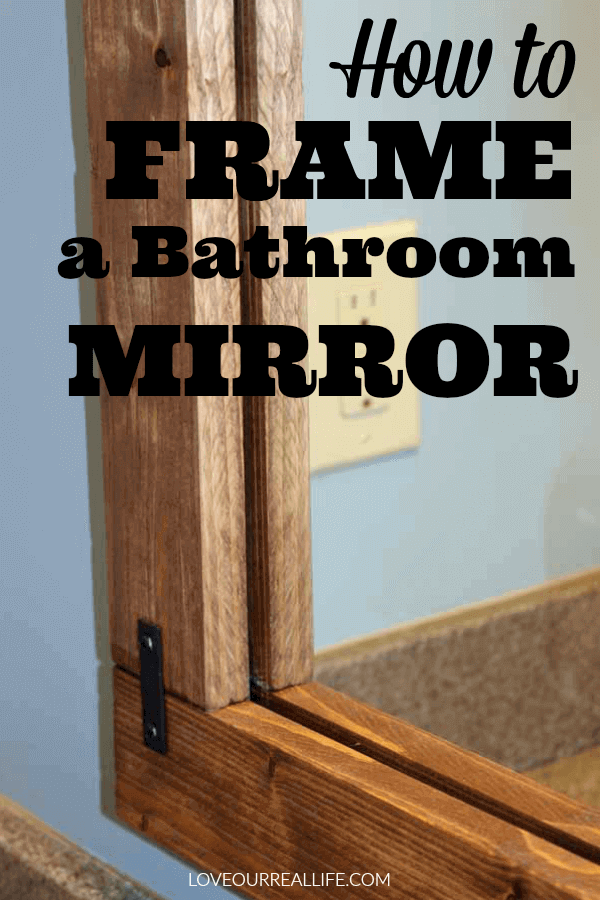
Apply hot glue carefully along the back of your trim pieces and press them firmly onto the mirror frame. Hold each piece in place for a few seconds to let the glue set properly. Feel free to layer different textures, like overlapping wooden sticks or cardboard ridges, to give the design extra depth.
Adding Color and Finish
Now that your new structure is firmly attached, it is time to paint. Pour a small amount of acrylic paint onto a paper plate and start applying thin coats. Thin layers dry faster and prevent ugly drips from ruining your hard work.
Let the first coat dry completely before adding a second layer to ensure full coverage. If you want an antique look, you can dab a tiny bit of brown or gold paint over your base color using a dry paper towel. This simple trick adds instant character and hides minor imperfections.
Allow your newly transformed mirror to cure overnight before hanging it on the wall. Check the back hanging mechanism to make sure it can support the weight, especially if you added heavy wooden trim.
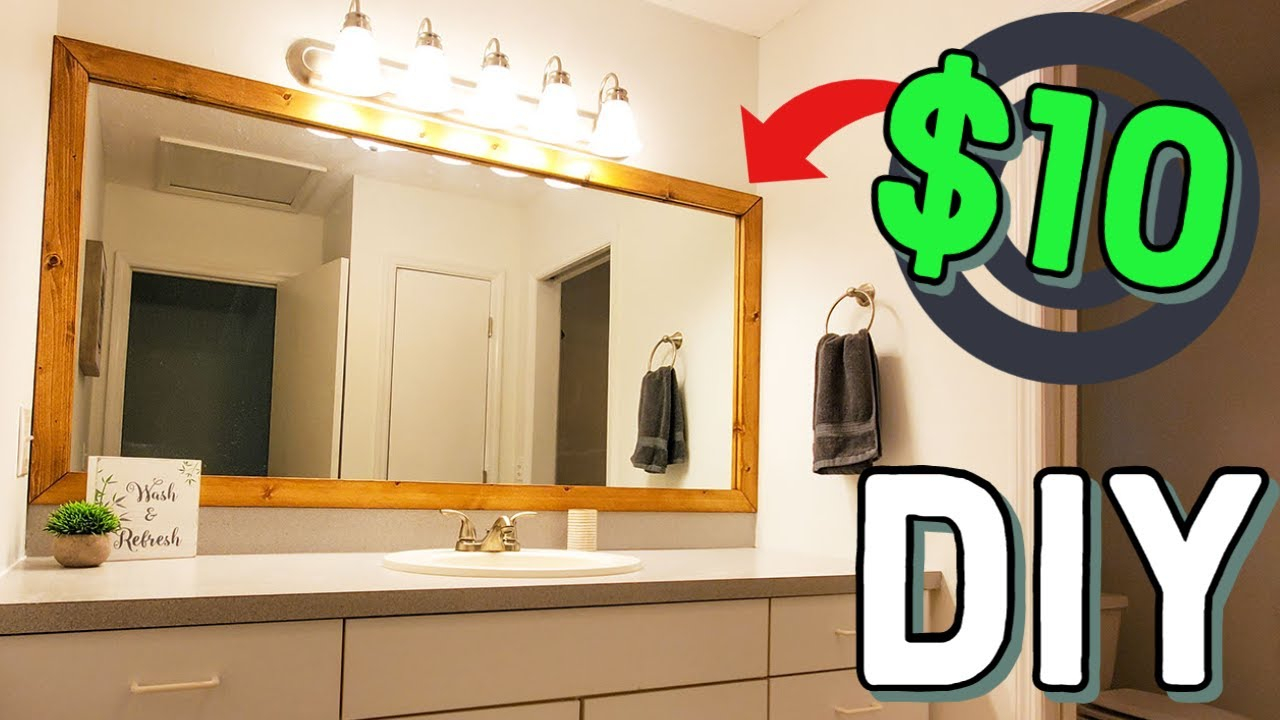
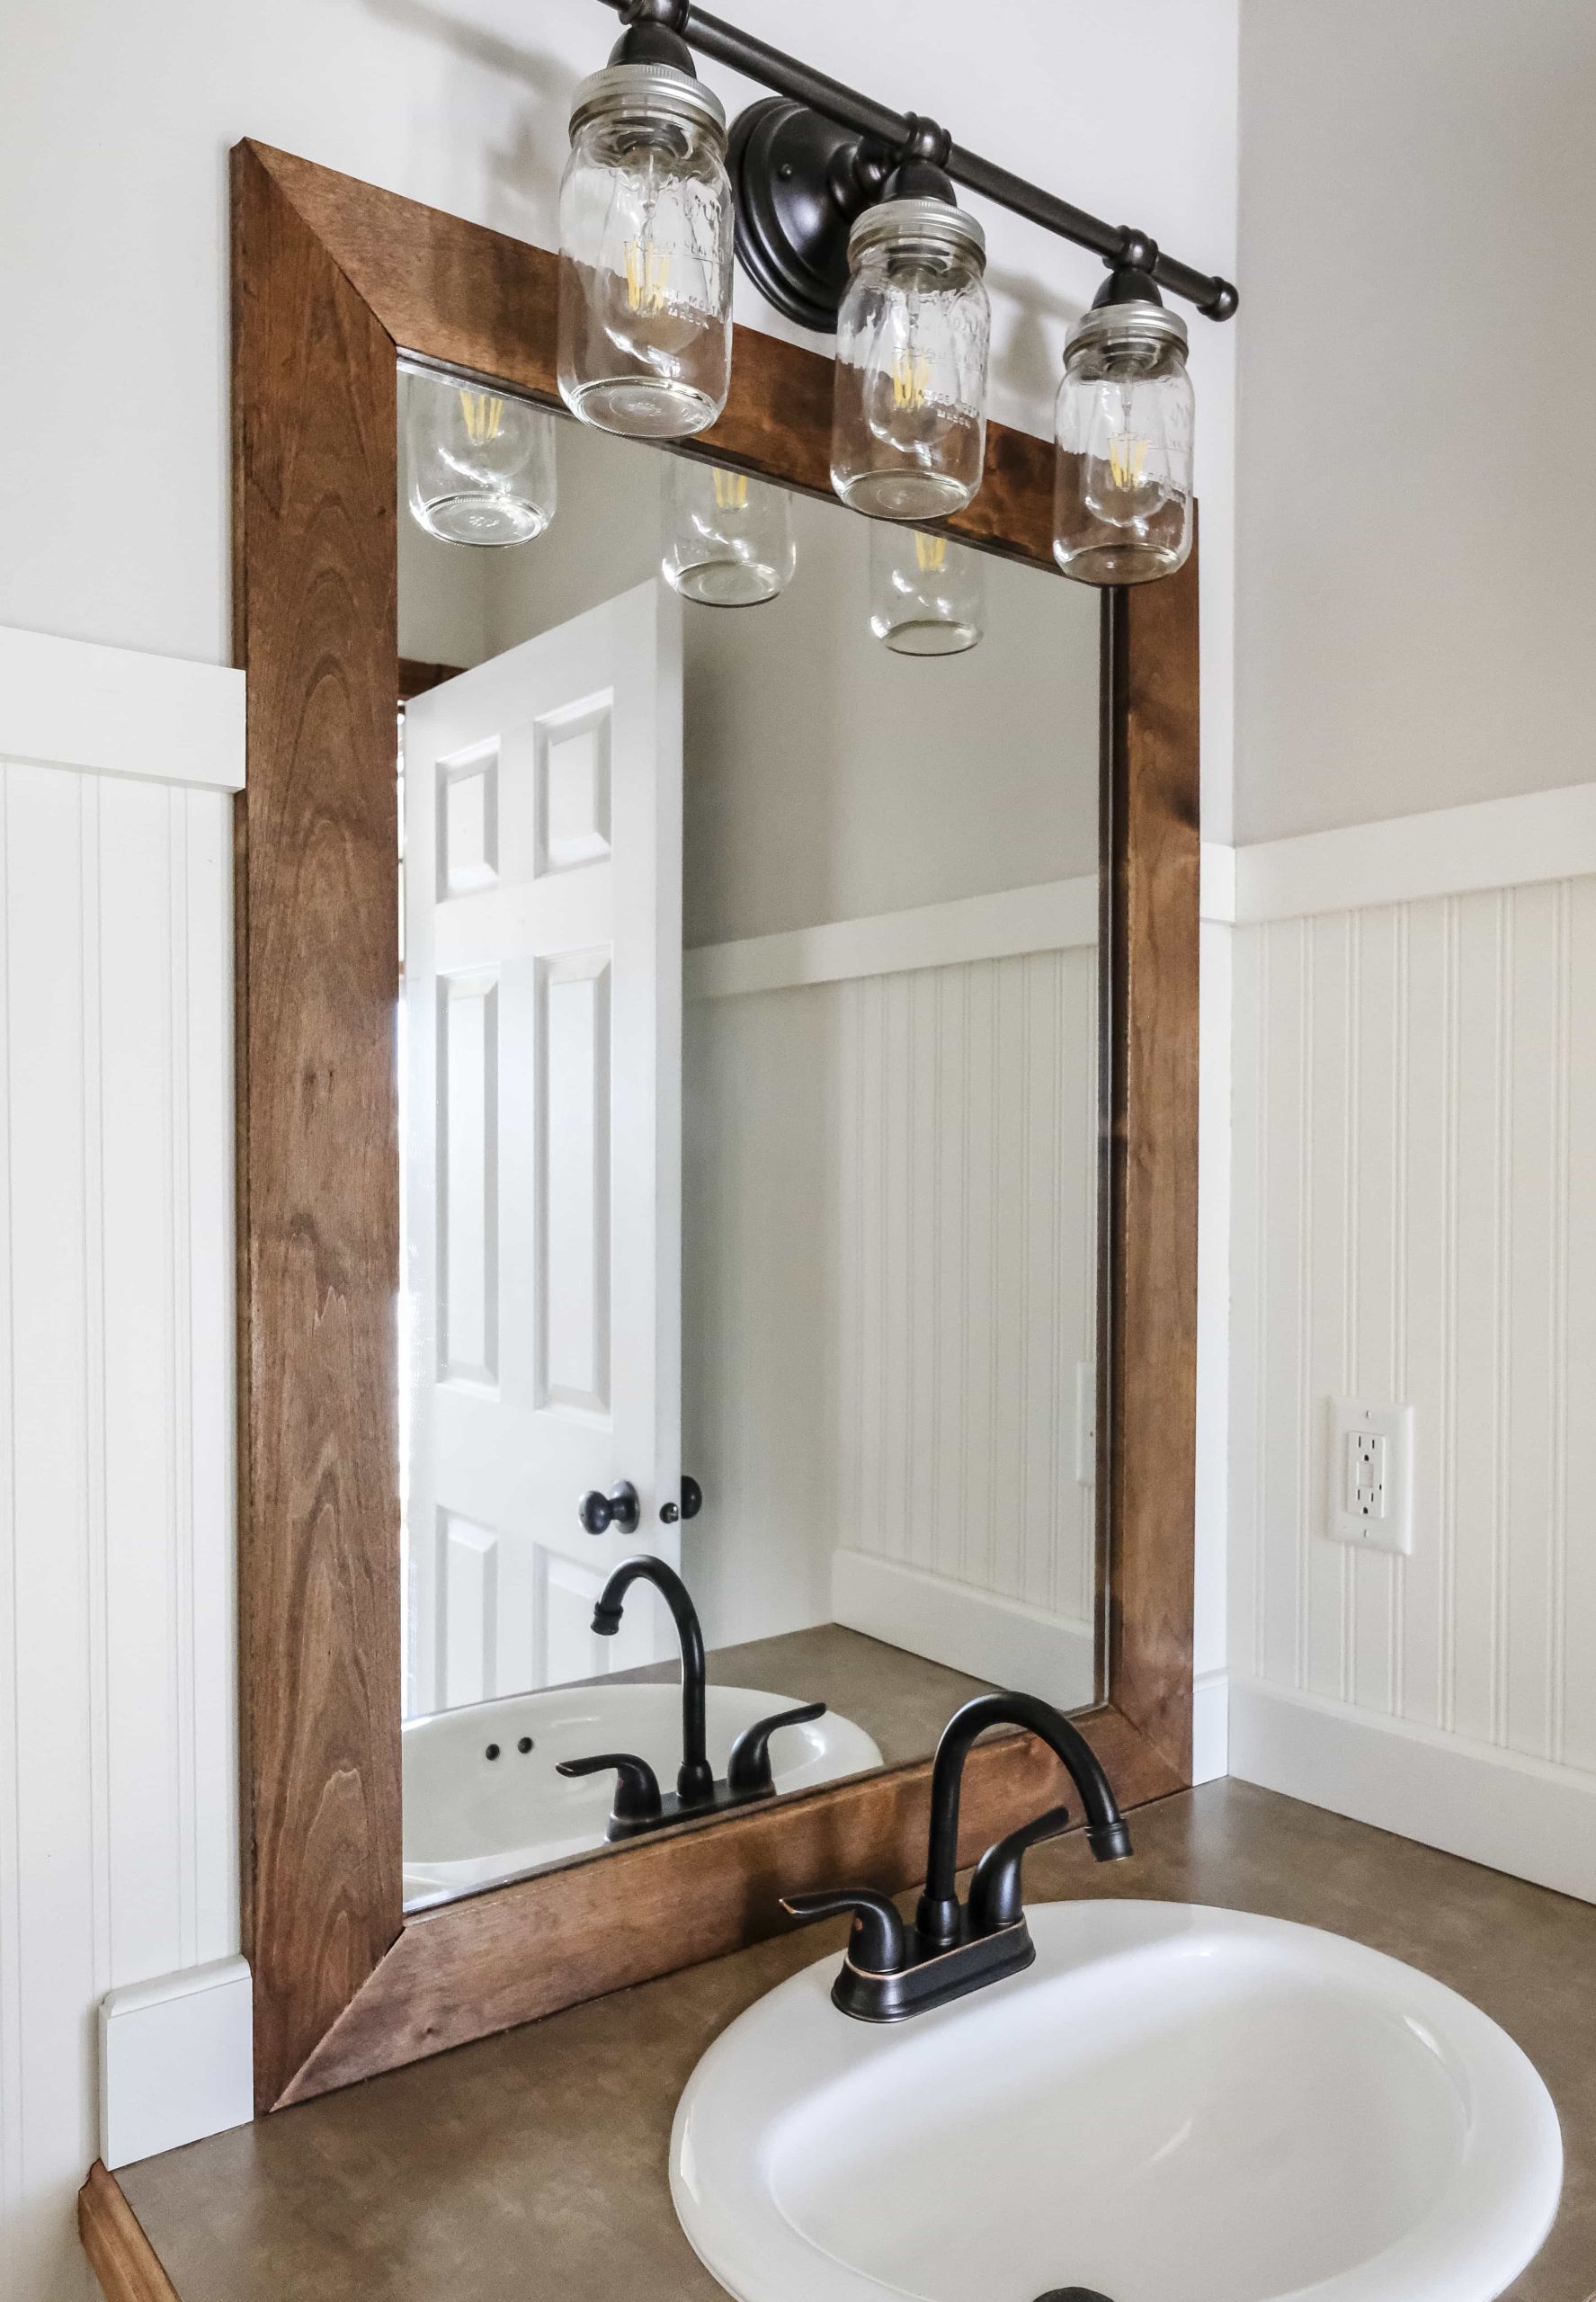
Find a nice spot in your hallway, bedroom, or living room where it can catch the light. Step back and admire your handiwork knowing you created high end decor for less than the cost of a fast food meal.
Tackling a budget DIY project proves that you do not need a huge budget to make your home look gorgeous and unique. With a little bit of imagination and a few cheap supplies from the store, any plain object can become a treasured focal point. Give it a try this weekend and see what kind of hidden gems you can reinvent.