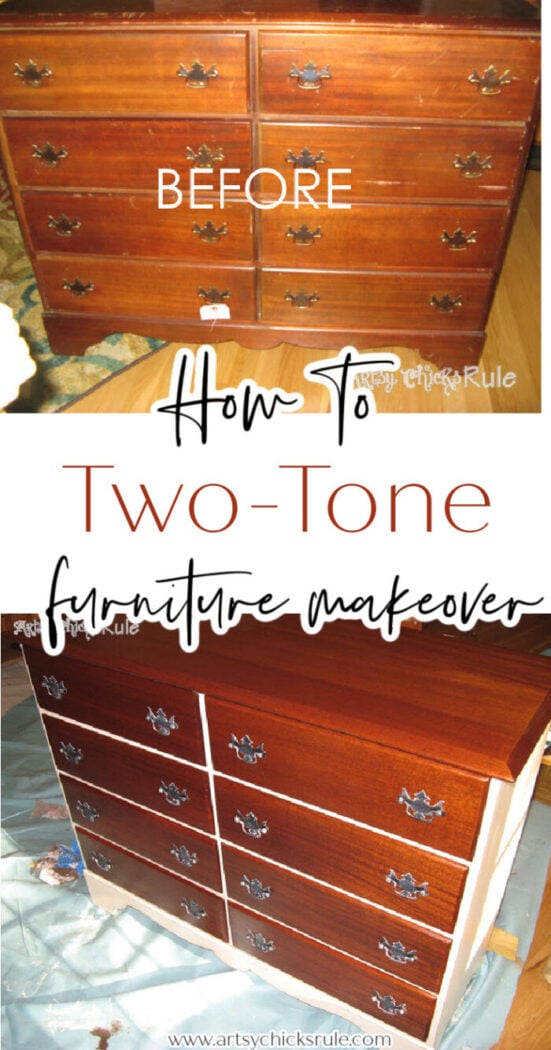
Ever stared at an old, clunky wooden dresser in a thrift store and wondered if it was worth saving. It has got great bones, but that muddy, outdated orange finish from decades ago is doing it zero favors. You want something fresh and modern for your space, but painting the entire piece solid white or black feels a bit sterile, doesn’t it?
That is exactly why the two-tone furniture trend has taken over the design world. By combining the rich texture of natural wood grain with the clean, smooth punch of a painted surface, you get the absolute best of both worlds. It creates a striking contrast that instantly makes cheap or dated furniture look like a custom, high-end designer piece. Let’s talk about how you can pull this off in your own garage or workshop without losing your mind.
Finding the Perfect Piece for a Two-Tone Look
Not every piece of furniture is a great candidate for a half-and-half makeover. You want to look for items that have natural dividing lines built right into their design. Think about a dining table with a beautiful solid wood top but totally beat-up, scratched legs. Or maybe a dresser where the main frame is scratched up but the drawer fronts are made of gorgeous oak or walnut.
Before you grab a paintbrush, check what the furniture is actually made of. If it is solid wood or high-quality veneer, you are good to go for staining. However, if it is cheap laminate or particle board, you won’t be able to sand it down to reveal a natural wood grain. In those cases, you would have to use a specialty gel stain over a painted base to fake the look, which is a totally different process. Stick to real wood when you want that genuine, warm contrast.
Prepping Your Surface Without Overcomplicating It
Preparation is the secret sauce of any good DIY project, even if it is the least glamorous part. You will need to separate the areas you want to paint from the areas you want to stain. Grab some high-quality painter’s tape and mask off the sections carefully. For the parts getting stained, you need to strip away the old clear coat and finish completely. Sanding is usually the best bet here, starting with a coarse sandpaper like 120-grit to get the old gunk off, then finishing with a smoother 220-grit.
For the sections you plan to paint, you don’t need to sand down to bare wood. Praise the DIY gods. You just need to scuff up the surface a little bit so the new paint has something to grab onto. Wipe everything down with a damp cloth or a tack cloth to get rid of every single speck of sawdust. If you leave dust behind, your final finish will feel like sandpaper, and nobody wants that.
Choosing Your Color and Wood Combos
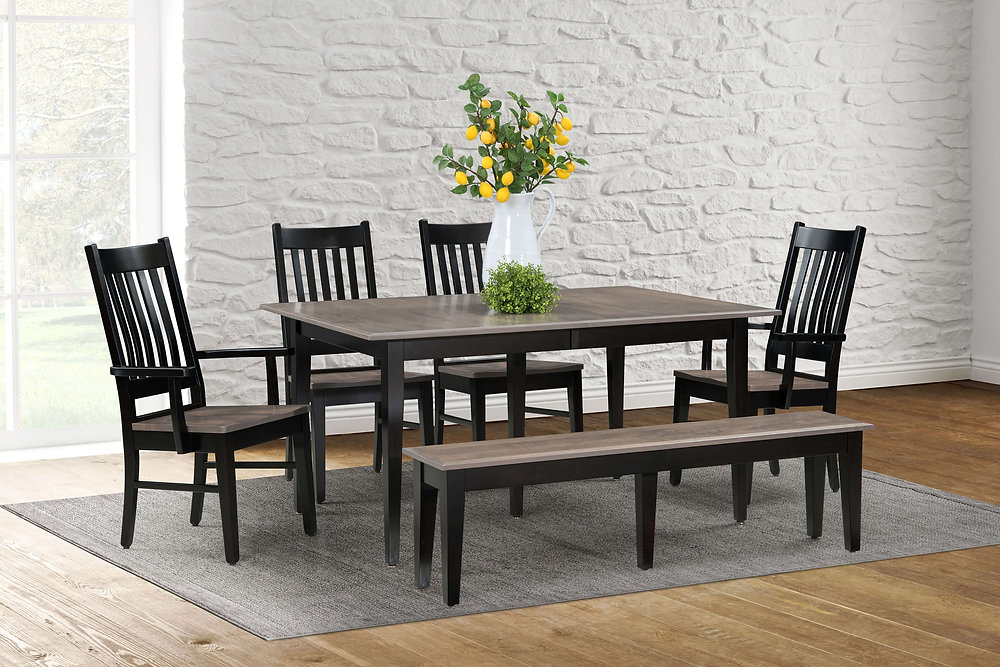
This is where the real fun begins and you get to be creative. A classic look that never fails is pairing crisp, bright white paint with a warm, mid-tone oak or honey stain. It feels very airy and modern. If you want something a bit more dramatic for your living room, try matching a deep charcoal gray or pitch black paint with a very light, natural pine or raw wood look.
Don’t be afraid to experiment with color, either. A muted sage green or a moody navy blue looks absolutely stunning when paired with a rich walnut stain. The key is balance. If your paint color is very cool and dark, a warm and light wood stain will pop beautifully against it.
Applying the Stain for a Flawless Finish
When you are ready to apply the natural wood stain, make sure you are working in a well-ventilated area. Use a lint-free cloth or a foam brush to wipe the stain onto the bare wood, moving in the same direction as the natural grain. Let it sit for a few minutes—the longer it sits, the darker it will get—and then wipe away the excess with a clean rag.
If you notice the wood looks splotchy or uneven as it absorbs the liquid, you might want to use a pre-stain wood conditioner next time. This is super common with softer woods like pine. Let the stain dry completely according to the can’s instructions, which usually takes at least 24 hours.
Painting Your Sections Like a Pro
Once your stained areas are dry, protect them by covering them with painter’s tape so no stray paint ruins your hard work. Now you can apply your primer to the painted sections. Don’t skip primer, especially if you are painting a dark wood with a light color, or the old wood tannins might bleed through and turn your beautiful white paint a weird yellowish-pink color later on.
After the primer dries, apply two to three thin coats of your chosen paint. Using a high-quality brush or a small foam roller will help you avoid brush marks. It is always better to do multiple thin coats rather than one thick, gloppy coat that will drip and take forever to dry. Remove the painter’s tape while the final coat of paint is still slightly damp to get the crispest lines imaginable.
You are right at the finish line, but do not skip this last step. You need a topcoat to protect your gorgeous new two-tone piece from everyday wear and tear, coffee cup rings, and scratches. A water-based polycrylic is fantastic for this because it dries completely clear and won’t turn your painted white sections yellow over time like an oil-based polyurethane will.
Apply the topcoat over both the painted and stained sections using a high-quality synthetic brush. Let it dry, lightly sand with an ultra-fine sandpaper block to knock down any bumps, wipe away the dust, and apply a second coat. Once it cures for a few days, your furniture is ready to go back into your room.
Blending paint and natural wood stain might seem a bit intimidating at first if you have never tried it. But once you break it down into simple steps, it is incredibly rewarding. You get to preserve the history and soul of the original wood while giving the piece a sharp, modern attitude that fits your current style. So go find an old thrift store piece and give it a shot. You might surprise yourself with what you can create.