You’ve probably been there. Standing in your living room, drill in hand, staring at that tiny pencil mark above your window frame. It feels safe. It feels logical. After all, the window is right there. Why wouldn’t you put the rod right above it? But then you hang the curtains, step back, and something feels… off. The room looks cramped. The ceiling feels low. The window looks like an afterthought rather than a feature.
It’s frustrating, isn’t it? You bought nice fabric. You measured twice. Yet the vibe is just wrong. Here’s the thing most people miss: curtain rods aren’t just functional hardware. They are architectural tools. When placed correctly, they trick the eye. They create illusions of space, light, and height. But get it wrong, and you’re stuck with holes in your wall and a sense of missed potential.
Let’s fix that. Before you make another hole, let’s talk about what the pros actually do. It’s not magic. It’s just a few simple rules that change everything. By the end of this, you’ll know exactly where that rod needs to go to make your home look like it was styled by someone who charges by the hour. And honestly? It’s easier than you think.
The Golden Rule: Go High and Wide
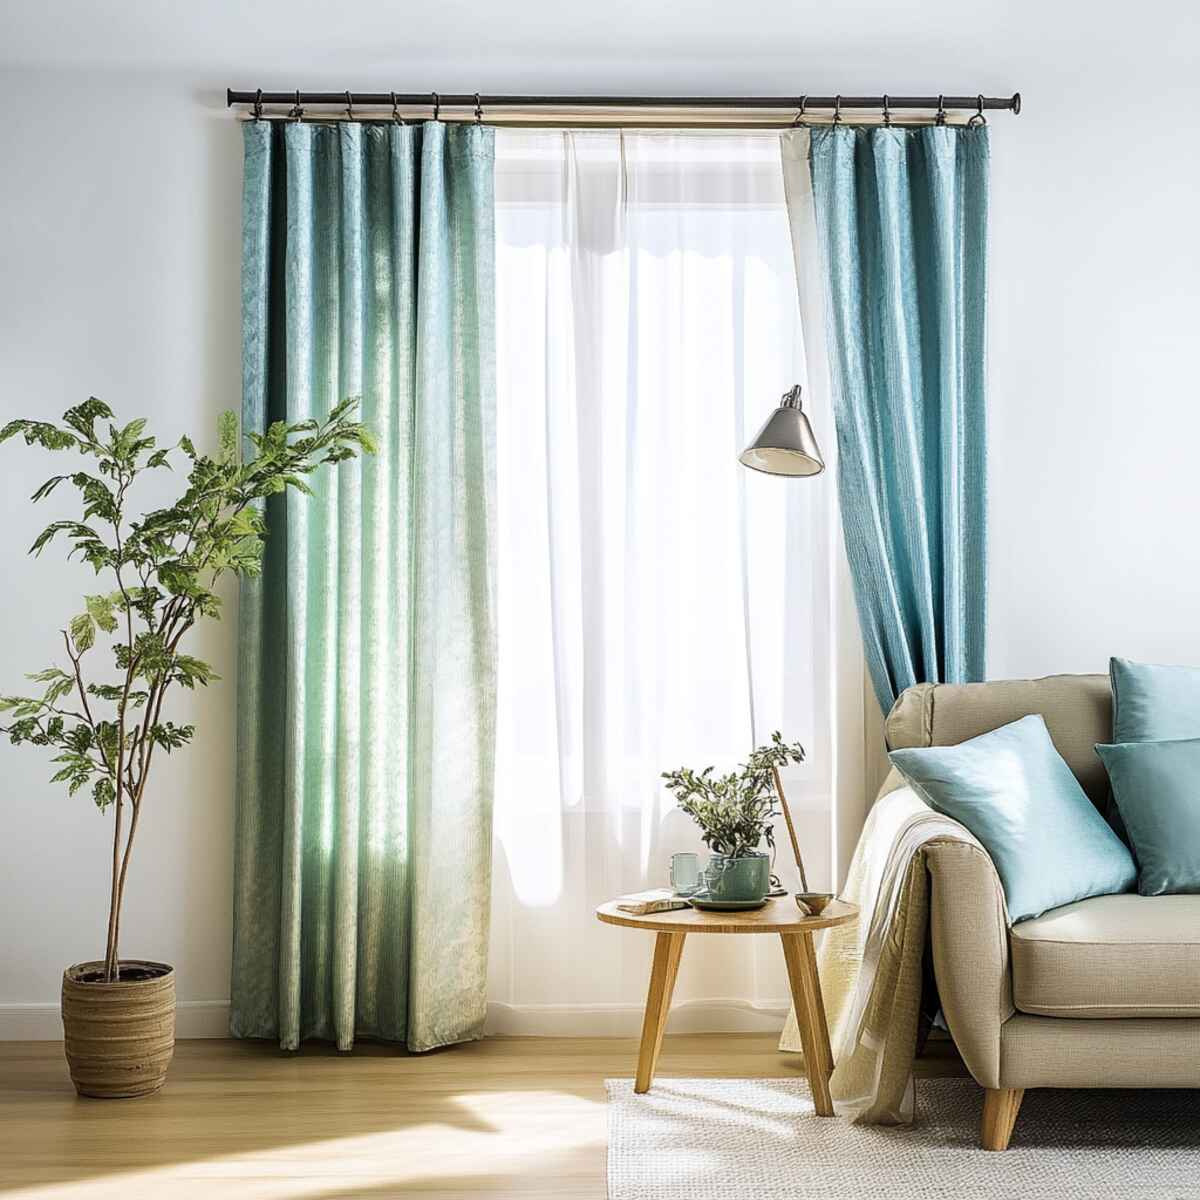
If you take only one thing away from this, let it be this: mount your rod high and wide. It sounds simple, but it’s the single biggest mistake homeowners make. Most people install the rod directly above the window trim. Don’t do that. It boxes in the window. It makes the glass look small and the wall look empty. Instead, you want to draw the eye upward and outward.
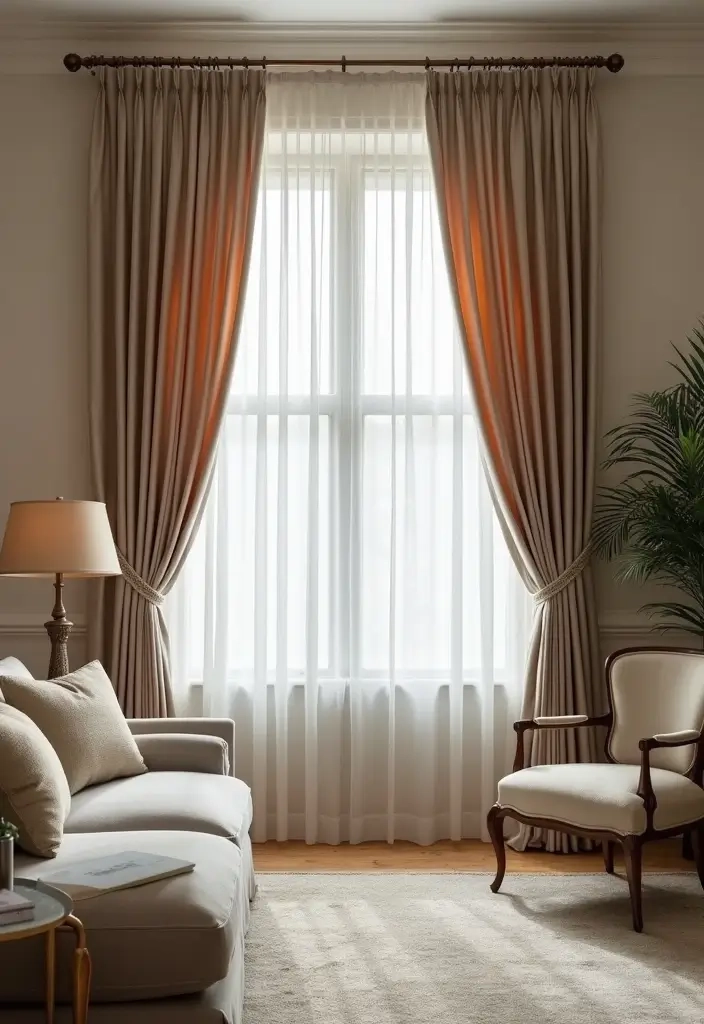
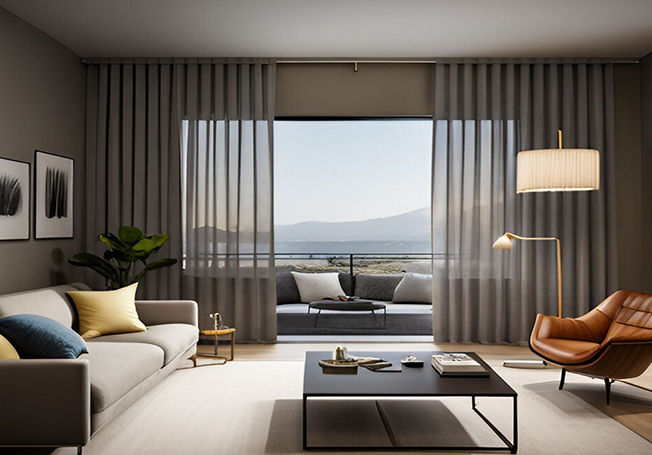
How high is "high"? Aim for 6 to 12 inches above the top of the window frame. If you have standard 8-foot ceilings, mounting the rod just below the ceiling line or crown molding creates a seamless vertical line that makes the room feel taller. In 2026, the trend is leaning even higher, sometimes halfway between the window top and the ceiling if the gap is large. This elongates the window visually. It gives the impression that the glass extends further up than it actually does. It’s a cheap trick for expensive-looking results.
Now, let’s talk width. Your rod should extend past the window frame on both sides. We’re talking 3 to 6 inches minimum, but 8 to 12 inches is even better if you have the wall space. Why? Because when the curtains are open, they should rest on the wall, not cover the glass. This lets in maximum natural light. It also makes the window appear wider. Think of it as framing a painting. You don’t cut off the edges of the art; you give it breathing room. Same logic applies here.
Measuring for Fullness and Function
Okay, so you’ve got the height and width sorted. Now, how many panels do you need? This is where things get tricky. A common error is buying just two panels for a wide window and expecting them to look lush when closed. They won’t. They’ll look stretched and sad. Standard curtain panels are usually around 50 inches wide. But that’s the flat width, not the gathered width.
For a designer look, you want fullness. A good rule of thumb is that your total curtain width should be 2 to 2.5 times the width of your rod. So, if your rod is 60 inches wide, you need curtains that add up to 120-150 inches when laid flat. For a small window, two panels might work. But for a 6-foot sliding door? You’re likely looking at four panels. Maybe even more if you want that luxurious, billowy effect.
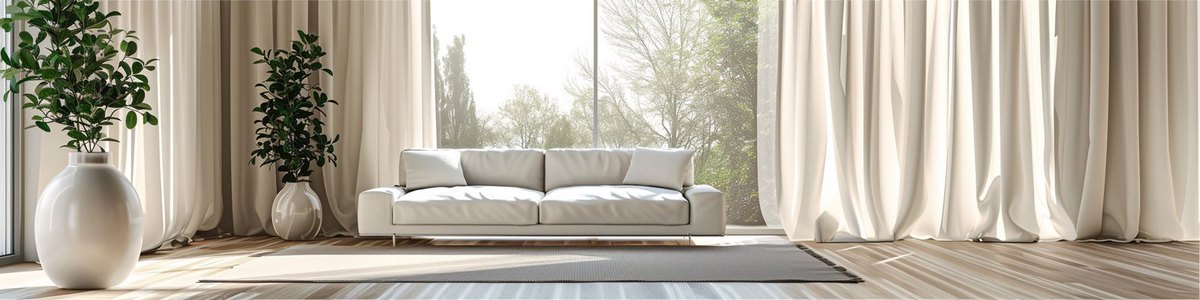
Don’t forget to check your floor plan before you drill. Are there radiators, furniture, or deep sills in the way? In modern homes, especially those built or renovated recently, floor-to-ceiling glass is common. If you have furniture like a sofa or desk under the window, make sure the curtains will clear it. You don’t want fabric bunching up behind a chair. It looks messy and wears out the fabric faster. Measure the depth of your objects. If they stick out far, you might need longer brackets to push the rod further from the wall.
Hardware Matters More Than You Think
Let’s be real for a second. No one gets excited about curtain rods. They’re the unsexy part of decorating. But cheap hardware ruins great curtains. A flimsy rod will sag in the middle, especially if you’re using heavy velvet or lined drapes. Sagging looks sloppy. It screams "I didn’t think this through." In 2026, we’re seeing a shift toward substantial, weighted rods that feel solid in the hand.
Consider the weight of your fabric. Sheer linen? A thin, delicate rod might work. Heavy blackout curtains? You need steel or thick wood. Check the weight capacity of your brackets. If you’re going wide—say, over 48 inches—you’ll need a center support bracket. Without it, gravity wins. The rod bows. The curtains stick in the middle. It’s annoying to open and close them, and it looks terrible.
Also, think about the finish. Does it match your other metals in the room? If you have brass lamp bases and gold picture frames, a chrome rod will clash. It doesn’t have to be exact, but it should be in the same family. Matte black is still huge in 2026 because it disappears against dark trim or adds a sharp contrast to white walls. Brushed nickel is timeless. Just avoid shiny, hollow-looking plastics. They break easily and reflect light in weird ways.
Dealing with Awkward Windows and Obstacles
Not every window is a perfect rectangle in the middle of a blank wall. Some are in corners. Some have radiators underneath. Some are oddly shaped. What then? Corner windows are tricky. You can use a curved rod, but those often look dated. A better option in modern design is to treat each wall separately. Mount two rods that meet at the corner, allowing the curtains to stack neatly on each side. It keeps the lines clean and avoids that bulky corner cluster.
Radiators are another headache. You can’t hang long curtains over a hot radiator. It’s a fire hazard and blocks heat. The solution? Mount the rod higher and use shorter curtains that end just above the radiator, or opt for Roman shades inside the frame. If you must have floor-length drapes, ensure they are pulled well clear of the heat source when closed. Sometimes, moving the rod out 6-8 inches from the wall is necessary to create that air gap.
What about windows with no trim? Or uneven walls? Older homes are notorious for this. Use a level. Seriously. Walls that look straight often aren’t. If you mount by eye, your curtains will hang crooked. It drives you crazy every time you walk by. Also, if there’s no trim to guide you, measure from the ceiling down. Consistency is key. If one window is 10 inches from the ceiling, they all should be. It creates a rhythm in the room that feels intentional and calm.
The Visual Impact of Light and Layering
Curtains aren’t just about privacy. They’re about controlling light and mood. This is why the "wide" part of the high-and-wide rule is so crucial. When your curtains stack back on the wall, they shouldn’t block any glass. You want every inch of that window exposed during the day. Natural light makes rooms feel bigger and happier. If your rod is too narrow, the bunched-up fabric covers the edges of the window, dimming the room unnecessarily.
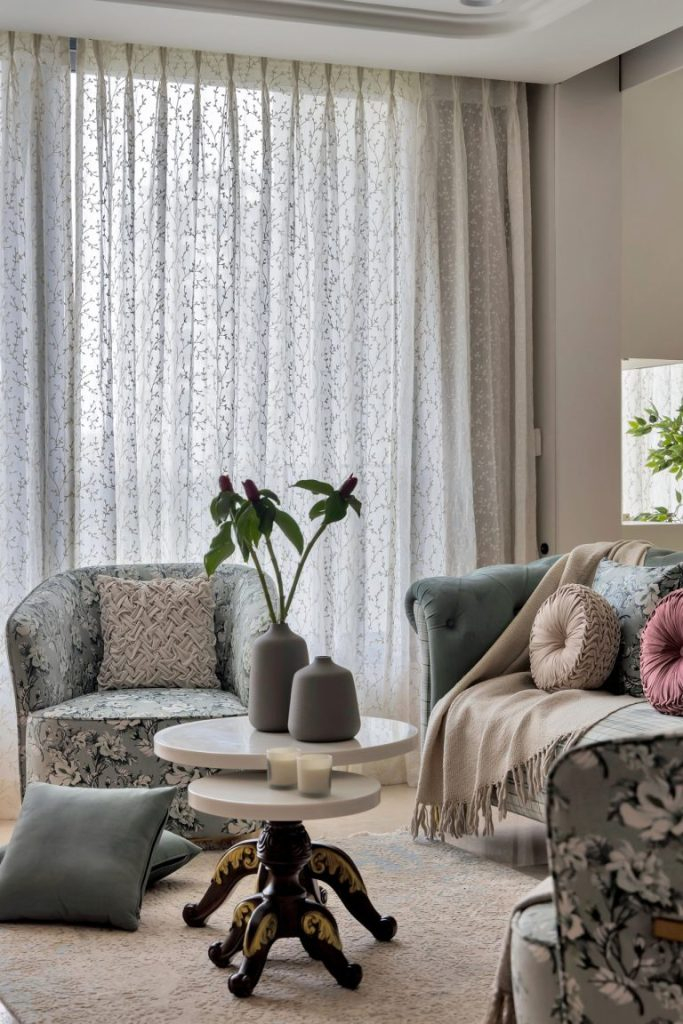
Layering is another pro move. Consider a double rod. The front holds your decorative drapes, and the back holds sheers. This gives you flexibility. You can close the sheers for daytime privacy while still letting light filter through. Then, at night, you close the heavy drapes for insulation and total blackout. It’s functional and adds depth to the window treatment. The textures play off each other. Soft sheer against heavy velvet? That’s luxury.
In 2026, energy efficiency is also a big deal. Properly hung curtains act as insulation. But only if they fit right. If they’re too short or too narrow, air leaks around the edges. Floor-length curtains that puddle slightly (just an inch or two) seal the bottom gap. Wide rods ensure the sides are sealed when closed. It’s a small detail that helps keep your heating bills down in winter and your cooling costs lower in summer. Plus, it just looks cozy.
Let’s recap the big no-nos. First, don’t mount the rod inside the window frame unless you’re using a specific shade or very short café curtains. Inside mounts make windows look tiny. They feel institutional. Keep the rod on the wall. Second, avoid "short" curtains. Unless you’re doing a specific café style, curtains should either kiss the floor, hover half an inch above it, or puddle slightly. Hanging them mid-wall cuts the room in half visually. It makes ceilings look lower and rooms feel stunted.
Another mistake? Ignoring the stack back. This is the space the curtains take up when they’re fully open. If you have a small window next to a door or a corner, make sure you have enough wall space for the fabric to stack without blocking the view or the pathway. If you don’t, you’ll find yourself constantly pushing fabric out of the way. It’s irritating. Measure the width of your fabric when gathered and ensure your rod extension accommodates it.
Finally, don’t skip the test fit. Hold the rod up. Stand back. Look at it from different angles. Does it feel balanced? Does it align with other elements in the room, like artwork or shelving? Take a photo. Sometimes seeing it in a picture reveals issues your eyes miss in person. It’s much easier to move a pencil mark than to patch and repaint drywall. Take your time. Breathe. You’ve got this.
Getting curtain rod placement right transforms a room. It’s not just about covering a window. It’s about framing your view, controlling your light, and elevating your space. By going high and wide, choosing sturdy hardware, and measuring for fullness, you create a backdrop that feels polished and intentional. You don’t need a degree in interior design to do this. You just need a tape measure, a level, and the confidence to drill a little higher than you think.
So, put down the drill for a second. Step back. Look at your walls with fresh eyes. Imagine those windows stretching taller, wider, and brighter. That’s the power of good placement. It’s a small change with a massive impact. And once you see the difference, you’ll wonder why you ever did it any other way. Your home deserves that extra touch of care. And honestly? So do you.