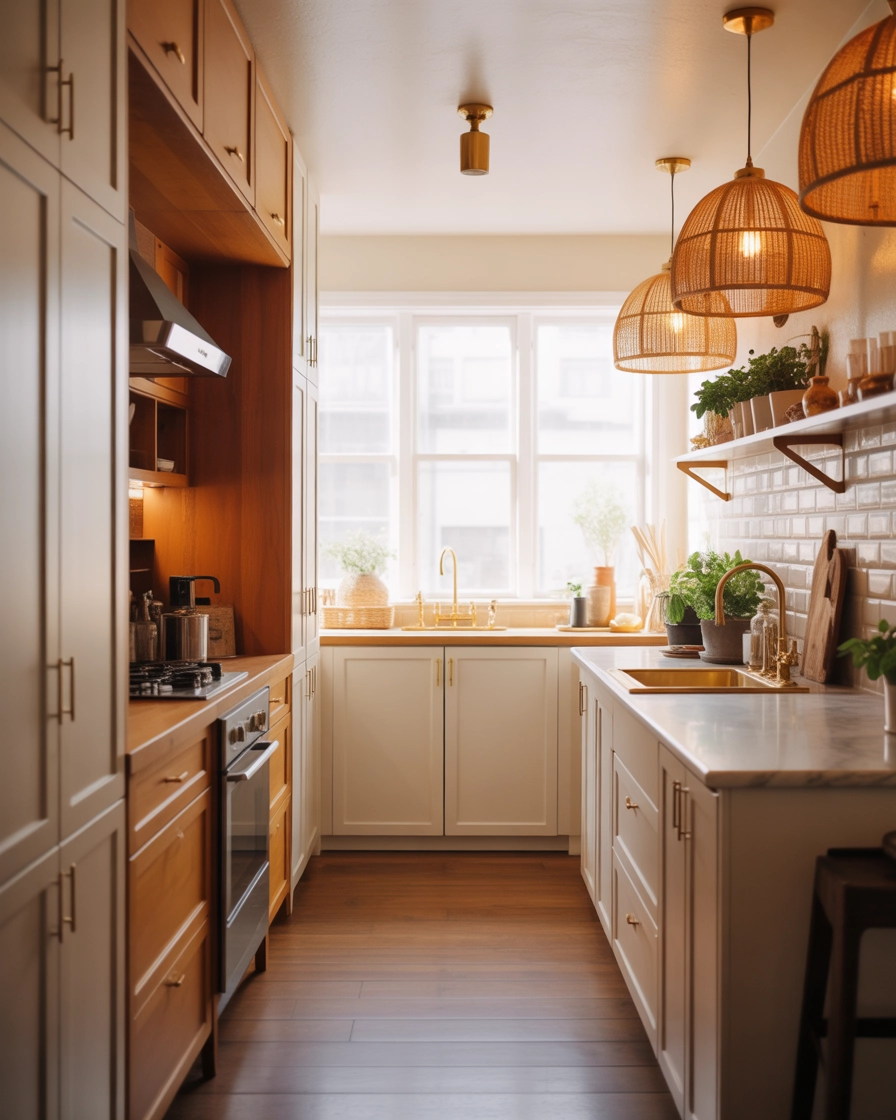
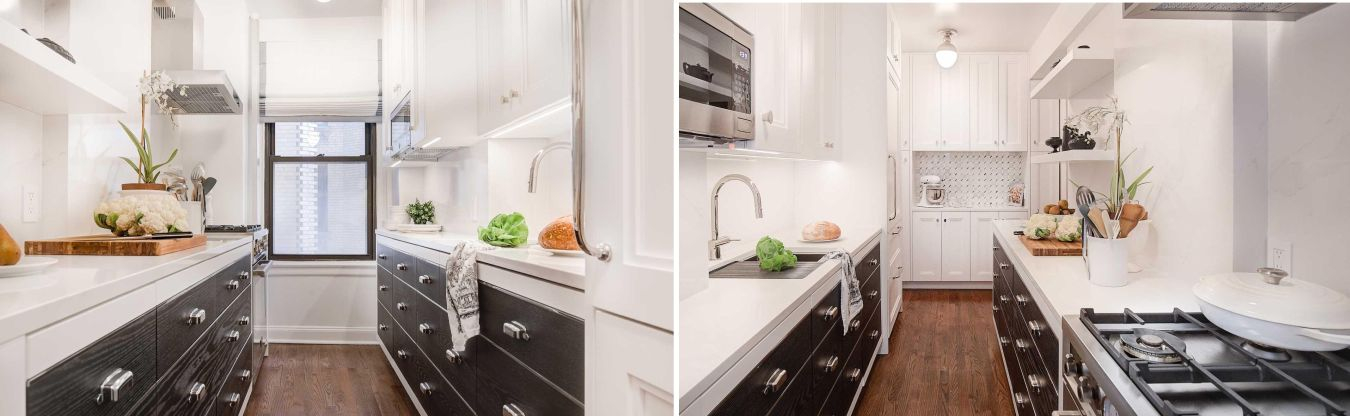
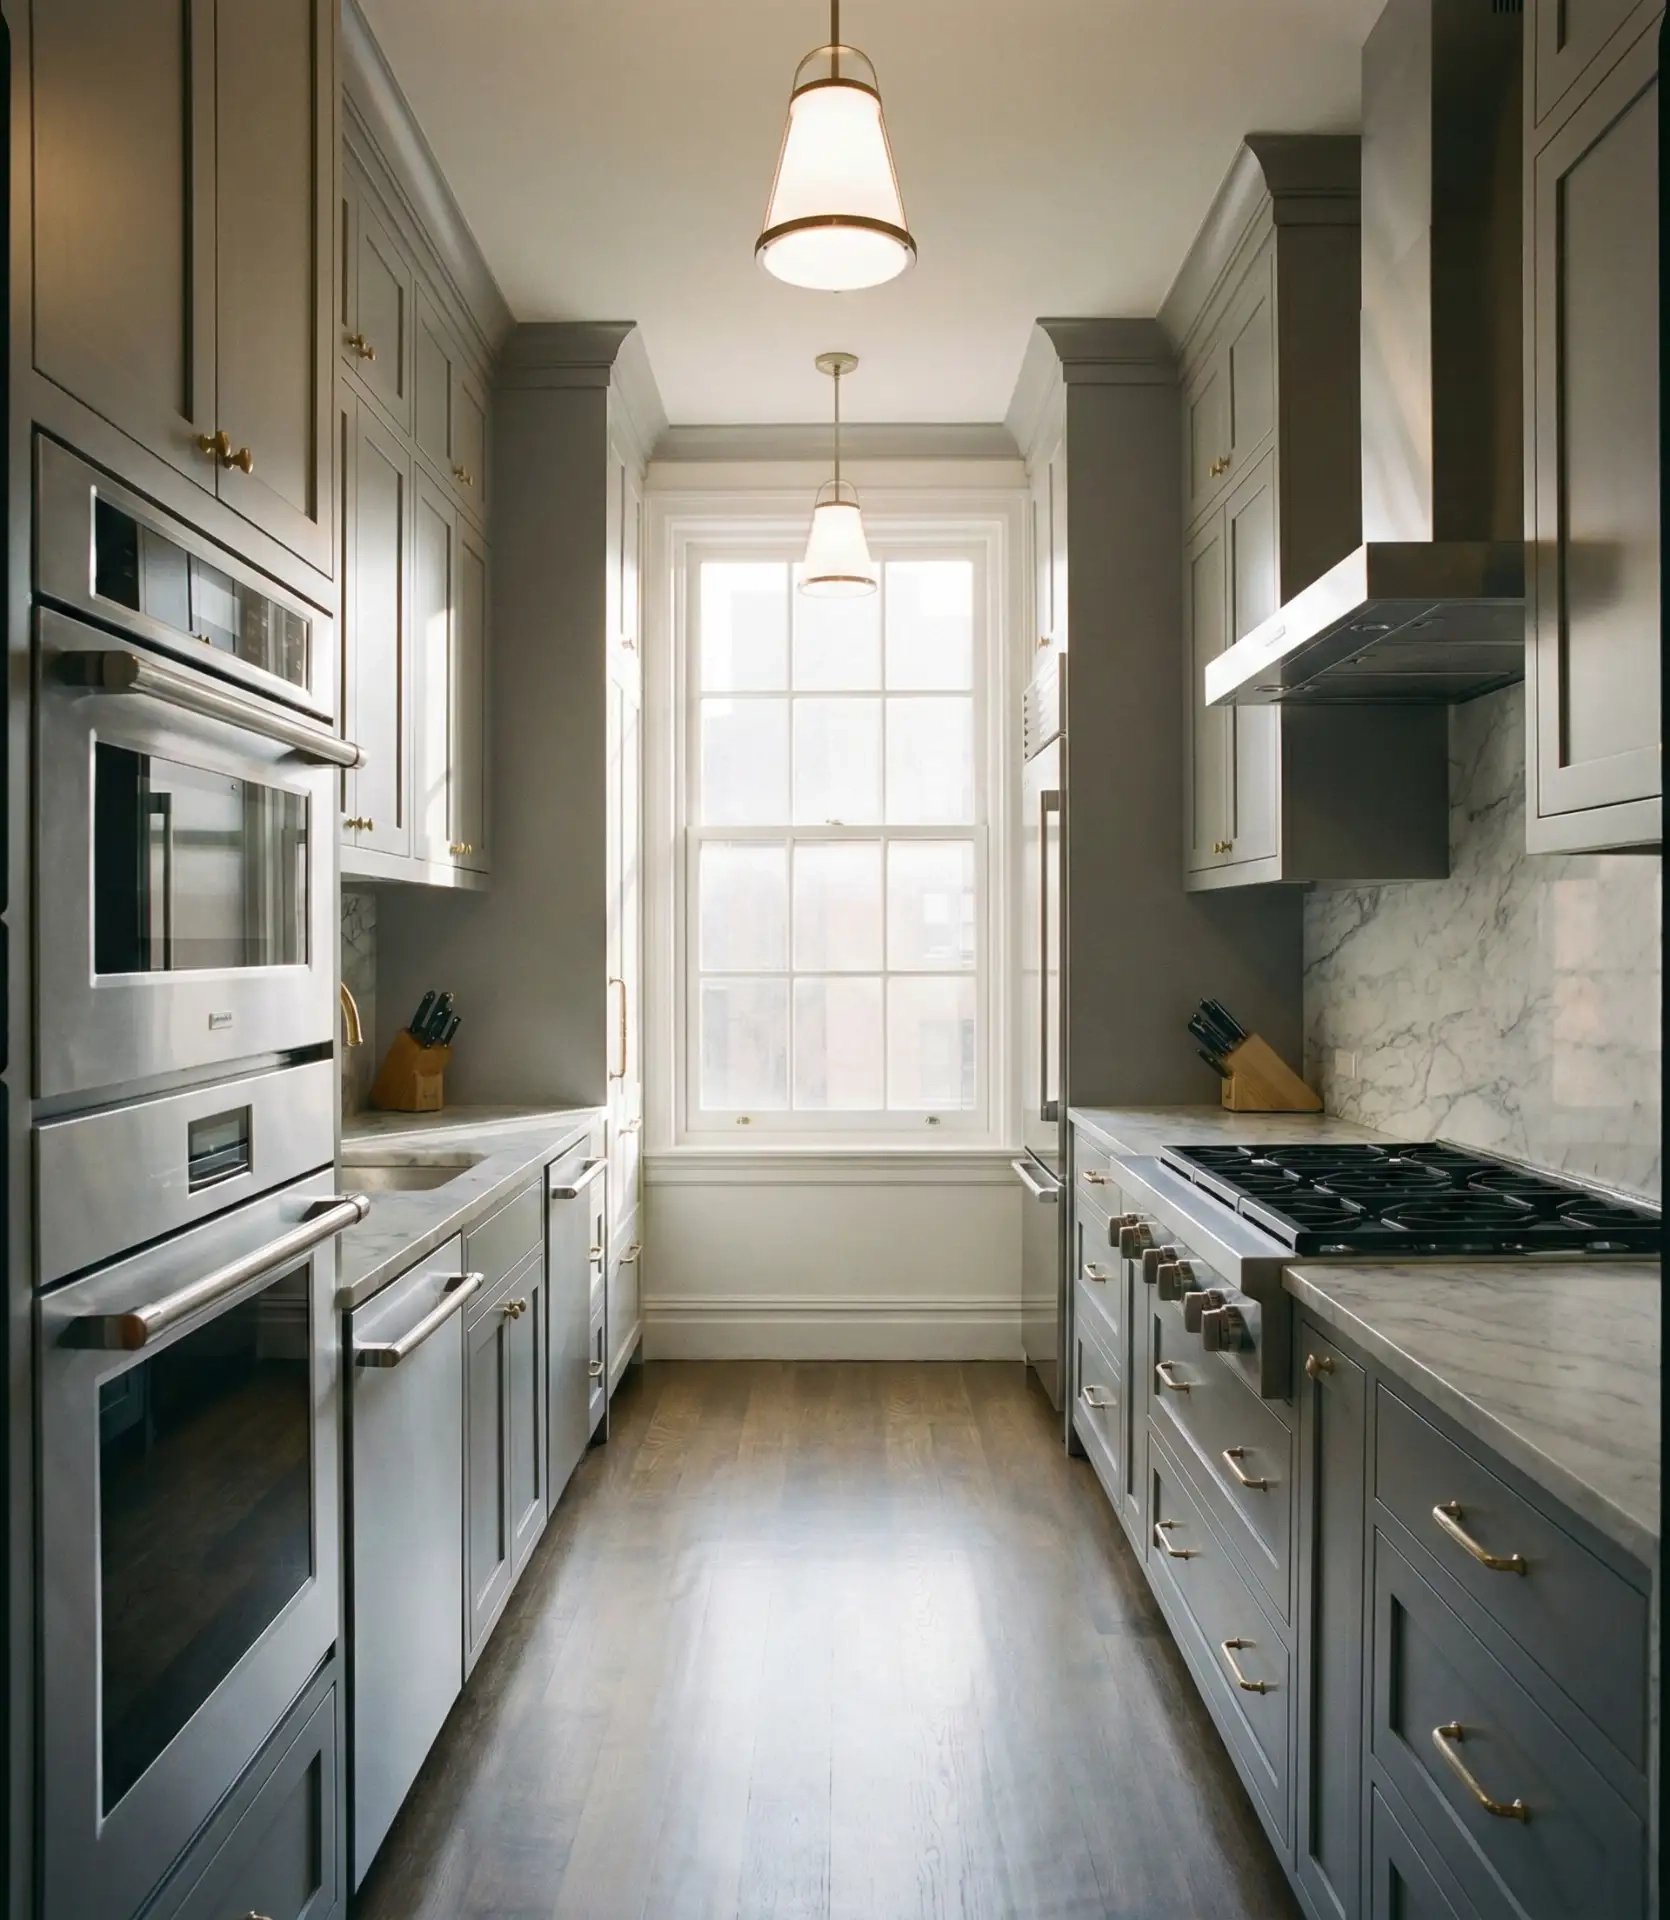
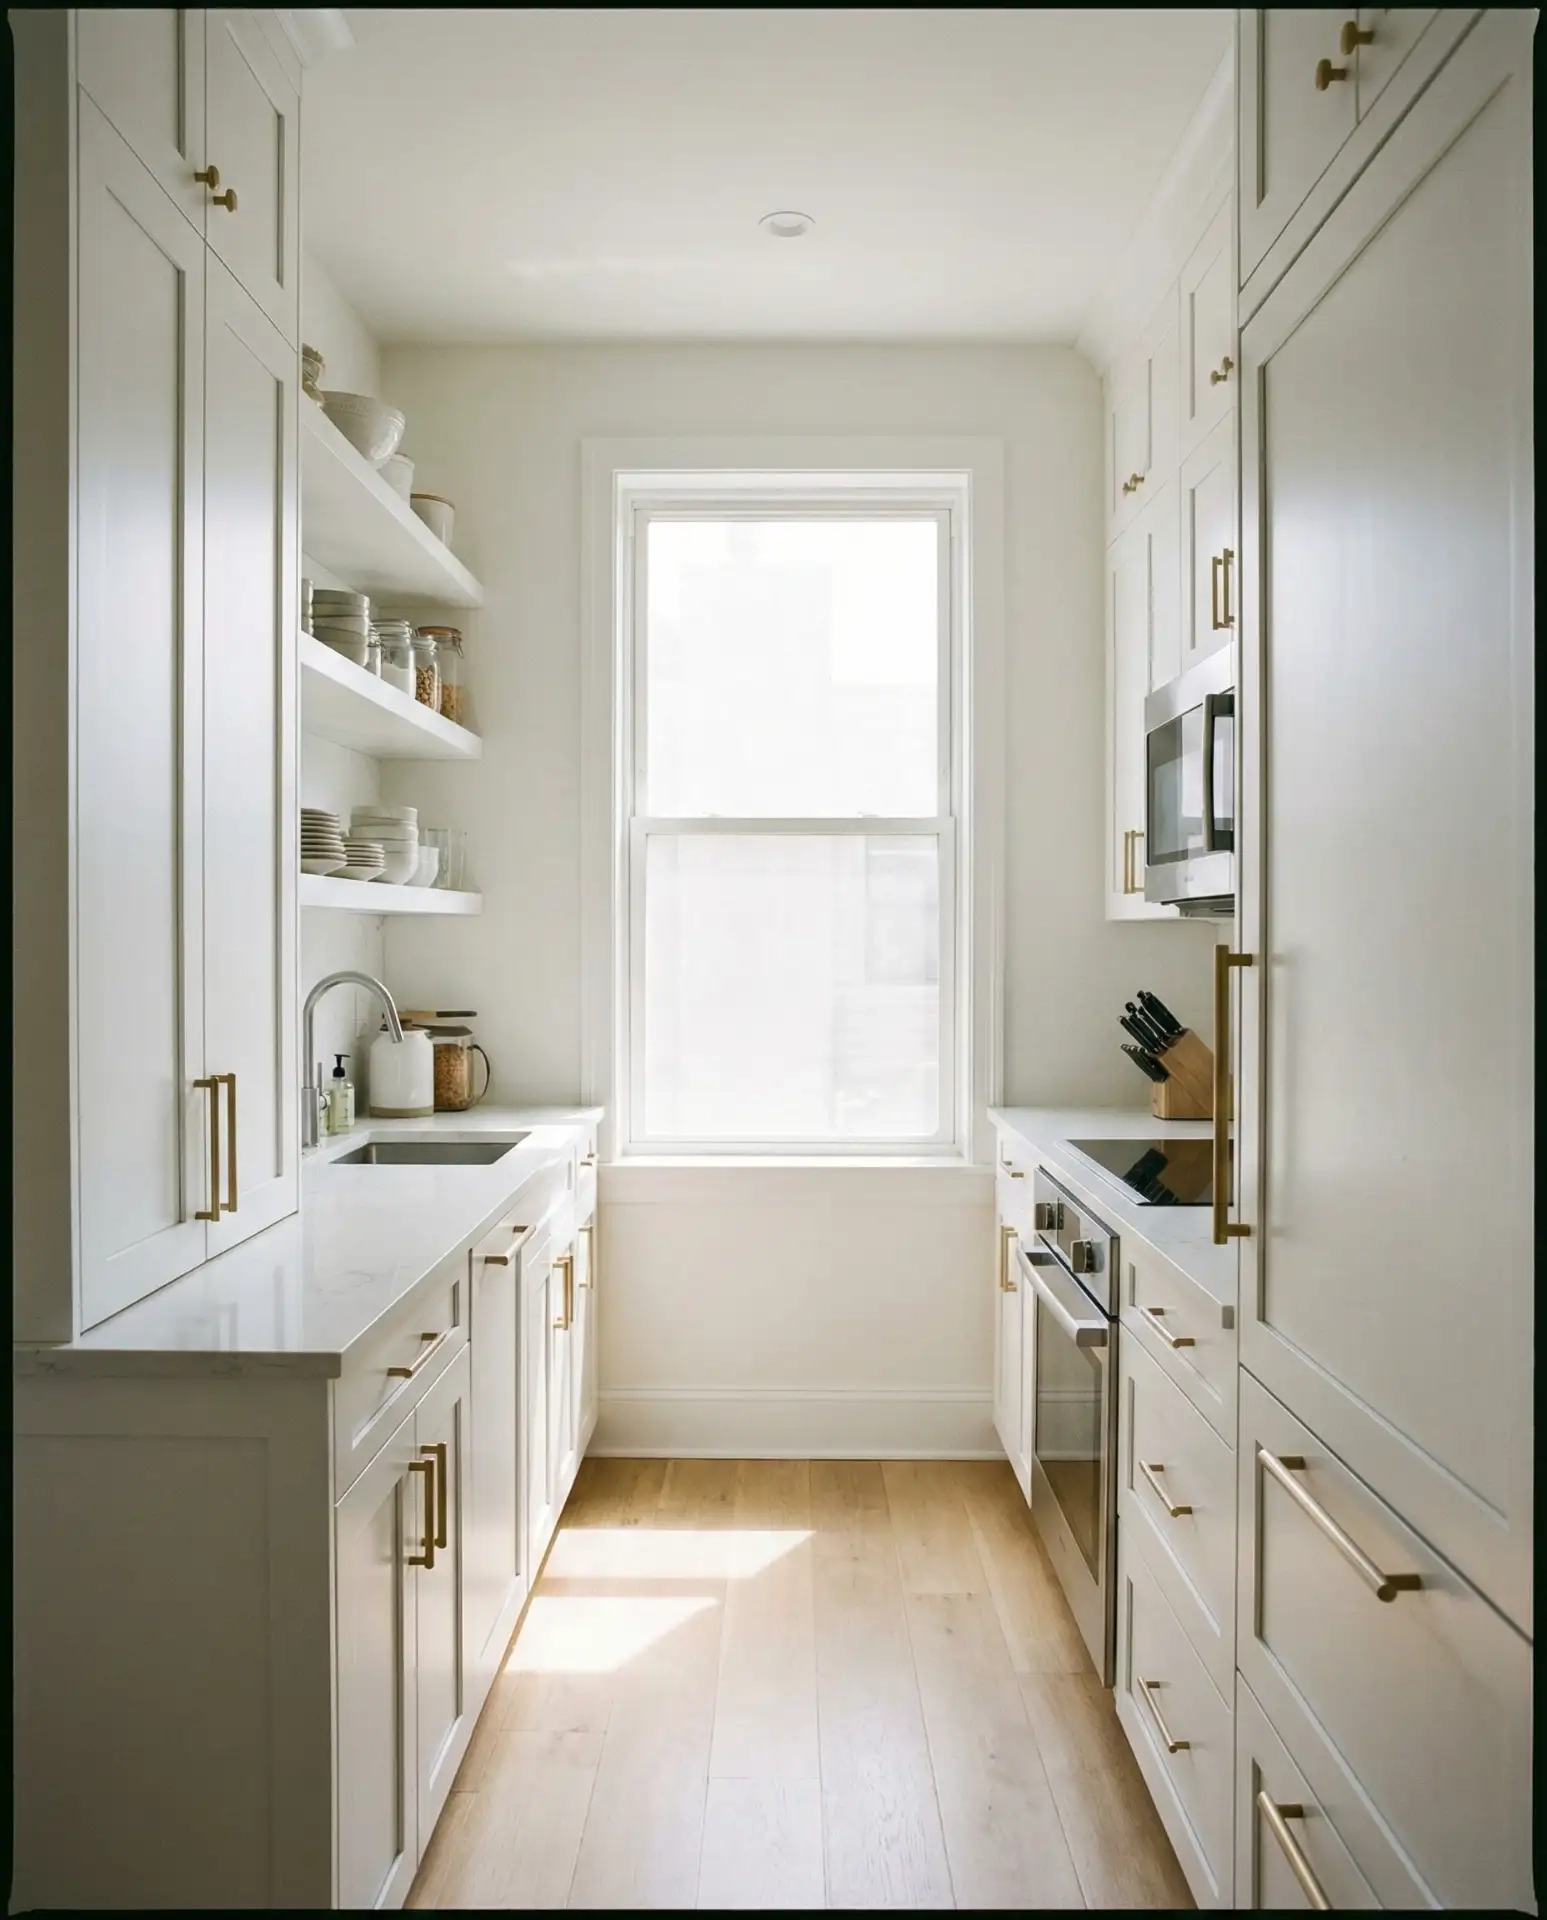
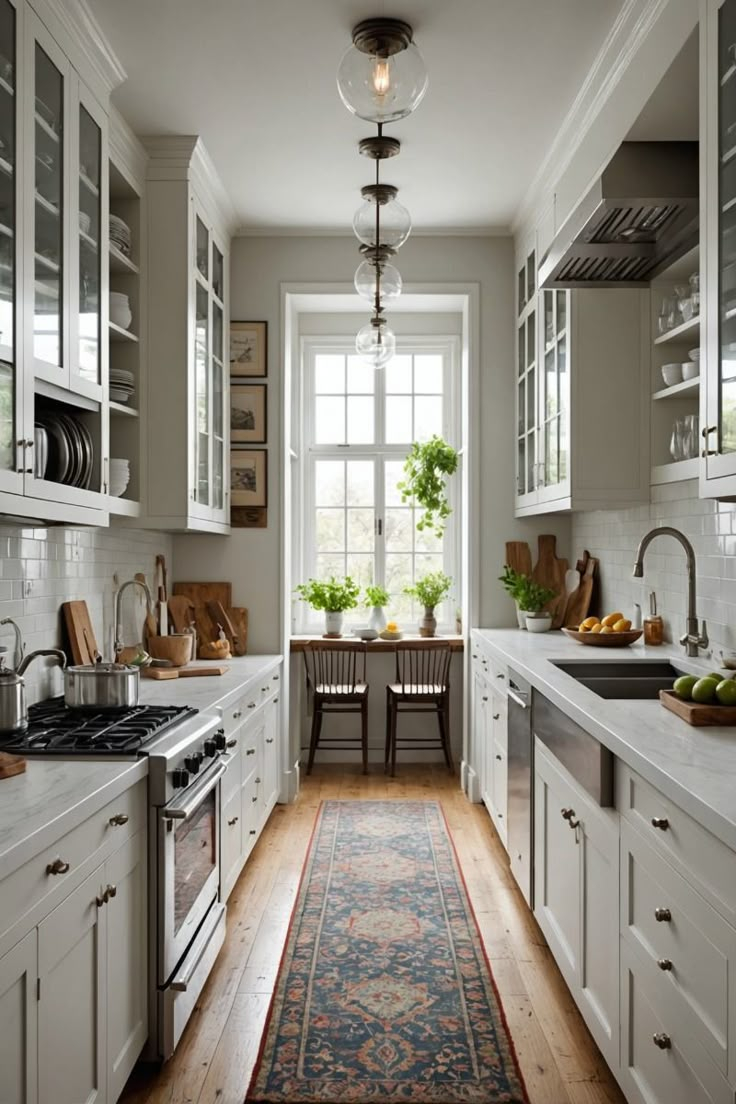
The flour on the counter was still settling into the wood grain from Sunday’s bread-making marathon when the realization hit. You do not need a sprawling square footage to experience the soulful mechanics of a working kitchen; you simply need a better ecosystem. For too long, small cooking areas were treated as architectural afterthoughts—cramped galley corridors or tight corners lined with sterile white laminate and aggressively bright, overhead utility bulbs that made every meal prep feel like a midnight shift at a hospital.
That clinical era has finally expired. The shift toward warmth with purpose has reshaped how designers and homeowners view restricted footprints, trading cold minimalism for tactile richness and intelligent spatial choreography. When every inch counts, design cannot afford to be passive. Every surface must earn its keep, and every source of light must work double duty, altering not just how a room looks, but how it feels when you step in to brew coffee before sunrise.
The contemporary approach to compact kitchens relies heavily on a sensory dialogue between raw surfaces and engineered illumination. We have moved past the era of uniform cabinetry and single-source flush-mount ceiling fixtures. Today, small spaces demand a sophisticated orchestration of touch and glow. By integrating rich, tactile materials like fluted wood panels and veined quartzite with intelligent, low-profile lighting zones, small kitchens are shedding their cramped reputation. They are emerging as the most dynamic, high-performing rooms in the modern home.
The Tactile Revolution: Rethinking Surfaces in Tight Footprints
The physical reality of a small kitchen means you are constantly interacting with its surfaces. You brush against cabinet doors, lean against counter edges, and grip pulls and faucets multiple times a day. Because tactile proximity is so high in a compact layout, flat, high-gloss surfaces that show every fingerprint no longer pass muster. The design consensus focuses on textures that beg to be touched and materials that age with character rather than degrading under daily wear.
Fluting has emerged as a dominant motif for small-footprint cabinetry and island wraps, adding a layer of architectural interest and depth that catches the light beautifully without overwhelming a room. Whether applied to the face of a custom pantry door, the perimeter of a compact island, or refrigerator panels, vertical reeding introduces a bespoke, furniture-like quality. It breaks up the monotony of flat slab doors, casting tiny shadows that give shallow spaces visual weight and dimension.
Pairing these textured wood elements with warm, low-contrast stones creates an intimate atmosphere. Think honed quartzites, warm almond marbles, and soapstones that feel soft under the hand. Unlike hyper-reflective granites of decades past, matte and honed finishes diffuse light, preventing harsh glares in tight quarters. When natural light hits a honed stone surface, the illumination softens, bouncing gently across the room and making the entire footprint feel more expansive and breathable.
Engineering the Glow: The Science of Layered Illumination
Lighting a compact cooking area requires the precision of a stage designer. Relying on a single center-of-the-room ceiling fixture creates deep shadows directly over your workspace, turning chopping boards into hazardous zones. The modern standard relies on a three-tier lighting ecosystem: task, ambient, and accent illumination, all working in concert to stretch the visual boundaries of the room.
Task lighting forms the non-negotiable foundation of this setup. Under-cabinet LED strips, recessed puck lights, and illuminated shelf channels put lumens exactly where your hands meet the ingredients. In a small kitchen, these fixtures must be carefully specified for color rendering index (CRI) and temperature. Selecting LEDs rated at 90+ CRI ensures that food colors look natural and vibrant, while a color temperature between 2700K and 3000K maintains the cozy, inviting atmosphere that defines current design movements.
Ambient and accent layers complete the illusion of space. Backlit shelving and vertical toe-kick LEDs do more than look striking—they lift heavy cabinetry visually off the floor and walls, creating negative space that tricks the eye into perceiving a larger room. Pendant lights over a compact island or peninsula provide architectural anchor points, drawing the eye upward and defining zones within an open-plan home without requiring physical walls or partitions.
Step-by-Step Blueprint for Executing Material and Light Transformations
Redesigning a compact kitchen demands strict sequencing. Because tolerances are tight in smaller rooms, installing finishes and lighting systems out of order can lead to costly rework or damaged surfaces. This field-tested methodology ensures your material pairings and lighting layouts integrate seamlessly from rough-in to final punch list.
- Step 1 (Substrate Preparation and Electrical Rough-In): Map out your lighting zones before touching a single cabinet. Coordinate with your electrician to run low-voltage wiring channels behind drywall and cabinet boxes for under-cabinet runs, backlit shelving, and toe-kick strips. Ensure drivers and transformers are housed in accessible locations, such as a nearby pantry or utility cabinet, rather than buried behind finished walls.
- Step 2 (Cabinetry and Architectural Millwork Installation): Install your custom cabinetry, ensuring fluted panels and surround frames are plumb and level. In tight spaces, even a millimeter of misalignment becomes glaringly obvious once linear LED strips are turned on and wash across the textured surfaces, making precise carpentry non-negotiable.
- Step 3 (Countertop Templating and Material Integration): Template your honed stone or composite surfaces, taking precise measurements to integrate flush-mount outlets or under-mount sinks. Pair your cabinet finish with complementary hardware—such as unlacquered brass or brushed nickel—that will catch and reflect the layered light sources effectively.
- Step 4 (Fixture Integration and LED Channel Placement): Mount aluminum extrusion channels for your LED tape lights into designated underside routing grooves. Diffuser covers are critical here; frosted lenses eliminate the dreaded "dotted" LED reflection on glossy or polished countertops, delivering a clean, continuous bar of illumination.
- Step 5 (Smart Control Calibration and Dimming Scenes): Install multi-zone smart dimmers or wireless keypads. Program specific lighting scenes—such as a high-output "Prep" mode for cooking and a low-glow "Ambiance" mode for evening entertaining—ensuring your small kitchen adapts dynamically to the rhythms of your day.
Navigating Constraints: Common Pitfalls and Field-Tested Workarounds
Transforming a compact cooking space is an exercise in managing limitations. Small footprints leave zero margin for error when balancing heavy textures with complex electrical layouts. Anticipating these common traps saves time, budget, and frustration during the renovation process.
- Pitfall 1 (Overlighting Small Zones): Flooding a tiny kitchen with too many high-lumen fixtures creates an interrogation-room atmosphere rather than a cozy culinary hub. Workaround: Rely heavily on dimmable drivers and split your lighting into at least three independently controlled circuits so you can dial back the intensity based on the time of day.
- Pitfall 2 (Reflective Glare on Glossy Surfaces): Using polished stone countertops alongside un-diffused under-cabinet lighting results in harsh, blinding hot spots on the work surface. Workaround: Specify honed or leathered stone finishes paired with deep aluminum LED channels featuring heavy frosted opal diffusers to soften the light spread.
- Pitfall 3 (Ignoring Driver Accessibility): Tucking electronic LED drivers behind permanent drywall or inaccessible upper crown molding makes maintenance impossible when a component fails. Workaround: Centralize all low-voltage power supplies in a designated, ventilated base cabinet or a nearby utility stack with quick-release access panels.
- Pitfall 4 (Clashing Undertones in Material Pairings): Pairing cool gray stones with warm olive or honey-toned wood cabinetry creates an immediate, jarring visual dissonance. Workaround: Test material samples directly on-site under your exact specified LED color temperature (2700K–3000K) before locking in final orders to ensure the undertones harmonize.
- Pitfall 5 (Sacrificing Practical Storage for Aesthetic Fluting): Applying thick decorative panels or bulky trim work inside shallow cabinets eats away at precious millimeter-level storage capacity. Workaround: Choose shallow reeded veneers or integrated millwork profiles that add texture on the exterior shell without encroaching on interior hardware or pull-out clearances.
The Broader Impact: Crafting Lifestyle Spaces Out of Minimal Footprints
The evolution of the compact kitchen mirrors a wider cultural shift in how we inhabit our homes. The kitchen is no longer a purely functional utility closet hidden away from guests; it is the emotional core of the household. When square footage is limited, the design must compensate through psychological expansion—making a room feel generous, welcoming, and deeply personal through sensory layering.
This philosophy champions sustainability through longevity. Instead of tearing out cheap, trendy flat-pack units every five years, homeowners are investing in enduring, tactile materials like solid woods, natural stones, and high-grade metals that develop a rich patina over time. Coupled with energy-efficient LED systems that consume a fraction of the power of legacy incandescent bulbs, these kitchens represent a more mindful, resource-conscious approach to modern interior design.
Economic value follows this tactile and technical upgrade. Real estate analysts note that thoughtfully renovated small kitchens often yield a higher return on investment per square foot than sprawling luxury kitchens, primarily because they solve a universal urban design challenge. Buyers are willing to pay a premium for clever spatial engineering that makes a modest apartment or townhouse feel like a custom architectural showcase.
Strategic Frameworks for Your Compact Kitchen Remodel
To translate these concepts into a successful project, distill your design choices into a clear, prioritized framework. Every decision should serve both a functional purpose and an aesthetic goal, ensuring your compact space punches far above its weight class.
- Prioritize Touchpoints First: Invest the core of your material budget in items you physically touch daily—cabinet pulls, counter edges, and faucet fixtures—leaving secondary surfaces more streamlined to save cost and visual clutter.
- Layer from the Ground Up: Never design lighting as an afterthought. Plan your task, ambient, and accent layers simultaneously with your cabinetry layout to ensure seamless integration of wiring channels and power supplies.
- Embrace Low-Contrast Palettes: In small areas, high-contrast color shifts chop the room into disjointed pieces. Opt for tonal, harmonious material pairings that flow into one another to trick the eye into seeing a larger, continuous volume.
- Incorporate Hidden Technology: Integrate smart dimmers, motion-sensor task lighting, and discreetly docked appliances to keep counters clear of visual noise, preserving the clean, furniture-like quality of the room.
The transformation of the compact kitchen proves that constraints breed the most inventive design solutions. By letting go of the sterile, oversized paradigms of the past and embracing tactile materials paired with intelligent, multi-layered illumination, even the smallest galley or studio apartment can become a masterpiece of culinary ergonomics.
As we look further into the decade, the boundary between architectural finish and lighting technology will continue to blur, making these integrated approaches standard practice. Take these principles, audit your own spatial challenges, and start building a kitchen that works brilliantly, feels extraordinary, and welcomes you home every single day.