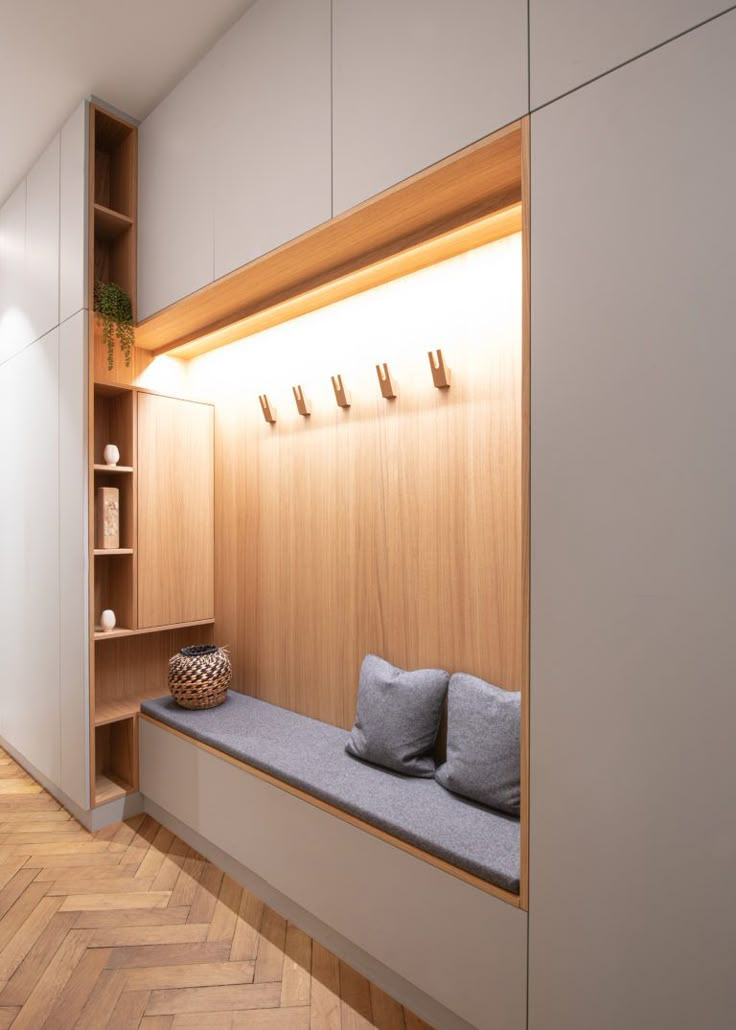
You walk through the front door after a grueling nine-hour workday, arms full of groceries, a laptop bag digging into your shoulder, and a damp jacket clinging to your back. Where does it all go? If your home lacks a dedicated mudroom, the answer is usually a chaotic pile on the nearest dining chair, a sprawl of footwear across the living room floor, or a precarious tower of mail balanced on the kitchen counter. This everyday friction is entirely unnecessary. The forgotten, empty hallway stretching just beyond your threshold holds untapped architectural potential, waiting to anchor your family’s daily comings and goings.
Most homeowners look at a narrow corridor and see dead space—a lifeless tunnel connecting the garage to the living quarters. In reality, a hallway is a blank canvas. With a modest drill, a stud finder, a level, and a handful of hardware store staples, you can reclaim this square footage. Creating a micro-drop zone does not require a contractor’s budget or custom-milled cabinetry. It demands a keen eye for vertical storage, an understanding of traffic flow, and forty inventive ways to turn an ordinary passageway into a powerhouse of daily efficiency.
The modern obsession with minimalist interior design often clashes with the messy reality of family life. We accumulate keys, sunglasses, dog leashes, umbrellas, backpacks, and mail at an astonishing rate. When an entryway lacks a designated home for these items, disorder spreads outward like a contagion. Crafting a tactical drop zone acts as a physical dam, stopping clutter at the front door before it infiltrates the sanctuary of your home. By utilizing basic hand tools and clever hardware hacks, you can engineer an arrival experience that feels intentional, orderly, and genuinely welcoming.
Decoding the Anatomy of a Functional Hallway Corridor
Transforming a bare corridor begins with understanding its physical constraints. A standard residential hallway typically measures between thirty-six and forty-eight inches wide. That dimension leaves very little margin for error when introducing furniture or storage systems. If you place a standard sixteen-inch-deep bench against the wall, you instantly choke the walkway, turning a comfortable passage into an obstacle course where shoulders brush wallpaper and laundry baskets must be sidestepped sideways.
The secret to maximizing a narrow passage lies in strict adherence to the laws of verticality and shallow-depth architecture. Instead of building outward into the room, you must build upward and flush against the drywall. This means swapping bulky armoires for slim-profile console tables that measure less than ten inches deep, or abandoning furniture entirely in favor of wall-mounted ledges. Every square inch of floor space saved preserves the psychological sense of openness, ensuring the hallway feels expansive rather than claustrophobic.
Material selection plays a silent yet critical role in how a drop zone performs under daily abuse. Hallways endure heavy foot traffic, dragging coat zippers, wet boots, and sliding backpacks. Selecting durable substrates like moisture-resistant medium-density fiberboard (MDF) for shelving, solid hardwood for high-stress anchor boards, and matte black or brushed brass cast-iron hardware ensures your DIY creations survive years of punishment. Ignoring structural integrity—such as screwing heavy coat hooks directly into hollow drywall without anchors—guarantees a midnight crash that will leave you patching holes with joint compound.
Ergonomics dictate the height and placement of every element in your hallway drop zone. A drop zone that requires awkward stretching or knee-bending will quickly be abandoned for the floor. The ideal height for adult coat hooks sits between sixty and sixty-four inches from the finished floor, while children’s hooks should be clustered lower at forty to forty-eight inches. Mail slots and key drops belong right at elbow height, roughly forty-eight inches up, keeping daily essentials safely out of reach of crawling toddlers while remaining effortlessly accessible for tired adults stepping through the door.
Engineering Vertical Storage and Stealthy Wall-Mounted Hacks
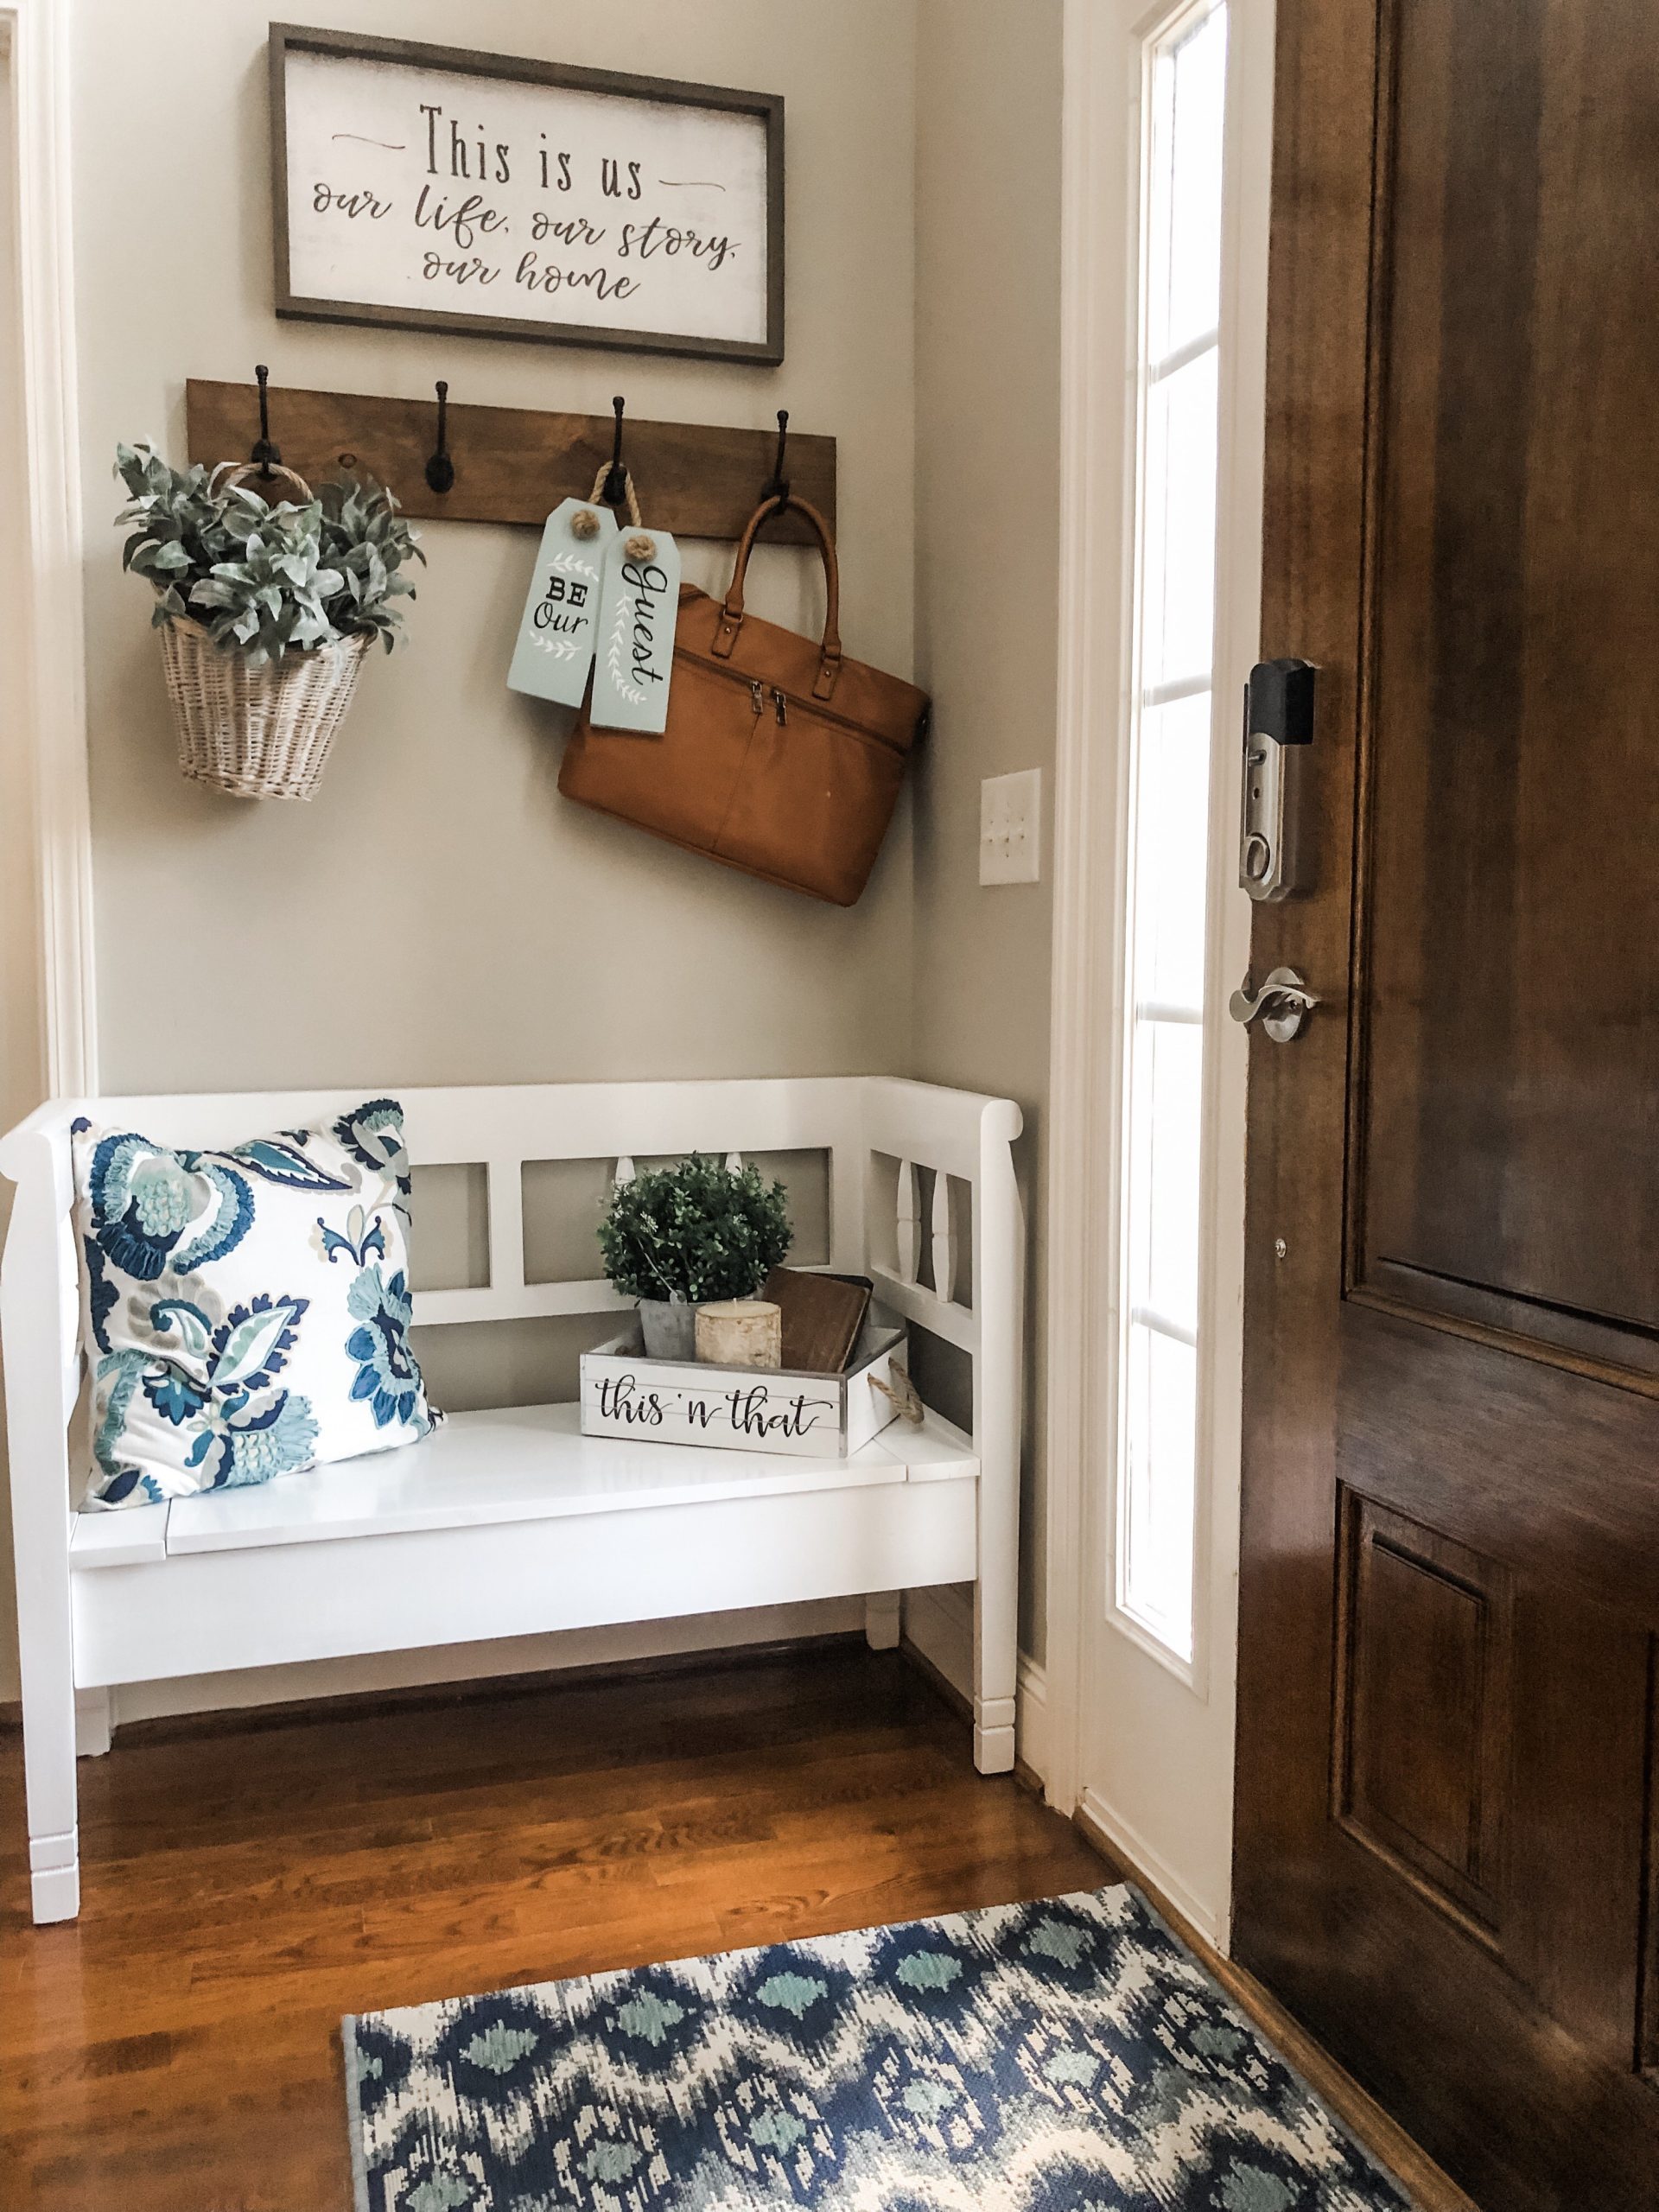
When floor space is restricted to a narrow strip of hardwood or tile, the walls become your primary real estate. The first category of transformation relies on clever vertical organization that leverages simple lumber and basic brackets. By anchoring a continuous wooden backer board horizontally across the drywall studs, you create a indestructible spine from which you can hang anything. This technique distributes weight evenly across multiple studs, preventing heavy winter coats from tearing out your fasteners.
Consider integrating shallow, custom-cut picture ledges rather than standard bulky bookshelves. A three-inch-deep ledge mounted at eye level provides a brilliant resting place for incoming mail, outgoing letters, and slim wallets without protruding into the walking path. Pair these ledges with magnetic knife strips mounted underneath or along the side trim to securely corral metal keys, scissors, and pocket tools. These small, low-profile interventions eliminate the visual noise of surface clutter.
For footwear management—the ultimate nemesis of any entryway—vertical stacking is mandatory. Traditional shoe racks take up far too much floor clearance. Instead, install wall-mounted, fold-down shoe cabinets or vertical boot hangers equipped with heavy-duty spring clips. Alternatively, mounting narrow wire baskets vertically allows you to drop sandals and slippers inside like letters into a mailbox. These solutions utilize the vertical plane of the lower hallway wall, keeping floors completely bare and making vacuuming the baseboards an effortless chore.
Lighting and mirrors round out the structural phase of wall-mounted drop zones. A narrow hallway often suffers from a lack of natural windows. Mounting a large, vertically oriented mirror not only bounces available light back into the space to create an illusion of double the square footage, but it also serves as a final vanity check before leaving the house. Flank this mirror with battery-operated sconces or plug-in wall lamps equipped with smart bulbs, eliminating the need for hardwired electrical work while dramatically elevating the aesthetic warmth of the corridor.
A Step-by-Step Blueprint for Constructing Your Hallway Mudroom Wall
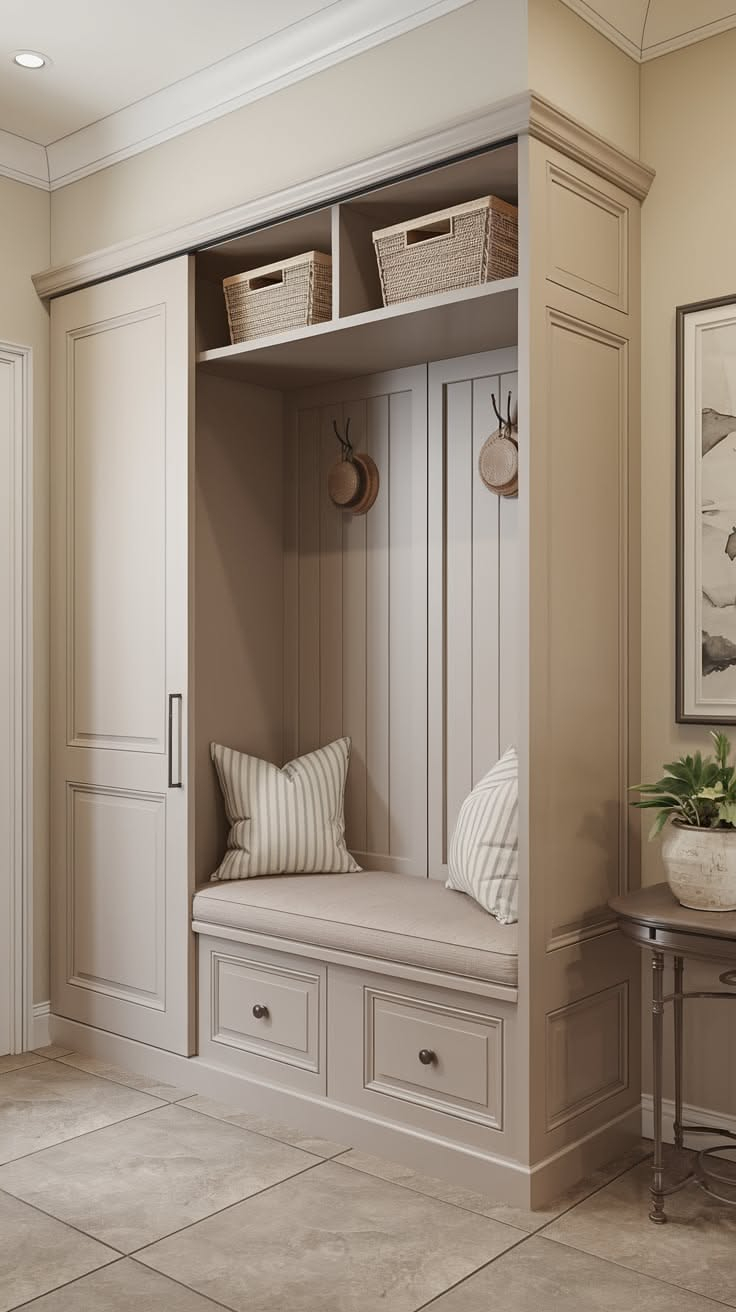
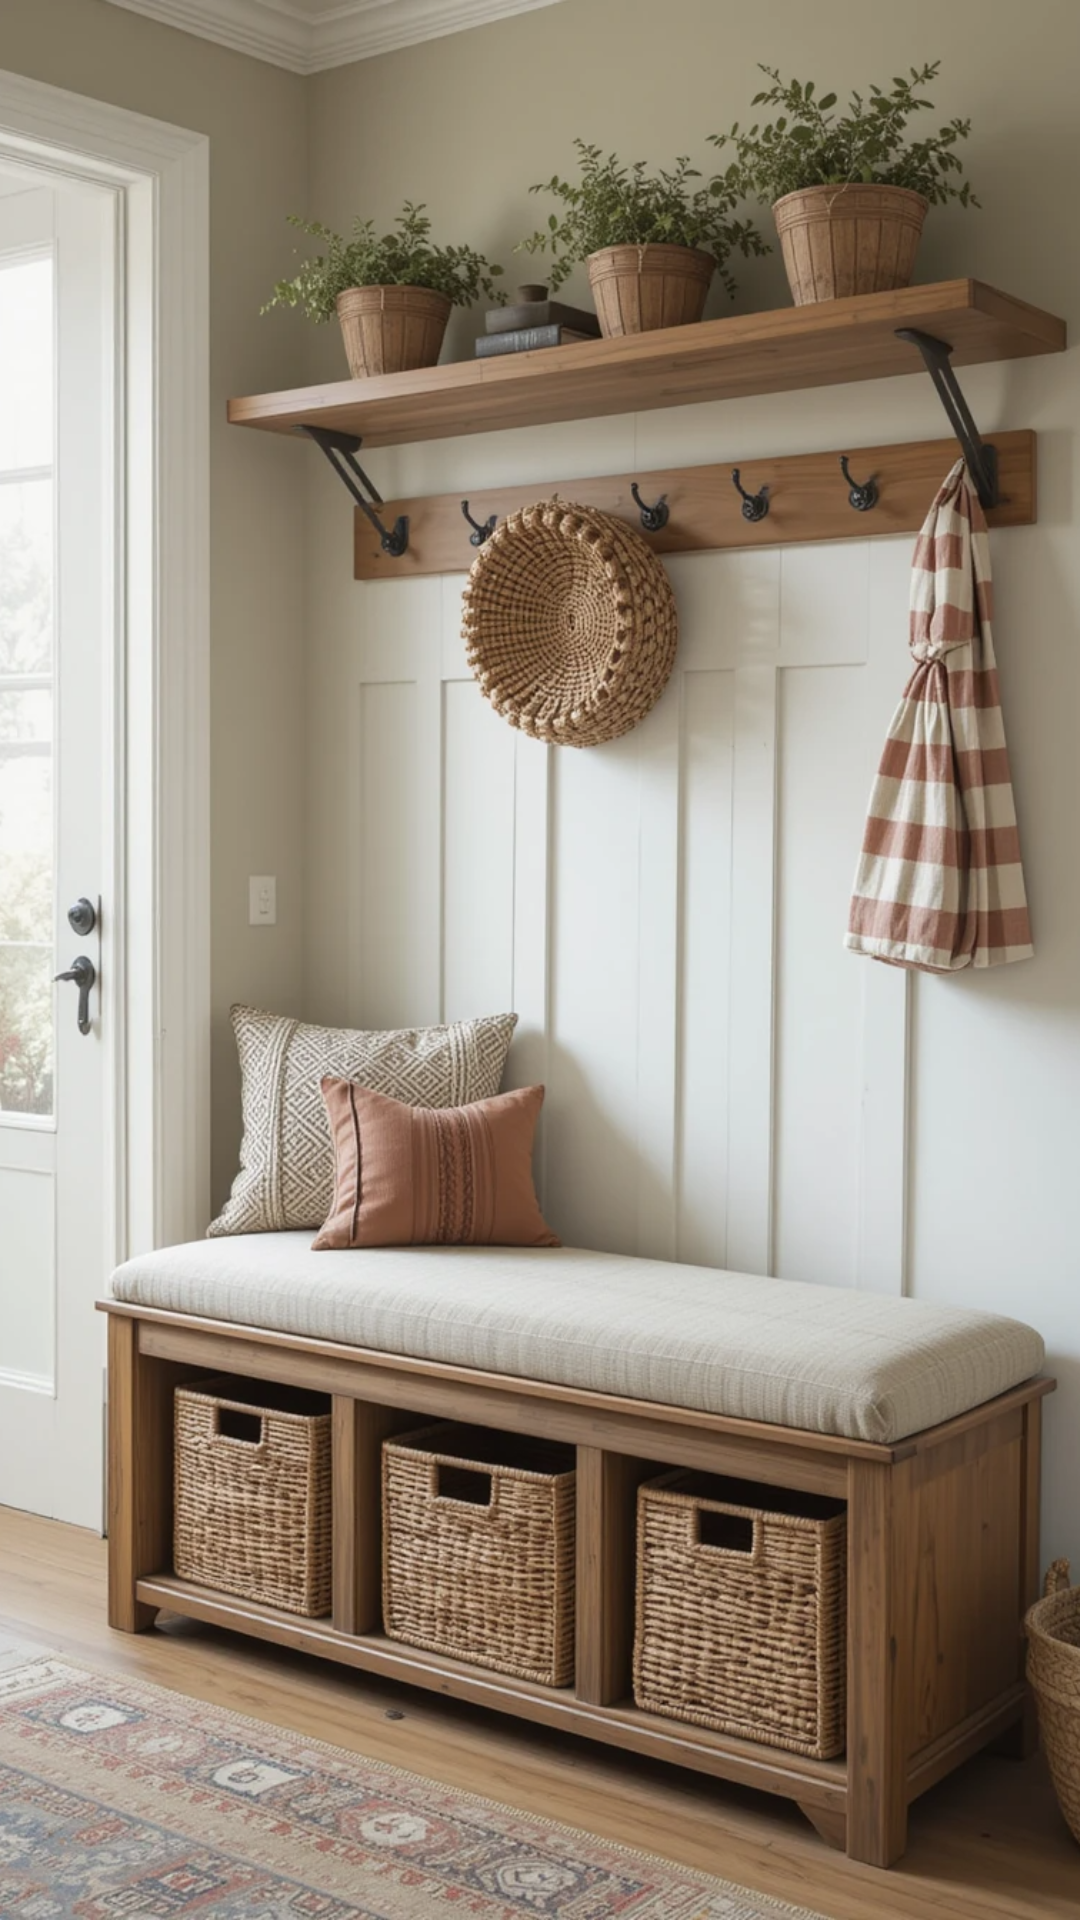
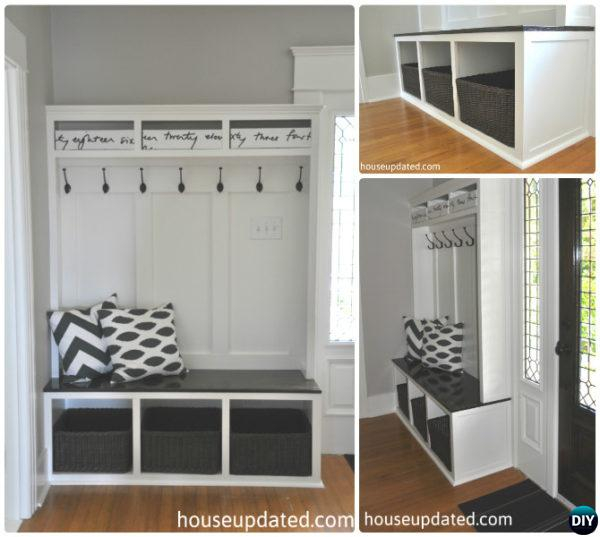
Building a cohesive, built-in look using basic off-the-shelf lumber and hand tools is entirely achievable over a single weekend. The following methodology outlines how to construct a rugged, multi-tier drop zone featuring a bench seat, upper coat hooks, and integrated cubbies.
- Step 1 (Assessment and Layout): Use an electronic stud finder to locate and mark every wall stud along the target hallway section. Measure the exact length of the wall and transfer these dimensions to a piece of grid paper to map out the spacing for your bench, vertical dividers, and upper shelf.
- Step 2 (Building the Base Bench): Cut two-by-four dimensional lumber to form a sturdy wall-mounted frame screwed directly into the studs. Top this frame with a piece of select pine or edge-glued oak project panel, sanding the edges smooth with 120-grit sandpaper before securing it with countersunk wood screws.
- Step 3 (Installing the Vertical Backer Panels): Cut beadboard paneling or MDF sheets to fit the wall space between the benchtop and the upper rail. Nail these panels securely to the wall studs using a brad nailer, providing a textured, architectural backdrop that protects your drywall from scuff marks.
- Step 4 (Mounting the Upper Storage and Hooks): Secure a heavy-duty wooden header board across the top of the beadboard, screwing it firmly into every available stud. Mount cast-iron double coat hooks to this header board at staggered heights to maximize hanging capacity without garments overlapping too heavily.
- Step 5 (Finishing and Sealing): Fill all fastener holes with paintable wood putty, let dry, and sand flush. Apply two coats of high-durability semi-gloss latex paint or protective wood stain to match your interior trim, and finish by adding woven storage baskets beneath the bench for hidden shoe containment.
Navigating Structural Obstacles and Avoiding Common DIY Missteps
Even the most enthusiastic DIY weekend warrior can stumble when faced with the hidden eccentricities of residential construction. Hallways are notorious for housing return-air vents, electrical light switches, thermostats, and uneven plaster walls. Ignoring these obstacles before driving your first screw can result in damaged wiring, compromised heating systems, and crooked installations that scream amateur hour.
The most frequent mistake made in hallway drop zone construction is underestimating the load-bearing requirements of coat hooks and benches. A family of four shedding winter coats, heavy backpacks, and sports gear can easily place over one hundred pounds of sheer pulling force on a set of wall hooks. Relying solely on plastic drywall anchors is a recipe for disaster. Every primary support member—whether it is a bench frame, a hanging rail, or a heavy shelf bracket—must be screwed directly into wood framing studs.
Another common pitfall is blocking operational clearance. Homeowners often get so excited about installing storage cubbies that they forget about inward-swinging linen closet doors, bathroom entrances, or heating register vents located further down the hallway. Always test the swing radius of every nearby door before anchoring furniture or bulky wall units. If a shoe cubby prevents a bedroom door from opening past ninety degrees, the entire layout must be re-evaluated.
Material warping and humidity shifts also catch many beginners off guard. Hallways near exterior doors experience dramatic temperature fluctuations and moisture exposure from rain and snow. Using untreated, low-density particle board in these areas will cause swelling and structural failure within a single season. Always select moisture-resistant hardwoods, exterior-grade plywoods, or properly sealed MDF, and apply a polyurethane topcoat to high-touch wooden surfaces to prevent oils from human hands from discoloring the finish over time.
The Broader Impact of an Organized Entryway on Daily Well-Being
Stepping back to analyze the psychological ripple effects of an organized hallway reveals that home organization is never merely about aesthetics. Cortisol levels spike in environments cluttered with visual chaos. When the first space you encounter upon entering your home is an orderly, intentional drop zone, your nervous system registers an immediate sense of arrival and relief. The frantic search for car keys or missing shoes vanishes, replacing morning panic with calm momentum.
From an economic standpoint, implementing a dedicated hallway drop zone preserves the lifespan of your household goods. Hanging coats properly on substantial hooks prevents stretching at the necklines, while dedicated shoe cubbies stop footwear from being crushed underfoot or chewed by pets. Furthermore, keeping mail and important documents corralled in wall-mounted sorters prevents bills from getting lost under couch cushions or accidentally tossed out with junk mail, saving you from late fees and administrative headaches.
The sustainability of your drop zone design depends heavily on the maintenance routines you establish. An organized hallway is not a static installation; it is an active ecosystem. Adopting a simple "one-in, one-out" rule for seasonal outerwear and shoes ensures that storage spaces do not overflow. When children understand that their backpacks have a specific, designated cubby at their eye level, tidiness transitions from an enforced parental chore into an automatic, muscle-memory habit.
As home design trends evolve, the emphasis on multi-functional micro-spaces continues to grow. Urban living spaces are shrinking, and square footage commands a higher premium than ever before. Mastering the art of transforming a dead hallway corridor into a high-capacity mudroom proves that luxury in modern interior design is not about having an oversized mansion; it is about making every single square inch of your existing footprint work intelligently for your lifestyle.
Actionable Frameworks for Sustaining Your Hallway Drop Zone
Translating inspiration into lasting organization requires a systematic approach to maintenance and behavioral design. The following structured framework outlines how to keep your newly constructed hallway drop zone pristine week after week without descending back into clutter.
- Establish a Weekly Purge Habit: Dedicate five minutes every Sunday evening to clear out expired coupons, flyers, and out-of-season accessories from your hallway mail slots and hooks.
- Implement the Designated Container Rule: Assign every family member a specific basket, bin, or hook. If an item does not have a designated home within the drop zone, it cannot live in the hallway.
- Utilize Clear Labeling Systems: Apply minimalist vinyl or metal label holders to storage bins beneath your hallway bench so younger children can easily identify where boots and sports gear belong.
- Rotate Seasonal Gear Proactively: Move heavy winter parkas to basement storage or upper closet rods during summer months, leaving the hallway drop zone free for lightweight jackets, sun hats, and umbrellas.
- Keep Maintenance Tools Nearby: Store a small handheld vacuum or microfiber dusting wand in a nearby hall closet to quickly sweep away tracked-in dirt and debris from the drop zone floor twice a week.
Your home should act as a supportive partner in your daily life, absorbing the friction of the outside world rather than compounding it. Transforming an empty, uninspired hallway into a functional drop zone using basic hand tools is one of the most empowering DIY projects you can undertake. It demands minimal financial investment, basic hardware store materials, and a few hours of focused weekend labor, yet it yields exponential returns in daily convenience and mental peace.
As you stand in your newly optimized corridor, looking at neatly hung coats, paired shoes, and cleared surfaces, remember that organization is an ongoing practice rather than a one-time destination. Embrace the quirks of your home’s architecture, trust your measurements, and take pride in crafting a space that says "welcome home" in the clearest, most organized language possible. The chaos outside your door can stay outside; your hallway now stands ready to guard the peace within.