You’ve probably been there. You spend a weekend sanding, priming, and painting an old dresser you found at a garage sale. You step back, proud of your hard work, but something feels… off. It doesn’t look like the glossy, smooth pieces you see in boutique hotels or on Pinterest. It just looks painted. Maybe even a bit cheap.
It’s frustrating, right? Especially when you put in so much effort. But here’s the thing: the difference between a craft-store disaster and a showstopper isn’t magic. It’s not even necessarily expensive materials. It comes down to about seven specific techniques that most people skip entirely because they think painting furniture is just slapping some color on wood and hoping for the best. Spoiler alert: it’s not.
In 2026, painted furniture is still very much in style. In fact, demand for durable finishes has jumped 25% according to recent polls on woodworking forums like LumberJocks. People are craving that personalized, vintage-meets-modern look. But achieving it requires moving past the "this will be easy" mindset. Let’s dig into why most projects fall short and exactly how to fix them.
The Prep Work Nobody Wants to Do (But Everyone Needs)
Let’s be honest. Sanding is boring. Cleaning is tedious. And most of us want to get to the fun part—picking out colors and watching the transformation happen. But skipping prep is the number one reason furniture looks amateurish. I once tried to paint a nightstand without using my normal degreasing spray because I thought there was no protective finish on the wood. Big mistake. The paint peeled off in sheets within a week.
Pros know that surface preparation is 80% of the job. You can’t just wipe down a piece with a damp cloth and call it a day. Old furniture has layers of wax, oil, polish, and decades of grime that repel paint. If you don’t remove that barrier, your paint won’t adhere properly. It’ll chip, scratch, and look uneven no matter how many coats you apply. Start with a good degreaser or TSP substitute. Scrub every inch. Then, sand lightly to create a "tooth" for the primer to grab onto. It doesn’t have to be perfect, but it has to be clean and rough enough.
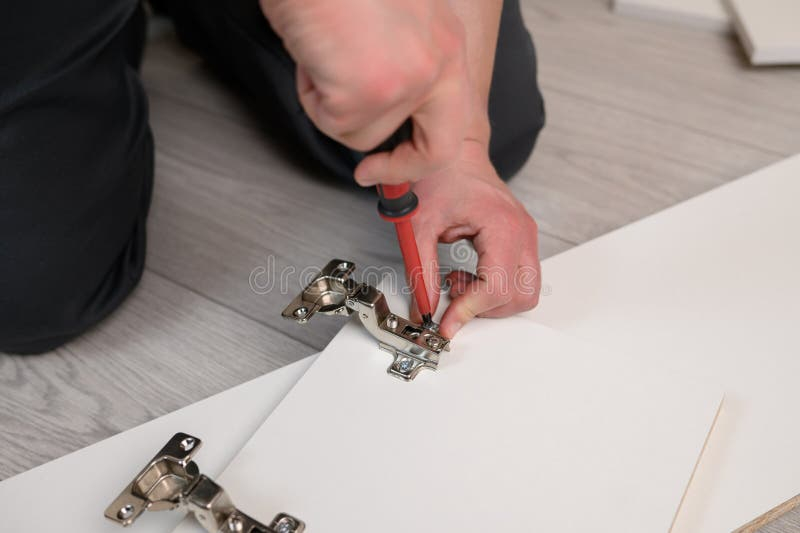
Another common oversight? Ignoring the hardware. In today’s market, reviving vintage hardware is a huge trend, but it’s also tricky. Tarnish, loose screws, and mismatched patinas can ruin the whole vibe. Take everything off. Clean the metal with vinegar or a specialized cleaner. If the screws are stripped, replace them. If the finish is beyond saving, consider swapping them out for something modern or giving them a fresh coat of metallic spray paint. Details matter.
Primer Isn’t Optional (Even If the Can Says It Is)
There’s a myth floating around that if you buy expensive chalk paint or mineral paint, you don’t need primer. This is dangerous advice. While some paints claim to be self-priming, they rarely block stains or seal porous wood effectively on their own. Without a proper primer, tannins from the wood can bleed through your beautiful white paint, creating yellowish spots that look terrible. Or worse, the paint absorbs unevenly, leaving you with a patchy, dull finish.
Think of primer as the foundation of a house. You wouldn’t build a mansion on sand, right? Same logic applies here. Use a high-quality bonding primer, especially if you’re dealing with laminate, veneer, or previously varnished surfaces. Shellac-based primers are fantastic for blocking stubborn stains like water rings or ink marks. They dry fast and create a rock-solid base. Yes, it adds an extra step. Yes, it smells a bit strong. But it saves you from having to strip everything down and start over later.
Also, pay attention to the type of primer you choose. Oil-based primers are durable and great for sealing, but they take longer to dry and require mineral spirits for cleanup. Water-based options are easier to work with and have improved significantly in recent years. For most DIYers in 2026, a high-adhesion water-based primer is the sweet spot between performance and convenience. Just make sure you let it cure fully before moving on. Rushing this step leads to soft paint that dents easily.
The Tool Trap: Why Brushes Matter More Than Paint
You can buy the most expensive paint in the world, but if you’re using a cheap, stiff-bristled brush from the dollar store, your finish will look streaky and textured. Amateurs often overlook tools, thinking technique is everything. But the right tool makes the technique possible. Pros invest in high-quality synthetic brushes designed specifically for latex or acrylic paints. These brushes hold more paint, release it evenly, and leave fewer brush marks.
Rollers have their place too, especially for large flat surfaces like table tops or cabinet doors. A small foam roller can create an incredibly smooth, factory-like finish if used correctly. The trick is to use light pressure and roll in one direction to avoid bubbles. Don’t overload the roller. Thin coats are always better than thick, gloopy ones. Thick paint sags, drips, and takes forever to dry, increasing the chance of dust settling on it.
And let’s talk about lighting. You can’t fix what you can’t see. Set up your workspace with bright, natural light if possible. Side lighting helps reveal imperfections, drips, and missed spots that overhead lights hide. Many DIYers paint in dim garages or basements and wonder why their finish looks rough once they bring it into the living room. Good lighting allows you to catch mistakes while the paint is still wet and fixable. It’s a simple change that yields massive results.
Technique Over Speed: The Art of the Thin Coat
Here’s a hard truth: more paint does not equal better coverage. In fact, it’s usually the opposite. When you try to cover a dark wood with one thick coat of light paint, you end up with a muddy, uneven mess that takes days to dry. Pros apply multiple thin coats. Each layer builds upon the last, creating depth and durability without the risk of runs or sags. It requires patience, sure. But the result is worth it.
Between each coat, light sanding is key. Use fine-grit sandpaper (like 220 or 320 grit) to knock down any dust nibs, brush marks, or imperfections. Wipe away the dust with a tack cloth or a slightly damp microfiber rag. This step ensures that each new layer bonds smoothly to the previous one. It’s tedious, I know. But it’s the secret to that glass-smooth finish you admire in high-end furniture stores. Skipping sanding between coats leaves you with a texture that feels gritty and looks unprofessional.
Timing matters too. Don’t rush the drying process. Even if the paint feels dry to the touch, it might not be cured. Applying the next coat too soon can pull up the previous layer, causing peeling or wrinkling. Follow the manufacturer’s recommendations for recoat times, but when in doubt, wait longer. Humidity and temperature play a big role here. In 2026, with changing climate patterns affecting indoor humidity levels, it’s smarter to err on the side of caution. Let it breathe.
The Finish Line: Sealing for Durability and Depth
Paint alone isn’t enough. Without a protective topcoat, your beautiful piece will scratch, stain, and wear down quickly. This is where many DIYers cut corners, either skipping the topcoat entirely or choosing the wrong one. Chalk paint, for example, is porous and needs sealing. Milk paint needs sealing. Even some acrylics benefit from it. The topcoat not only protects but also enhances the color, adding richness and depth.
Choose your topcoat based on usage. For a dining table or desk that sees daily wear, a polyurethane or polycrylic is essential. Water-based polycrylics are popular because they don’t yellow over time and have low odor. For decorative pieces like a bedroom dresser or shelf, a wax finish can provide a soft, matte look that feels vintage and warm. However, wax requires maintenance and isn’t as durable against heat or moisture. Be realistic about how the piece will be used.
Application technique for topcoats is similar to paint: thin, even layers. Brush in the direction of the wood grain to minimize visible strokes. Avoid going back over areas that have started to set, as this can create ridges. Two to three coats of topcoat are usually sufficient. Let it cure fully before using the furniture. This can take anywhere from a few days to a few weeks, depending on the product. Patience here prevents fingerprints and dents during those first crucial weeks.
Finally, let’s talk about the bigger picture. A perfectly painted piece can still look amateurish if it doesn’t fit its environment or lacks styling. In 2026, the trend is toward curated, personal spaces. Your furniture should feel like it belongs. Consider the hardware again. Does it complement the paint color? Are the lines modern or traditional? Sometimes, swapping out dated knobs for sleek brass or matte black handles elevates the entire piece instantly.
Lighting and placement matter too. A dark navy dresser might look stunning in a well-lit room with contrasting decor, but lost in a shadowy corner. Add lamps, art, or plants nearby to frame the piece. Style the top with intention. Don’t clutter it. A few carefully chosen items—a vase, a stack of books, a small sculpture—create a vignette that draws the eye and highlights your hard work. Remember, the goal is to make it look like a deliberate design choice, not just a painted hand-me-down.
Also, embrace imperfection if it suits the style. Distressing can look chic if done subtly and strategically. Focus on edges and corners where natural wear would occur. Don’t overdo it. Random sanding all over the surface looks fake. The key is restraint. Ask yourself: where would this piece naturally show age? Mimic that. It adds character and warmth, making the piece feel lived-in and loved rather than manufactured.
So, there you have it. Painting furniture isn’t just about color. It’s about prep, primer, tools, technique, protection, and presentation. It’s about respecting the process and understanding that quality takes time. Next time you tackle a project, slow down. Invest in the right materials. Pay attention to the details. Your future self—and your guests—will thank you. After all, a piece that looks better than store-bought isn’t just about savings. It’s about pride. And honestly? That’s priceless.