Ever wonder why that cabinet door hangs perfectly straight while yours seems to have a mind of its own? Or how a master woodworker makes a complex joint look like it grew that way? It’s not magic. And it’s rarely about having the most expensive tools in the shop.
The truth is, there’s a whole layer of knowledge that sits between buying a tool and actually using it well. These are the little nudges, the clever hacks, and the "why didn’t I think of that?" moments that pros accumulate over decades. They don’t always share them because, well, sometimes silence is golden. But in 2026, the tide is turning. Craftspeople are realizing that sharing knowledge lifts everyone up. So, let’s pull back the curtain on those guarded workshop tricks that lead to truly perfect results.
The Art of Setup: Precision Before the Cut
Most mistakes happen before the blade even touches the material. It sounds counterintuitive, right? We want to get to the cutting part. But seasoned pros know that 80% of a perfect result comes from setup. Take table saw fences, for instance. A common trick is to check for parallelism not just with a ruler, but with a dial indicator. Yet, an even simpler hack many use is the "coin test." Slide a coin under the fence at both ends. If it fits snugly at one end but rattles at the other, you’ve got drift. Fix that, and your cuts stop burning the wood.
Lighting is another silent partner in precision. Harsh overhead lights create shadows that hide imperfections. Pros often rig up movable LED strips that cast light across the work surface at a low angle. This raking light reveals tiny dips, scratches, or uneven joints that normal lighting misses. It’s like having X-ray vision for surface quality. In 2026, affordable, high-CRI (Color Rendering Index) LED panels have made this trick accessible to every hobbyist. No more guessing if that stain looks right; you’ll see it clearly.
Don’t forget the humble outfeed support. When cutting large sheet goods, gravity is your enemy. A simple roller stand or a DIY extension wing made from melamine can prevent the material from sagging and binding against the blade. This isn’t just about safety; it’s about accuracy. A binding panel kicks back or wanders off the cut line. Supporting the workpiece throughout the entire cut ensures the blade does exactly what you asked it to do. Simple, effective, and often overlooked.
Jigs and Fixtures: Your Second Pair of Hands
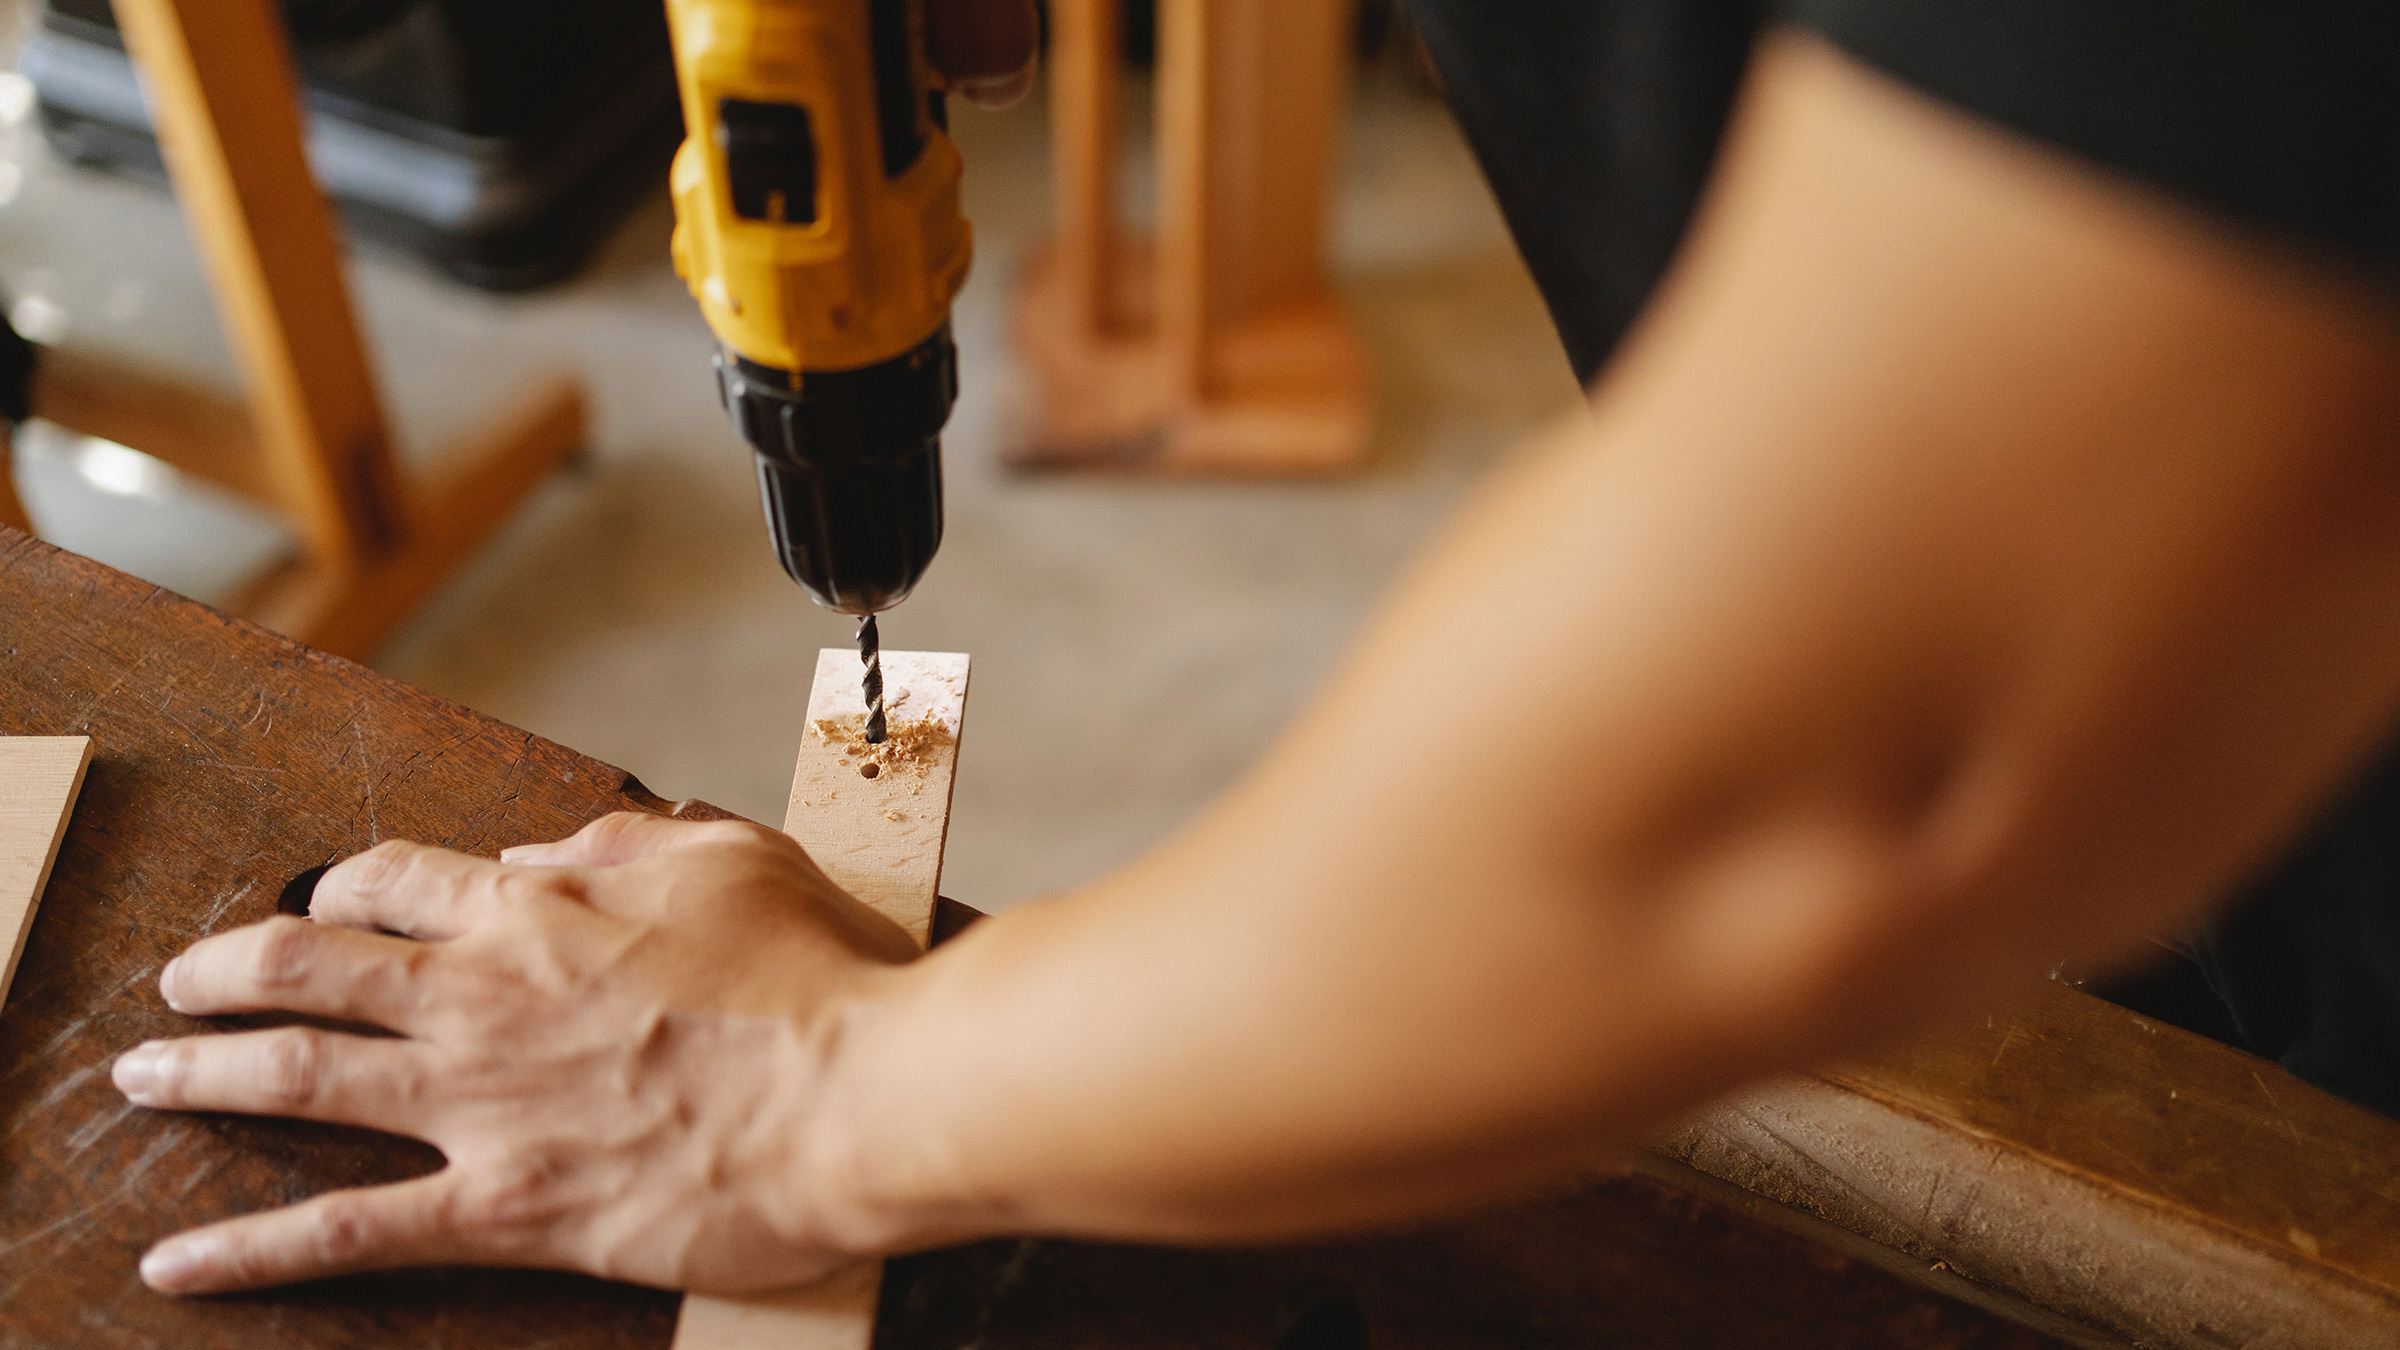
If you find yourself measuring the same thing twice, stop. Build a jig. This is the mantra of efficient craftsmanship. A jig is simply a device that holds your workpiece or guides your tool in a repeatable way. For example, drilling pocket holes or dowel holes by hand is prone to error. A simple shop-made drilling guide block, clamped securely, ensures every hole is perpendicular and at the correct depth. It turns a tricky operation into a foolproof routine.
Consider the crosscut sled. While many table saws come with a miter gauge, a well-built crosscut sled offers superior accuracy and safety for wider boards. Pros often add a zero-clearance insert to their sled. This is a thin strip of wood attached to the sled’s fence that the saw blade cuts through on its first pass. It supports the wood fibers right up to the cut line, preventing tear-out on the back side of the board. The result? Clean, crisp edges every single time, without needing to sand away splinters later.
Clamping is another area where jigs shine. Trying to clamp odd-shaped pieces can feel like wrestling an octopus. Creating custom cauls—blocks of wood shaped to distribute pressure evenly—can save your project from dents and misalignment. Some craftsmen even embed magnets into their cauls for quick positioning on steel tables. These small investments in time upfront pay dividends in consistency and quality. It’s about working smarter, not harder, and letting your fixtures do the heavy lifting.
Material Mastery: Working With the Grain
Wood moves. It breathes. It expands and contracts with humidity changes. Ignoring this fact is a recipe for cracked joints and warped panels. Pros respect the material. One guarded trick is acclimating wood to your shop environment for at least a week before starting a project. Stack it with spacers (stickers) to allow air circulation on all sides. This minimizes movement after construction, ensuring your carefully crafted piece stays stable.
When joining wood, understanding grain direction is crucial. Gluing long-grain to long-grain creates a bond stronger than the wood itself. But end-grain to long-grain is weak. To combat this, craftsmen use techniques like tenons, dowels, or biscuits to increase the gluing surface area and add mechanical strength. A simple trick for stronger end-grain joints is to size the end grain with a thin coat of glue, let it dry, and then apply the final glue-up. This seals the porous end grain, preventing it from sucking all the moisture out of the main glue joint too quickly.
Finishing starts long before you open a can of stain or varnish. Sanding is key, but so is scraping. Using a card scraper—a flexible piece of hardened steel—can remove mill marks and create a smoother surface than sandpaper alone, especially on figured woods. It cuts the fibers cleanly rather than abrading them. This technique, once a closely held secret among furniture makers, is now gaining popularity. It reduces dust and leaves a surface that feels almost glass-like, ready for a flawless finish.
Tool Maintenance: Sharpness Is Safety
A dull tool is dangerous. It requires more force, slips easier, and produces poor results. Keeping tools sharp isn’t a chore; it’s a core skill. Many pros swear by the "strop and compound" method for maintaining edge tools like chisels and plane irons. After honing on stones, a few passes on a leather strop loaded with polishing compound removes the microscopic burr and polishes the edge to razor sharpness. It takes seconds and keeps tools cutting effortlessly for longer periods.
Table saw blades and router bits also need attention. Pitch and resin buildup on carbide teeth reduce cutting efficiency and cause burning. A simple soak in a dedicated cleaner or even a mild household degreaser can restore performance. Some craftsmen use ultrasonic cleaners for intricate router bits, ensuring every nook and cranny is clean. A clean tool runs cooler and lasts longer. It’s basic maintenance, but skipping it leads to frustration and subpar work.
Calibration is part of maintenance too. Check your square regularly. Drop it on the floor? Check it again. A slightly out-of-square combination square can throw off an entire project. Pros often keep a "master square" – a high-precision metal square – solely for checking other tools. It never gets used for marking or layout, preserving its accuracy. This simple habit ensures that every measurement and angle you rely on is trustworthy. Trust your tools, but verify them often.
The Finish Line: Details That Define Quality
The finish can make or break a project. It’s the last thing people see and touch. One pro trick is to raise the grain before the final finish. After sanding, wipe the wood with a damp cloth. Let it dry. The water causes the wood fibers to swell and stand up. Sand them off lightly. Now, when you apply your water-based or oil finish, the surface stays smooth instead of becoming rough. This extra step adds time but results in a professionally smooth tactile experience.
Application technique matters as much as the product. Wiping on finishes, like polyurethane or oil, allows for thin, controlled coats. Thin coats dry faster, cure harder, and are less prone to runs and sags. Pros often thin their first coat slightly (if the product allows) to help it penetrate deeper into the wood. Subsequent coats build protection and sheen. Sanding lightly between coats with fine grit paper (like 320 or 400 grit) ensures good adhesion and a flat surface. Patience here is vital. Rushing the finish ruins weeks of prior work.
Don’t ignore the unseen parts. Finishing the inside of a cabinet or the underside of a table isn’t just about aesthetics; it helps balance moisture absorption, reducing warping. It shows attention to detail and care. Clients might not see it immediately, but they’ll feel the quality. Plus, it protects the wood from spills or humidity changes from below. It’s a hallmark of true craftsmanship—doing it right, even when no one is watching.
Craftsmanship isn’t just about hands; it’s about headspace. Pros organize their workflow to minimize fatigue and maximize focus. Batch processing is a common strategy. Instead of building one chair completely, then starting the next, they might cut all the legs for four chairs at once, then mill all the seats, and so on. This reduces setup time for machines and keeps the mind focused on one task. It’s assembly-line thinking applied to bespoke work.
Cleanliness is next to godliness in the workshop. A cluttered bench leads to mistakes and accidents. Pros maintain a "clean as you go" policy. Scrap bins are emptied regularly. Tools are returned to their designated spots. This isn’t just tidiness; it’s respect for the craft and the space. A clear workspace allows for clear thinking. In 2026, with smaller urban workshops becoming more common, efficient storage solutions like wall-mounted tool holders and mobile carts are essential for maintaining this flow.
Finally, embrace the pause. Step back from your work. Look at it from different angles. Take a photo with your phone; sometimes the camera lens reveals flaws your eyes have grown accustomed to. Ask for feedback from trusted peers. Craftsmanship is a journey, not a destination. Even masters learn new tricks. The willingness to adapt, learn, and refine is what separates the good from the great. It’s about humility and the relentless pursuit of betterment.
So, there you have it. Not flashy gadgets or secret formulas, but practical, grounded wisdom. These tricks are about respecting your materials, maintaining your tools, organizing your space, and refining your process. They’re the accumulated knowledge of countless hours at the bench. Try one or two in your next project. See the difference. And maybe, just maybe, you’ll develop a trick of your own to pass along. After all, that’s how the craft grows. One shared tip at a time.