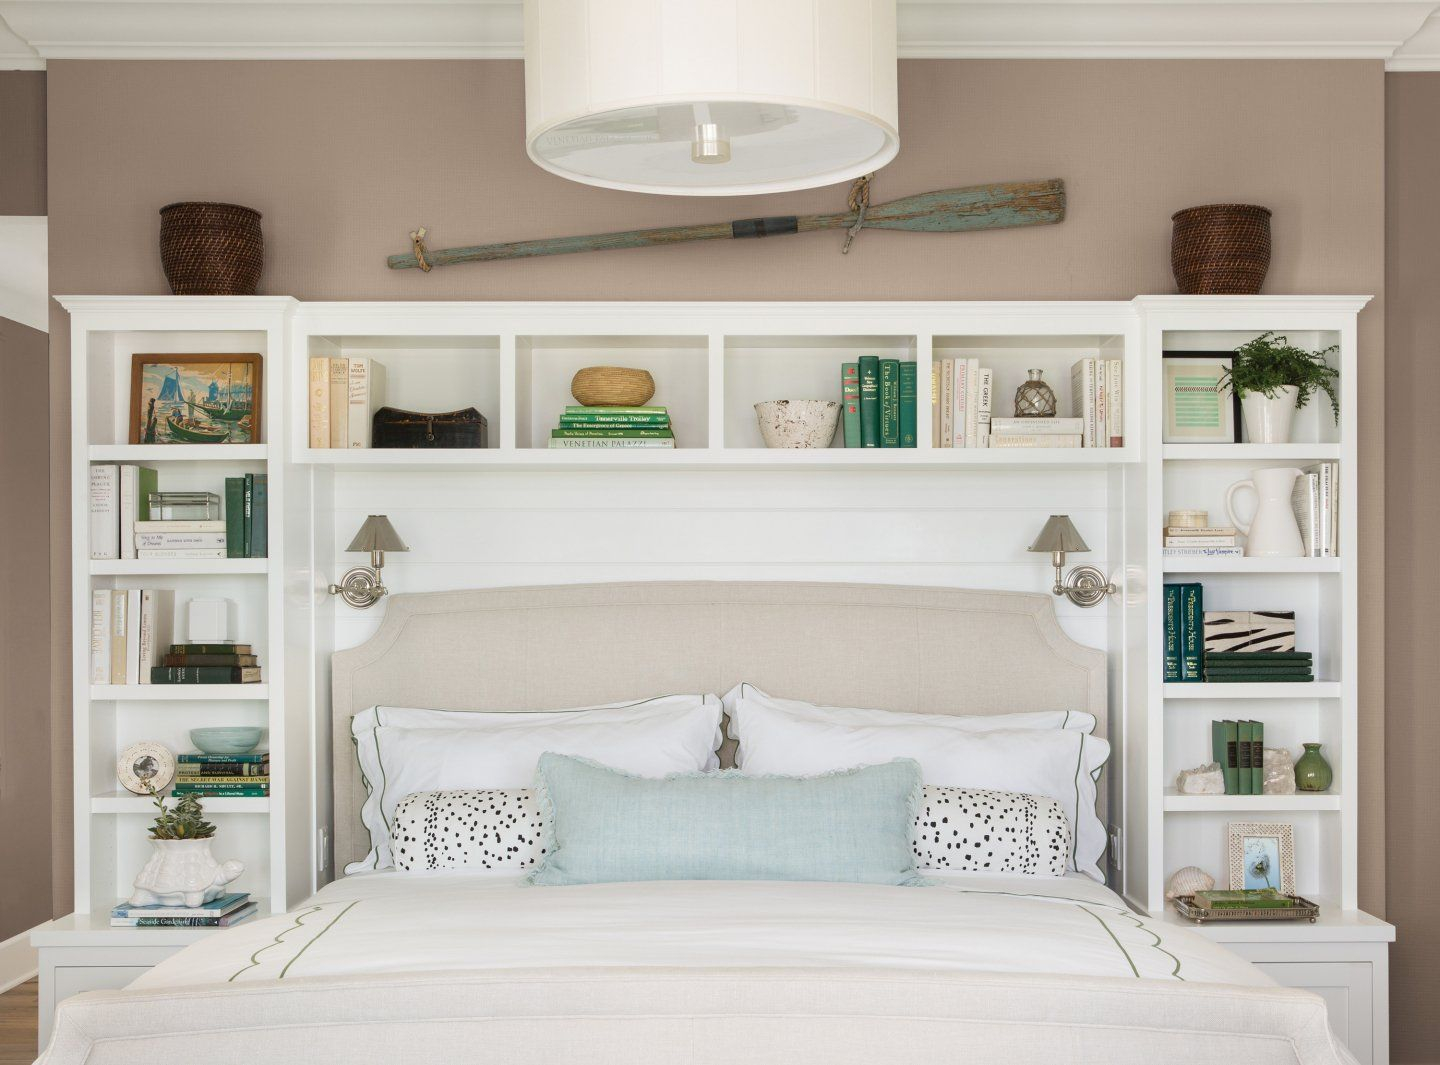
Ever walked into a room and felt like something was missing? Maybe it was too sterile. Too quiet. You know that feeling when a space lacks soul? That’s usually because everything matches too perfectly. It’s clean, sure. But it’s boring. Now imagine walking in and seeing a weathered, painted piece of history mounted behind your bed. It tells a story. It has texture. It has character. That’s the magic of upcycled shutters.
They aren’t just pieces of wood. They are fragments of someone else’s past. A farmhouse from the 1950s. A city apartment renovated in the 90s. When you bring them home, you’re not just buying decor. You’re rescuing history. And honestly? It’s easier than you think. You don’t need a workshop full of expensive tools. You don’t need a degree in carpentry. You just need an eye for potential and a little bit of elbow grease.
In 2026, everyone is talking about sustainable living. But let’s be real. Sometimes "sustainable" feels like a chore. It feels like hard work. Upcycling shutters flips that script. It’s fun. It’s creative. And it saves you a ton of money compared to buying a new, mass-produced headboard that looks like it came off an assembly line yesterday. Let’s dive into why these forgotten architectural gems are the best kept secret in DIY bedroom design.
The Hunt for Hidden Treasures
Finding the right shutters is half the adventure. It’s like a treasure hunt, but instead of gold, you’re looking for chipped paint and sturdy hinges. Where do you start? Yard sales are still king in 2026. People are clearing out attics and garages, often desperate to get rid of "junk." That’s your gain. Check local community boards on social media too. Neighborhood groups are goldmines for free or cheap materials. Someone might be renovating their historic home and tossing out the originals. Don’t let them go to the landfill.
You can also try architectural salvage yards. These places are fascinating. They smell like old wood and dust. It’s a good smell. The prices might be slightly higher than a yard sale, but the quality is often better. You can find solid hardwood shutters here. Look for ones with interesting details. Louvers that still move. Hinges that have a nice patina. Avoid anything that feels spongy or smells like mildew. That’s a sign of rot. You want structure. You want strength.
When you’re scanning piles of discarded items, look beyond the dirt. A layer of grime doesn’t mean the wood is bad. In fact, sometimes the dirt protects the original finish underneath. Ask yourself: Is the frame straight? Are the slats intact? If yes, you’ve got a winner. Don’t worry about the color yet. Paint can be changed. Wood can be sanded. But you can’t fix a broken frame easily. Keep your eyes open for symmetry. If you need two shutters for a wider bed, try to find a matching pair. It makes the final look much more cohesive.
Prep Work That Pays Off
Once you’ve got your shutters home, don’t rush to hang them. Patience is key here. The prep work is what separates a amateur job from a pro-looking finish. First, give them a good cleaning. Use a mild soap and water solution. Scrub away decades of dust and grime. A stiff brush helps get into the corners. Let them dry completely. This step is crucial. If you paint over dirt, it will peel. If you stain over dirt, it will look blotchy. Take your time.
Next, inspect the hardware. Those old hinges and latches? They add charm. But they might be rusty. You can keep the rust if you like the industrial look. Just scrub off any loose flakes. If you prefer a cleaner look, remove the hardware and soak it in vinegar. It eats away the rust nicely. Or, replace them with new vintage-style hardware. It’s a small detail, but it makes a big difference. Also, check for loose slats. Glue them back in place. Clamp them tight until the glue dries. You want this thing to be solid.
Now, decide on your finish. Do you want to keep the vintage vibe? Then maybe just a clear coat of polyurethane is enough. It seals the wood and brings out the natural grain. Do you want a pop of color? Sand down the rough spots first. You don’t need to strip it all the way to bare wood unless you want to. A light sanding helps the new paint stick. Primer is your friend here. It creates a smooth base. Especially if you’re going from dark wood to light paint. Skip the primer, and you’ll be painting forever.
Design Styles That Sing
Shutters are versatile. They fit into almost any design aesthetic. That’s why they’re such a secret weapon. Let’s talk style. Farmhouse chic is still huge in 2026. For this look, go with white or cream shutters. Distress them a bit. Knock the edges with a hammer to create dents. Paint over it, then sand the high points to reveal the wood underneath. It looks aged and loved. Pair it with linen bedding and a woven rug. It’s cozy. It’s inviting.
Maybe you’re into industrial modern. Think dark colors. Charcoal gray. Matte black. Keep the hardware visible. Maybe even add some metal pipes as side supports. It looks sleek and edgy. This style works great in lofts or apartments with brick walls. The contrast between the rough brick and the structured shutters is visually striking. Add some Edison bulb sconces on either side. Boom. Instant mood lighting.
Bohemian is another fun route. Paint your shutters in unexpected colors. Teal. Mustard yellow. Terracotta. Mix and match patterns if you’re feeling brave. Hang macramé planters from the top rail. Drape fairy lights through the louvers. It creates a whimsical, dreamy atmosphere. The shutters become a canvas for your creativity. There are no rules here. Just have fun with it. The beauty of upcycling is that if you don’t like it, you can just paint over it again. No harm done.
Safety First: Mounting Matters
Let’s get serious for a minute. A headboard isn’t just decor. It’s a heavy object hanging over your head while you sleep. Safety is non-negotiable. You cannot just lean it against the wall. It will fall. And that’s dangerous. You need to secure it properly. If you’re renting, this might seem tricky. But there are ways. Command strips won’t cut it. You need anchors. Heavy-duty ones.
Find the studs in your wall. This is the golden rule. Use a stud finder. Mark the locations. Drill pilot holes into the studs. Use long, sturdy screws to attach a cleat or a French cleat system to the wall. Then, attach the corresponding part to the back of your shutters. This locks the headboard in place. It distributes the weight evenly. It’s strong. If you can’t hit studs, use toggle bolts rated for heavy loads. But studs are always better. Always.
Consider the weight of your shutters. Solid wood is heavy. Hollow core is lighter. Adjust your mounting strategy accordingly. If you’re unsure, ask a friend to help hold it up while you mark the holes. Two pairs of hands are better than one. Also, think about height. You don’t want it too high or too low. Standard height is about 6-12 inches above the mattress. But it’s your room. Play around with the positioning before you drill. Use painter’s tape to mock it up on the wall. Live with it for a day. See how it feels.
Budget Breakdown and Savings
Let’s talk money. Because that’s a big part of why people love this project. A new custom headboard can cost hundreds. Even thousands. Upcycled shutters? You can often find them for free. Or for twenty bucks. Let’s break it down. Cost of shutters: $0-$50. Cost of paint and supplies: $30-$50. Cost of hardware: $20. Total: Under $120. Often much less. Compare that to a $800 designer headboard. The savings are massive.
But it’s not just about the initial cost. It’s about value. You’re creating something unique. Something no one else has. Mass-produced furniture lacks soul. It’s made to be replaced. Your shutter headboard is made to last. It’s an investment in your home’s character. Plus, you’re keeping waste out of landfills. That’s a win for the planet. In 2026, eco-conscious choices are more important than ever. This project ticks that box beautifully.
Think about the resale value too. Unique, well-crafted features add appeal to a home. Buyers remember the little details. They remember the bedroom with the cool, vintage headboard. It sets your space apart. It shows care. It shows effort. And effort translates to value. So while you’re saving money now, you’re potentially adding value later. It’s a smart financial move wrapped in a creative package. Win-win.
You’ve built it. You’ve hung it. Now what? How do you keep it looking good? Wood changes over time. It expands and contracts with humidity. Dust settles in the louvers. But maintenance is simple. Regular dusting is key. Use a microfiber cloth or a vacuum attachment with a brush. Get into those slats. It takes five minutes. Do it once a week. It keeps the air clean and the wood looking fresh.
If you painted it, check for chips occasionally. Touch them up with a small brush. Keep a little leftover paint in a jar for this purpose. It’s easier to fix a small chip now than to repaint the whole thing later. If you stained it, reapply a coat of polyurethane every few years. It keeps the wood protected from moisture and wear. It’s a small effort for long-term beauty.
Avoid direct sunlight if possible. UV rays can fade paint and dry out wood. If your bed is in front of a sunny window, consider using curtains or blinds during the day. It preserves the finish. Also, keep humidity levels stable. Extreme changes can warp wood. A humidifier or dehumidifier might help if you live in a very dry or very wet climate. Treat your headboard with care, and it will serve you for decades. It might even become a family heirloom. Imagine passing it down. That’s the power of upcycling.
So, there you have it. Upcycled shutters are more than just a trend. They are a statement. They are a sustainable, affordable, and stylish solution for your bedroom. They bring history into your home. They add texture and depth. And they are surprisingly easy to make. You don’t need to be an expert. You just need to be willing to try. Go find those shutters. Clean them up. Make them yours. Your bedroom—and the planet—will thank you. It’s time to stop buying boring and start building beautiful.