Ever walk into a room in your house and just feel… heavy? It’s not just the dust motes dancing in the afternoon sun. It’s the stuff. The piles of mail on the counter that have been there since last Tuesday. The coat closet that bursts open like a jack-in-the-box every time you try to grab a jacket. If you live in an older home, you know the struggle is real. These houses have charm, sure. They have character. But they rarely have enough closets. And the ones they do have are often weirdly shaped or tucked into awkward corners that seem designed to hide things, not store them.
We’ve all tried the quick fixes. Buying plastic bins from the big box store. Shoving things under the bed. But does it ever really stick? Usually, by month two, the clutter creeps back in. Why? Because we’re treating the symptom, not the cause. In 2026, the trend isn’t just about minimalism; it’s about smart, permanent systems that work with the architecture of our homes, not against it. You don’t need a full renovation crew. You don’t need to knock down walls. You just need a weekend, some basic tools, and a plan that actually makes sense for how you live.
Let’s be honest. Older homes are tricky. They weren’t built for the amount of gear we accumulate today. Think about it. Your grandparents didn’t have three different types of vacuum cleaners, a collection of smart home gadgets, or a hobby that requires forty pounds of specialized equipment. So, we force our modern lives into vintage boxes. It doesn’t fit. It creates friction. And friction leads to mess. But what if you could tweak those spaces? What if you could build solutions that feel like they were always there? That’s the goal here. Not just cleaning up, but solving the problem so it stays solved.
The Entryway Bottleneck: Building a Drop-Zone That Actually Works
The front door is where the battle is lost or won. Seriously. If your entryway is a disaster zone, the rest of the house follows suit. In older homes, the entryway is often a narrow hallway or a small foyer with zero built-in storage. You walk in, hands full, and there’s nowhere to put anything. So it goes on the floor. Or the nearest flat surface. Which is usually the dining table. Sound familiar? The fix isn’t buying a bigger shoe rack. It’s creating a dedicated "drop zone" that handles the daily influx of stuff before it spreads.
Start by clearing out the area completely. Be ruthless. If you haven’t worn those shoes in six months, they don’t live here anymore. Once the space is empty, look at the wall behind the door. This is prime real estate. Install a sturdy floating shelf at eye level for keys and wallets. Below that, mount a row of heavy-duty hooks. Not the flimsy adhesive ones that fall off after a week. Use real screws and anchors. You want hooks that can hold a wet raincoat, a backpack, and maybe a leash. Underneath, place a simple bench with storage underneath. You can build this yourself with some pine boards and brackets in an afternoon. The key is that everything has a specific home. Keys go on the shelf. Coats go on hooks. Shoes go under the bench. No decisions needed.
Why does this work? Because it reduces decision fatigue. When you’re tired from work, you don’t want to think about where to put your bag. You just want to drop it and collapse. If the hook is right there, you’ll use it. If it’s in another room, you won’t. Recent studies on habit formation show that reducing the number of steps to complete a task increases compliance by over 40%. Make it easy. Make it obvious. And make it look good. A little bit of paint on the wall behind the hooks can turn a functional space into a feature. It stops being a clutter trap and starts being a welcoming entrance. Plus, it keeps the dirt and debris from outside contained to one small, easy-to-clean area.
Kitchen Chaos: Maximizing Dead Space in Vintage Cabinets
Kitchens in older homes are notoriously small. And the cabinets? They’re often deep, dark caves where items go to die. You reach in for a mixing bowl and pull out a landslide of Tupperware lids that don’t match any container. It’s frustrating. It’s wasteful. And it makes cooking feel like a chore instead of a joy. The problem isn’t that you have too much stuff (though you might). The problem is that the storage isn’t working for you. You’re fighting the architecture. Let’s change that. We’re going to focus on vertical space and accessibility.
First, tackle the interiors. Those deep shelves are a nightmare. Install pull-out drawers or sliding baskets. You don’t need custom carpentry for this. There are affordable kits available now that fit standard cabinet sizes. Being able to slide a shelf out means you can see everything at once. No more digging. No more forgotten jars of spices from 2019. Next, look at the inside of the cabinet doors. This is wasted space. Add adhesive racks for foil and plastic wrap. Mount small bins for measuring spoons or tea bags. Every inch counts. If you’re handy, add a tension rod inside a tall cabinet to hang spray bottles upright. It’s cheap, it’s effective, and it keeps them from tipping over.
Don’t forget the corners. Corner cabinets are notorious black holes. Install a lazy Susan or a rotating carousel. It sounds old-school, but it works. Or, if you’re feeling ambitious, replace the door with a pull-out corner unit. It’s a bit more work, but it transforms unusable space into prime storage. Finally, declutter the countertops. In 2026, the aesthetic is clear surfaces. Keep only what you use daily out. Everything else gets a home in those newly organized cabinets. When you can see your counters, your brain feels calmer. It’s science. A cluttered visual field increases cortisol levels. So, by organizing the insides, you’re actually improving your mental health. Who knew a spice rack could be therapeutic?
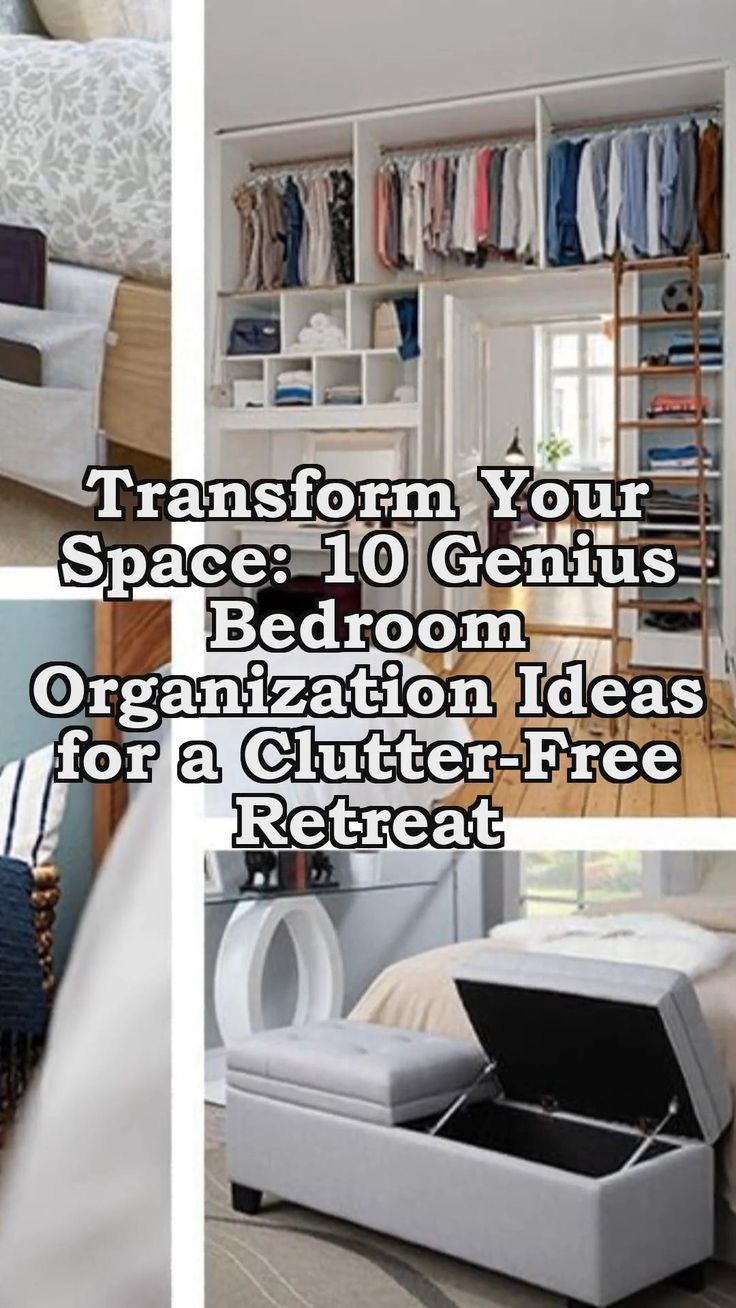
The Bedroom Overflow: Creating Closet Systems Without Built-Ins
Bedrooms in older houses often have one tiny closet. Maybe two if you’re lucky. But they were designed for wardrobes that were a fraction of the size we have now. So, we end up with chairs covered in clothes. Or piles on the floor. It’s not laziness. It’s a lack of infrastructure. You can’t expect to stay organized if the system is broken. The solution? Build your own closet system. You don’t need a fancy custom install. You need a flexible, adjustable framework that maximizes every inch of that cramped space.
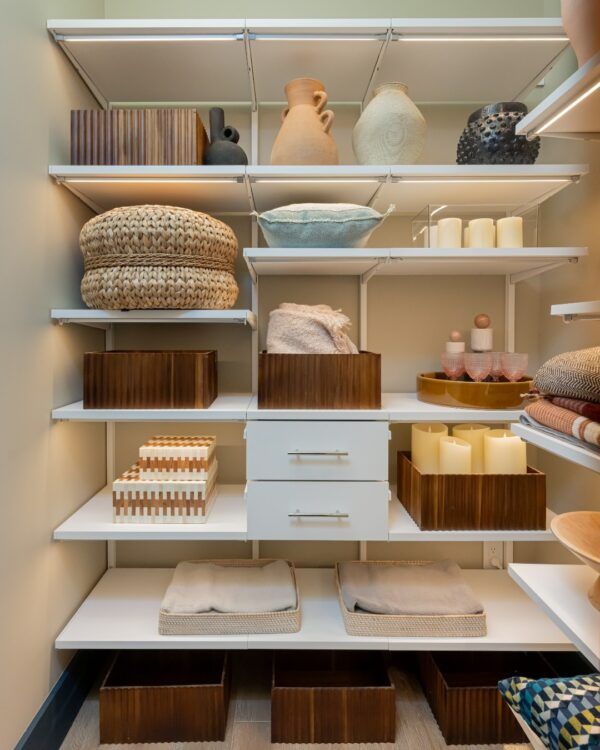
Start by emptying the closet. Donate anything that doesn’t fit or hasn’t been worn in a year. Be honest. Then, measure the space. Install a double-hang rod system. One rod high, one rod low. This instantly doubles your hanging capacity. Use slim, non-slip hangers to save even more space. For shelves, use wire shelving units that can be adjusted as needed. They’re cheap, easy to install, and allow air circulation. Add fabric bins or baskets on the upper shelves for off-season items or extra bedding. Label them. Clearly. "Winter Sweaters." "Guest Sheets." When it’s labeled, you’re more likely to put it back correctly.
What about the floor? Don’t leave it empty. Use stackable shoe racks or clear bins for shoes. Seeing your shoes makes it easier to choose them and harder to lose them. If the closet is really small, consider using the back of the door. Over-door organizers are great for accessories, belts, or scarves. But don’t stop at the closet. Look at the bedroom itself. Is there space under the bed? Use rolling drawers for out-of-season clothes. Is there an awkward nook? Build a simple cube shelf unit. The goal is to give every item a designated spot. When everything has a home, tidying up takes minutes, not hours. It’s about creating a sanctuary, not a storage unit. Your bedroom should be for rest, not for sorting laundry.
Bathroom Bottlenecks: Taming the Linen and Toiletry Mess
Bathrooms in older homes are tiny. Like, really tiny. And yet, we try to store towels, toiletries, cleaning supplies, and first aid kits in there. It’s a recipe for disaster. The humidity doesn’t help either. Paper products get damp. Metals rust. It’s a tough environment for storage. So, we need solutions that are moisture-resistant and space-efficient. We also need to move some things out. Not everything belongs in the bathroom.
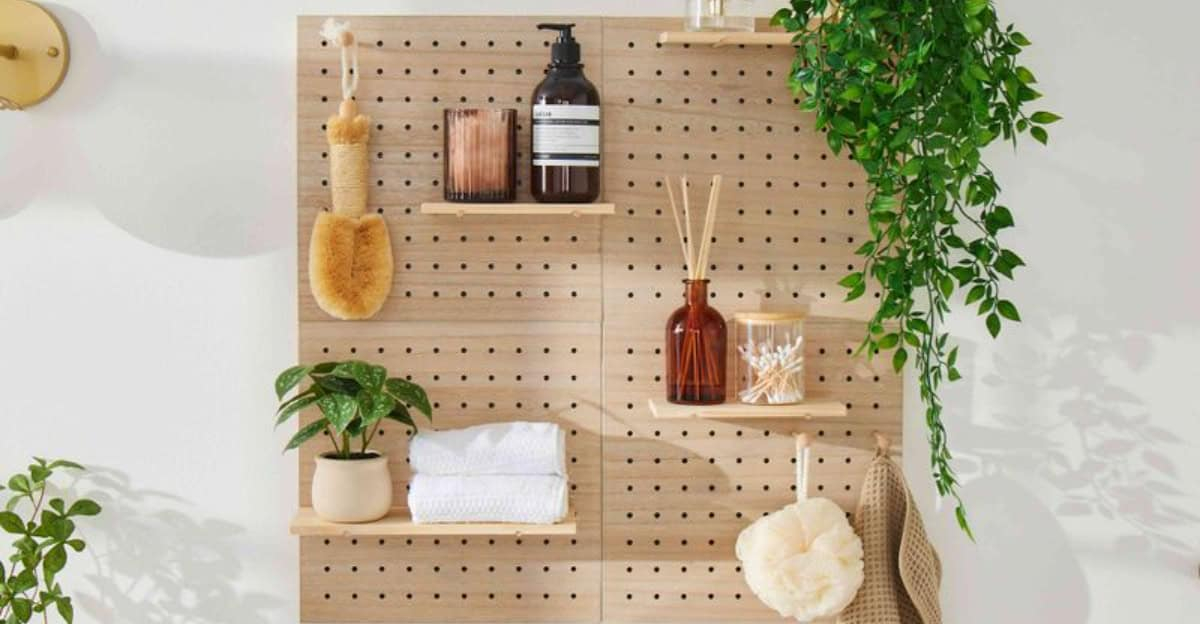
Start by decluttering. Throw away expired medications. Toss half-empty bottles of shampoo you’ll never use. Donate unopened toiletries. Now, look at the space above the toilet. This is often wasted. Install a floating shelf or a narrow cabinet here. It’s perfect for extra toilet paper, towels, or decorative items. Use baskets to corral smaller items. Wicker or plastic baskets work well because they handle humidity better than cardboard. Next, tackle the vanity. If you have a pedestal sink, you have no storage. Solution? Add a freestanding cabinet next to it. Or, install a wall-mounted cabinet above the sink. Mirror cabinets are great because they serve two purposes.
Inside the cabinets, use drawer dividers. Small bins for makeup, cotton swabs, and hair ties. Keep the counter clear. Only keep what you use every single day out. Toothbrush. Hand soap. That’s it. Everything else gets put away. If you have a linen closet nearby, use it for bulk storage. But if the linen closet is in the hallway, consider moving some bathroom-specific items there to free up space. Towels can live outside the bathroom. It’s fine. The key is to keep the bathroom surface clean and dry. It feels spa-like. It feels calm. And it makes cleaning the actual bathroom much faster when there’s less stuff in the way.
The Living Room Lair: Concealing Tech and Media Clutter
Living rooms in older homes were designed for conversation. Not for 65-inch TVs, gaming consoles, routers, modems, and a tangle of cords. The tech clutter is real. And it’s ugly. Wires snake across the floor. Remotes disappear into couch cushions. DVDs (do people still have those?) pile up on shelves. It distracts from the beauty of the room. It makes the space feel chaotic. We need to hide the tech without hiding the functionality. We need to integrate it seamlessly.
First, address the wires. This is the biggest eyesore. Use cable management sleeves to bundle cords together. Run them along the baseboards or behind furniture. If you’re renting, use adhesive cable clips. They’re removable and damage-free. If you own the home, consider drilling small holes to run wires through the wall to an outlet behind the TV. It’s a game-changer. Next, tackle the devices. Use a media console with closed storage. Doors are your friend. Hide the routers, the modems, the game systems. Just leave the TV visible. If you don’t have a media console, use baskets. Woven baskets look nice and can hold remotes, controllers, and magazines.
What about the books and decor? Don’t let them take over. Curate your shelves. Less is more. Choose a few favorite items and display them. Store the rest in bins or boxes. Use vertical space. Tall bookshelves draw the eye up and make the room feel larger. But keep them organized. Group books by color or size. Mix in plants for life. The goal is a balanced look. Tech should be invisible until you need it. Then, it’s right there. Easy to access. Easy to use. But when you’re not using it, it’s gone. Hidden away. This creates a sense of order. It allows the room to breathe. And it makes entertaining guests much less stressful when you’re not embarrassed by the mess.
Attics and basements in older homes are where clutter goes to multiply. We toss things up there with the intention of dealing with them later. But later never comes. So, we end up with rooms full of boxes we’re afraid to open. Who knows what’s in there? Mold? Mice? Memories? It’s intimidating. But these spaces are valuable. They’re potential storage goldmines if we treat them right. The key is zoning. You need to create distinct areas for distinct categories. And you need to make it accessible.
Start by pulling everything out. Yes, everything. It’s hard work. But it’s necessary. Sort items into four piles: Keep, Donate, Trash, and Maybe. Be strict with the "Maybe" pile. If you haven’t used it in five years, you probably won’t use it again. Let it go. Now, clean the space. Sweep. Vacuum. Check for leaks or pests. Fix any issues before you bring stuff back in. Next, create zones. One zone for holiday decorations. One for seasonal clothing. One for documents. One for hobby equipment. Use clear, uniform bins. Clear bins let you see what’s inside. Uniform bins stack neatly. Label every single bin. Front and side.
Install shelving. Metal shelving units are durable and adjustable. Keep items off the floor to protect them from moisture and pests. Use pallets if you don’t have shelves yet. Create aisles. You need to be able to walk through the space easily. If you can’t access the back bins, you won’t use them. And they’ll become clutter again. Consider adding a light. A bright, well-lit space feels less scary. It feels manageable. Visit the space twice a year. Spring and Fall. Check your inventory. Rotate seasonal items. This maintenance keeps the clutter from building up again. It turns a black hole into a functional asset. It gives you peace of mind knowing exactly where your stuff is. And that’s worth the weekend effort.
So, there you have it. Five projects. Five weekends. That’s it. You don’t need to overhaul your entire life. You just need to tackle one area at a time. Start with the entryway. Then the kitchen. Then the bedroom. Take it slow. Celebrate the small wins. Notice how much calmer you feel when you walk into a tidy room. Notice how much time you save when you’re not searching for your keys. It adds up. Older homes have quirks. They have challenges. But they also have soul. By adding smart, functional storage, you’re honoring that soul. You’re making the house work for you, not the other way around.
Remember, perfection isn’t the goal. Progress is. Some days, the mail will pile up. Some days, the shoes will end up on the floor. That’s okay. Just reset. Go back to the system. It’s there for you. It’s designed to help. And over time, it becomes habit. It becomes second nature. You’ll find yourself putting things away without thinking. You’ll find yourself enjoying your home more. Isn’t that what it’s all about? Creating a space that supports your life. A space that feels like home. So, pick a project. Grab your tools. Get started. Your future self will thank you. And hey, if you make a mistake, just fix it. It’s just wood and screws. You got this.